Perfect Stovetop Percolator Coffee Brewing
I've always appreciated a well-brewed cup of coffee, and the stovetop percolator method has a charm of its own. The process, when done right, can result in a rich and aromatic cup that's hard to beat. But what really makes the perfect stovetop percolator coffee? The answer lies in a few key steps that can elevate your brew from good to exceptional. Let's explore the nuances of this method and uncover the secrets to achieving that flawless cup of percolator coffee.
Percolator Coffee Basics
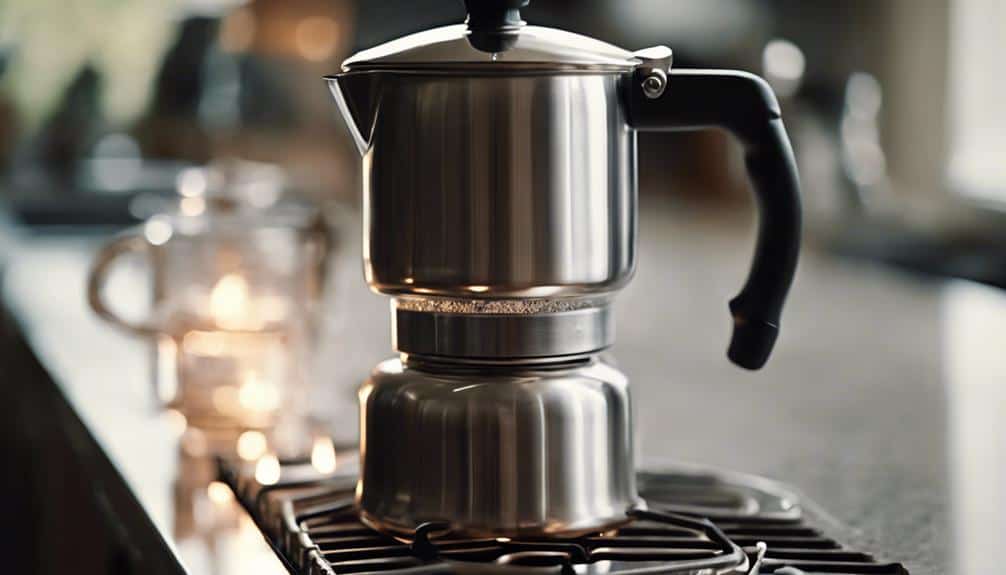
When delving into the world of percolator coffee brewing, understanding the basics is essential to revealing a truly satisfying and aromatic cup of joe. The percolator, a classic brewing method, works by cycling water through coffee grounds, extracting deep and flavorful essences.
To achieve the best results, it's vital to use a coarse grind of coffee, as this helps maintain a clean cup without grounds making their way into the brew. The process begins with adding water to the percolator's bottom chamber and coffee grounds to the basket. As the water heats up, it rises through the stem, percolates through the grounds, and drips back down. This continuous brewing action ensures a robust and full-bodied flavor profile.
Unlike other methods, the percolator doesn't need paper filters, allowing the water to directly interact with the coffee for a truly authentic taste experience. Mastering the art of percolator brewing guarantees a flavorful and satisfying coffee ritual.
Choosing the Right Coffee Beans
To truly elevate your stovetop percolator coffee brewing experience, the first step is selecting the perfect coffee beans that complement this classic method. When choosing coffee beans for your percolator, opt for medium to dark roasts to guarantee a rich and robust flavor profile. Look for single-origin beans or blends sourced from regions like Central/South America or Indonesia for a unique taste experience. Additionally, selecting beans labeled as medium to bold will help you achieve a more pronounced coffee flavor that stands up well to the percolation process.
Consider investing in freshly roasted coffee beans to enhance the overall taste and aroma of your brew. Freshly roasted beans offer a depth of flavor that can make a significant difference in the quality of your coffee. For those interested in making an ethical and sustainable choice, organic or fair trade coffee beans are excellent options to support responsible farming practices and ensure fair treatment of farmers. Making conscious choices about the coffee beans you use can truly enhance your brewing experience while supporting ethical and sustainable practices.
| Coffee Beans | Roast Level | Origin |
|---|---|---|
| Medium Roast | Medium to Bold | Central/South America |
| Dark Roast | Bold | Indonesia |
| Single-Origin | Medium to Bold | Various Regions |
| Organic/Fair Trade | Medium to Dark | Global |
Grinding Coffee to Perfection
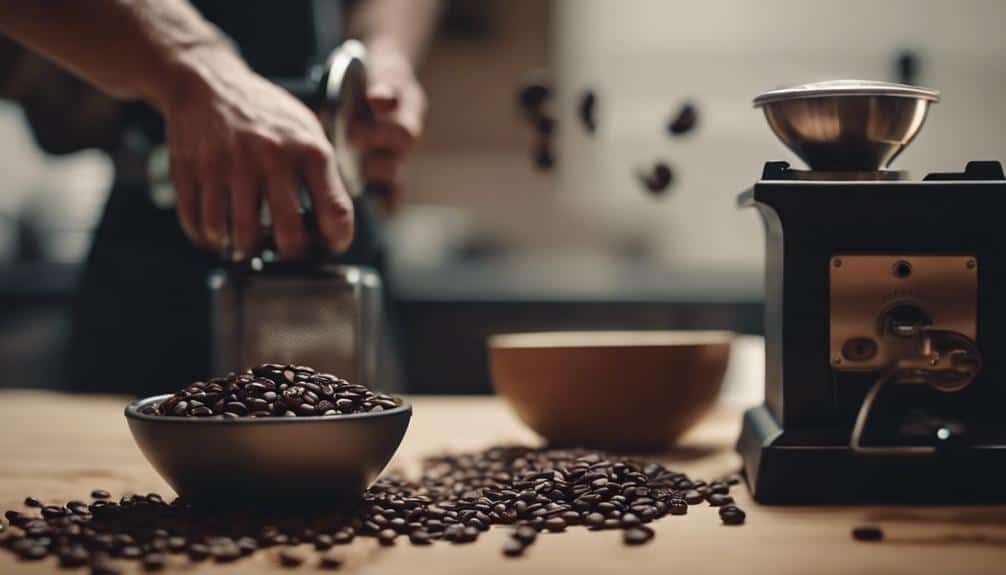
Grinding coffee beans coarsely is essential for achieving the perfect texture necessary for a flavorful percolator brew. When you grind your beans too finely, you run the risk of ending up with a murky cup due to grounds seeping into your coffee. To avoid this, opt for a coarse grind that allows water to flow through the grounds evenly during percolation. Using a versatile grinder like the NutriBullet can help you achieve the ideal coarseness required for percolator brewing. The coarse grounds play a vital role in ensuring ideal flavor extraction throughout the percolation process, resulting in a rich and robust cup of coffee.
For the freshest and most delicious flavor, always grind your coffee beans just before brewing. Freshly ground whole beans offer a superior taste compared to pre-ground coffee, making them the preferred choice for percolator brewing. The freshness of the grind significantly impacts the overall flavor profile of your coffee, enhancing the experience of every sip.
Water-to-Coffee Ratio Importance
Getting the water-to-coffee ratio right is my secret weapon to brewing the perfect cup of percolator coffee. It's not just about measurements; it's about achieving that ideal balance for a rich and satisfying flavor profile.
Adjusting this ratio allows me to tailor the strength and taste of my coffee to suit my preferences, making each brew a personalized delight.
Ratio for Optimal Flavor
For achieving the perfect balance of flavors in your stovetop percolator coffee, the water-to-coffee ratio plays an essential role. The ideal ratio of 1 tablespoon of coffee per 8 ounces of water is key to ensuring peak flavor extraction during the brewing process. This precise measurement is critical as it determines the strength and richness of your coffee.
Straying from this ratio can result in a brew that's either weak and lackluster or overly bitter. By adjusting the water-to-coffee ratio to suit your taste preferences, you can customize the flavor profile of your coffee. Consistently adhering to the recommended ratio guarantees a well-balanced and satisfying cup of percolator coffee every time.
Adjusting for Taste
Customizing the intensity of your stovetop percolator coffee to match your taste preferences is effortlessly achieved by adjusting the water-to-coffee ratio. Here are some key points to keep in mind when fine-tuning your brew:
- Significance of Ratio: The water-to-coffee ratio plays an essential role in determining the strength and flavor of your percolator coffee.
- Guideline: A common suggestion is to use 1 tablespoon of coffee per cup of water for best taste.
- Customization: Adjusting the ratio allows for personalization of the coffee's intensity to suit individual preferences.
- Experimentation: Trying different ratios enables you to refine the taste of your percolator coffee through trial and error.
Assembling the Percolator Correctly
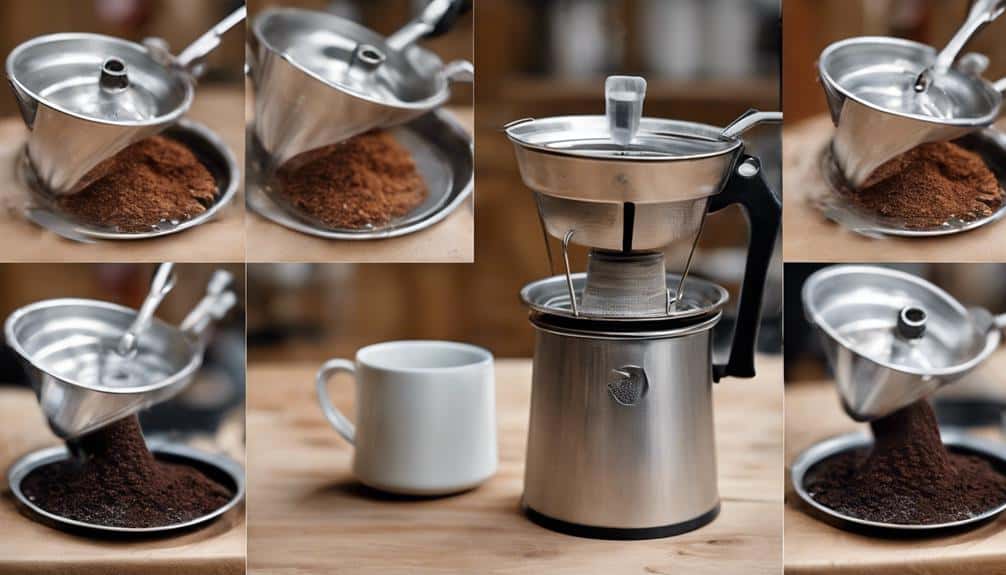
Ensuring all components are properly aligned in the percolator is essential for a smooth and flavorful coffee brewing process. The assembly of the percolator is a pivotal step that sets the foundation for a perfect cup of coffee. Start by filling the reservoir with water; this is where the magic begins. Next, add your preferred coffee grounds to the basket, ensuring an even spread for a balanced brew. The filter comes next, important for keeping your coffee free of any unwanted particles and ensuring a clean taste.
Understanding the role of each part in the assembly process is key to mastering the art of percolator brewing. The basket, water, coffee grounds, filter – each element plays a significant role in the symphony of flavors that will soon grace your cup. As you carefully assemble your percolator, you're not just putting together a device; you're creating a vessel for the transformation of simple ingredients into a delightful elixir. Get it right, and your taste buds will thank you.
Heating the Percolator Just Right
Heating the percolator just right is essential to unlocking the full potential of your coffee brewing experience. To achieve the perfect brew, follow these steps:
- Heat Slowly: Start heating the percolator over low heat to maintain the ideal brewing temperature without boiling the coffee grounds.
- Avoid Bitterness: Overheating the percolator can lead to bitterness in your coffee, so keep a close eye on the temperature.
- Set a Timer: Once bubbles start rising through the glass knob, set a timer for 8-10 minutes to ensure a well-balanced flavor.
- Monitor Carefully: Watch the bubbles during the brewing process to prevent overheating and maintain the quality of your coffee.
Mastering the Perking Process
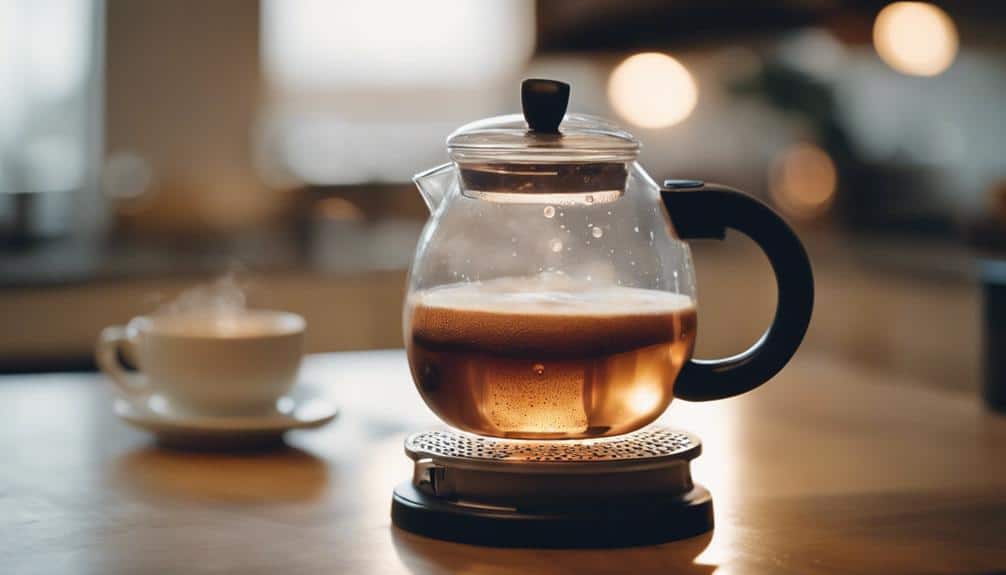
Mastering the perking process is the key to accessing the full potential of your stovetop percolator. By honing your perking techniques, you can control the strength and flavor profile of your coffee with precision.
Understanding the intricacies of the percolation cycle will empower you to brew a cup that perfectly suits your taste preferences.
Perking Techniques
Crafting the perfect cup of coffee with a stovetop percolator demands finesse and attention to detail in mastering the perking process.
Adjust the percolator's heat to maintain the ideal brewing temperature, preventing boiling and ensuring a flavorful brew.
Listen for the distinctive bubbling sounds and observe the coffee through the glass globe to gauge the brewing progress accurately.
Allow the percolator 8-10 minutes to work its magic, extracting the rich flavors from the coffee grounds for a satisfying cup.
After brewing, promptly remove the percolator from the heat source to prevent over-extraction and bitterness, ensuring a balanced and delicious outcome.
Mastering these perking techniques guarantees a delightful coffee experience with your stovetop percolator.
Brew Strength Control
To achieve the perfect brew strength with your stovetop percolator, controlling the amount of coffee grounds is essential. Adjusting the grounds to water ratio, typically aiming for 1 tablespoon of coffee per cup of water, allows you to tailor the strength to your liking.
Monitoring the percolator during the brewing process is vital to prevent overheating and bitterness. Experimenting with brewing times further refines the coffee's strength, helping you find the ideal balance.
Additionally, the type of coffee beans used can greatly impact the brew's strength and flavor profile. Through practice and experience, you'll master the perking process, revealing the full potential of your stovetop percolator for a personalized and satisfying coffee experience.
Removing and Serving the Coffee
Once the stovetop percolator has finished brewing, carefully remove it from the heat source using oven mitts or a towel to guarantee safe handling. Handling hot kitchen tools is important to prevent burns and ensure a smooth coffee-making experience.
- Use Caution: Always prioritize safety when removing the hot percolator to avoid accidents or injuries.
- Remove Coffee Grounds: Take out the basket containing the used coffee grounds promptly to prevent over-extraction and bitterness in the brewed coffee.
- Serve Freshly Brewed Coffee: Pour the rich and flavorful coffee directly from the percolator into your favorite mug or cup for an authentic and satisfying coffee experience.
- Enjoy the Aroma: Embrace the enticing aroma that fills your kitchen as you serve the freshly brewed coffee, savoring each sip of the carefully crafted beverage.
Tips for Perfect Percolator Coffee
When aiming for the ideal cup of percolator coffee, mastering the art of selecting the right coffee-to-water ratio is vital to achieving excellent flavor and strength. Using a ratio of 1 tablespoon of ground coffee for every cup of water in your stovetop percolator guarantees a robust brew. To control the strength, adjust the brewing time accordingly. For a smoother taste, consider removing the percolator basket before serving. Additionally, adding a splash of cold water to settle the grounds can further enhance the smoothness of your coffee. Remember, using boiling water is essential for the percolation process in stovetop percolators.
| Tips for Perfect Percolator Coffee |
|---|
| 1. Use 1 tablespoon of ground coffee per cup of water |
| 2. Adjust brewing time for desired strength |
| 3. Consider discarding the percolator basket for a smoother taste |
Mastering these tips will elevate your stovetop percolator coffee game, resulting in a rich and flavorful brew that satisfies your coffee cravings.
Conclusion
In summary, mastering the art of stovetop percolator coffee brewing is a rewarding and satisfying experience.
From selecting the perfect coffee beans to grinding them just right, maintaining the ideal water-to-coffee ratio, and perking it to perfection, every step is vital in creating a rich and flavorful cup of coffee.
With dedication and attention to detail, you can elevate your coffee brewing game and enjoy a truly exceptional coffee experience every time.
Cheers to the perfect cup of percolator coffee!
