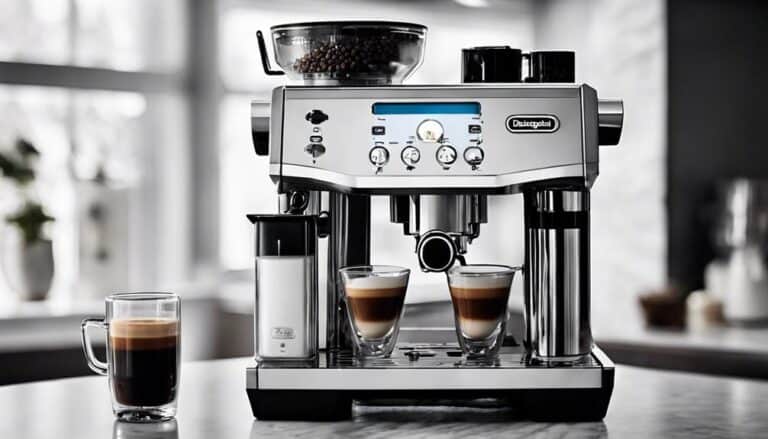
How to Address 'Descale' Message on My Keurig

So, you wake up, ready to brew your favorite morning coffee, only to be greeted by that dreaded 'Descale' message on your Keurig. Frustrating, right? Well, fear not, because I've got some simple steps that can help you address this issue and get your Keurig back to its peak brewing performance. Trust me, a little maintenance can go a long way in ensuring your machine lasts for years to come. Let's delve into how you can tackle that pesky 'Descale' message on your Keurig.
Vinegar-Water Solution Preparation
To prepare the vinegar-water solution for descaling your Keurig, mix equal parts of white vinegar and water in a container. Make sure to use distilled white vinegar for the best descaling results. The importance of the vinegar is pivotal as it aids in breaking down mineral deposits inside your coffee maker. This solution is effective in removing scale buildup that accumulates in the water lines over time. Regular descaling with the vinegar-water solution is essential to maintain the best brewing performance of your Keurig.
Start by pouring an equal amount of white vinegar and water into a clean container. For instance, if you use one cup of white vinegar, add one cup of water. Mix the solution thoroughly to ensure the vinegar and water are well combined. This vinegar-water solution will serve as a potent agent in removing the scale and buildup that can affect the taste and functionality of your Keurig.
Entering Descale Mode
Press the designated buttons or follow the on-screen prompts specific to your Keurig model to initiate Descale Mode. Different Keurig models may require unique button combinations to enter this mode, so it's vital to consult your user manual for precise instructions. Some models may have a specific sequence of buttons to press for entering Descale Mode, which can vary from model to model.
To make sure you correctly activate Descale Mode, follow the manufacturer's instructions provided with your Keurig. Entering Descale Mode is an important step to start the descaling process, which effectively removes calcium deposits from your coffee maker. By following the correct button combinations or on-screen prompts, you'll be able to initiate the Descale Mode successfully and maintain the top performance of your Keurig. Remember to handle the process with care and attention to detail according to the manufacturer's guidelines.
Running Descale Solution
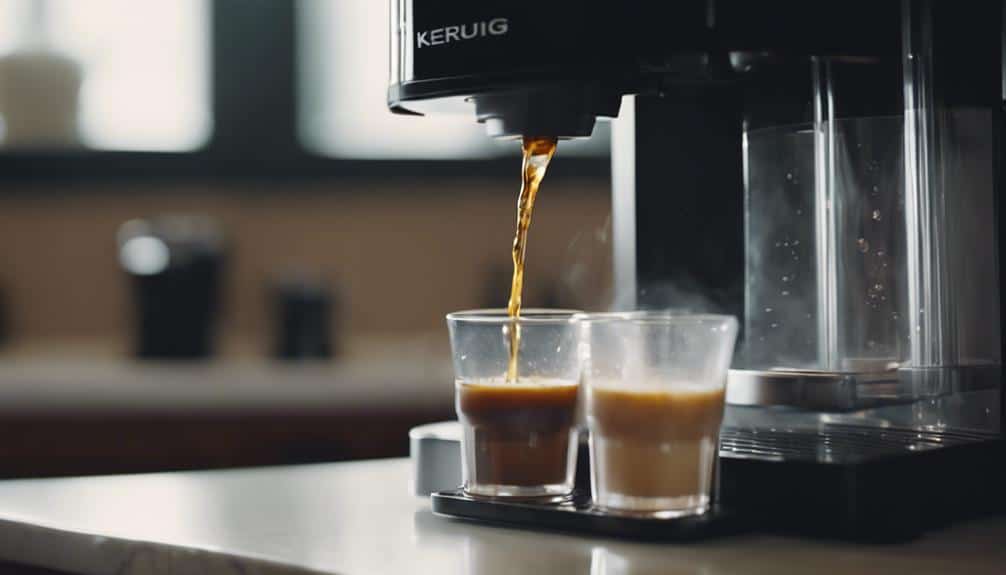
When descaling your Keurig, make sure to follow the specific instructions tailored to your model for running the descale solution effectively.
Begin by ensuring your Keurig® Descale Solution is ready. Pour the solution into the water reservoir up to the fill line.
Place a large mug on the drip tray. Start the brew cycle without inserting a K-Cup® pod. Brew the solution into the mug and continue until the 'Add Water' light turns on.
Let the Keurig sit for about 30 minutes to allow the solution to work on removing the scale buildup.
After the wait time, discard any remaining solution in the mug and rinse the reservoir thoroughly.
Fill the reservoir with fresh water and run a rinse cycle without a K-Cup® pod to flush out any remaining descaling solution.
If your Keurig has a water filter, remember to replace it according to the manufacturer's recommendations to keep your machine in top condition.
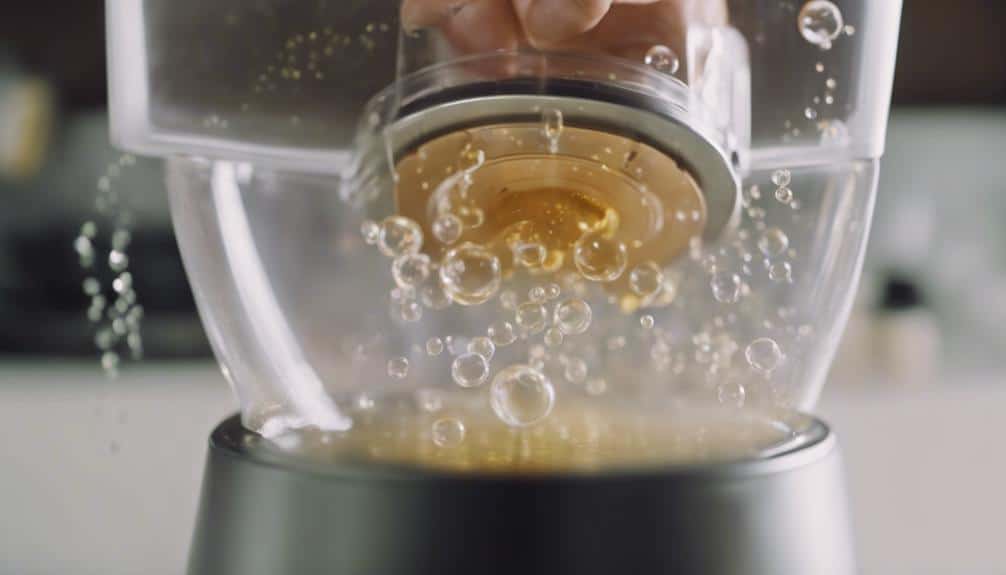
Rinsing Water Tank
First, make sure the water tank is completely emptied to prepare for rinsing.
Next, use fresh water to thoroughly rinse the tank and remove any traces of descaling solution.
Emptying Water Tank
To guarantee proper descaling of your Keurig, begin by thoroughly emptying and rinsing the water tank. Start by unplugging your Keurig and removing the water tank. Pour out any remaining water from the tank into a sink.
After emptying the tank, rinse it with clean water to remove any residue or impurities. This step is important to make sure that the descaling solution can effectively clean the internal components of your Keurig.
Once the tank is rinsed, it's ready to be refilled with the descaling solution. Make sure the water tank is completely empty before proceeding to refill it.
Properly emptying and rinsing the water tank is essential for maintaining your Keurig's performance and preventing mineral buildup.
Cleaning Water Tank
After thoroughly emptying and rinsing the water tank, proceed to clean it by using warm, soapy water and gently scrubbing the inside with a soft brush or cloth to remove any residue.
To guarantee thorough cleaning, rinse the water reservoir with fresh water multiple times until all soap is removed. This step is vital to prevent any soapy taste in your beverages.
Once cleaned, allow the water tank to air dry completely before placing it back in your Keurig. Remember, a clean water tank is necessary for the proper functioning of your Keurig and can help prevent the descale light from staying on.
Following these steps will maintain the quality of your coffee and ensure your Keurig remains in top condition.
Refilling With Fresh Water
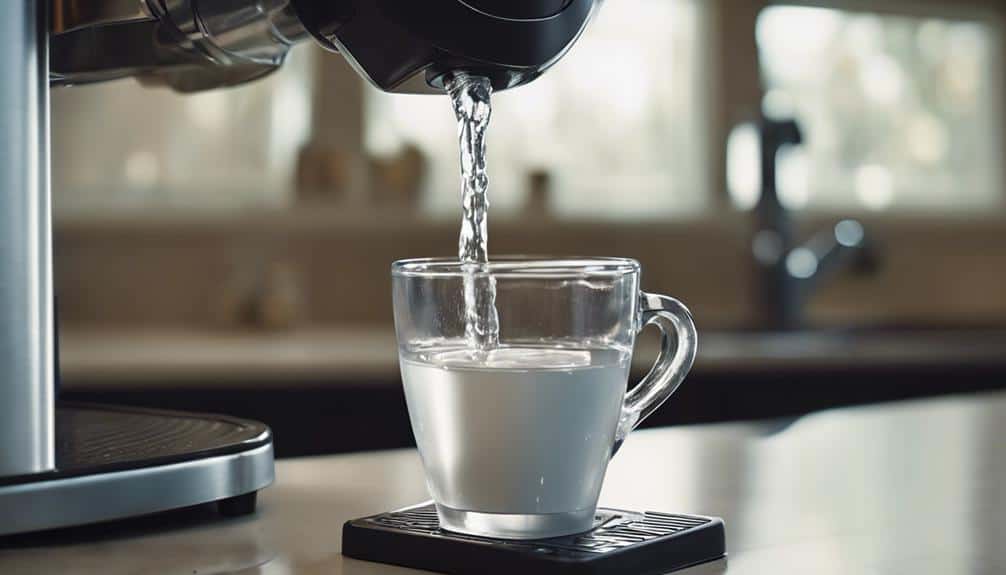
Maintain peak performance by refilling your Keurig with fresh water after descaling.
- Use Fresh Water: After completing the descaling process, refill the water tank with fresh water to guarantee peak performance.
- Rinse Thoroughly: Fresh water rinsing helps remove any leftover descaling solution from the system, preventing any potential issues.
- Wait for Indicator: Refill the water tank until the 'Add Water' light illuminates, indicating that the tank is at the appropriate level for operation.
- Prevent Residue: Using fresh water prevents any lingering taste or residue from the descaling process, ensuring your beverages taste fresh and clean.
Resetting Descale Light
Press and hold specific button combinations, such as 8oz and 10oz simultaneously for 5 seconds, to reset the descale light on your Keurig. If the descale light is still on, try other button combinations like 8oz and 12oz for 5 seconds with the machine turned off. Users have experimented with different button combinations to address the descale light issue effectively. Some have found success by turning off the Keurig and holding down certain buttons for a few seconds. If the light persists after regular cleanings, attempt various button combinations to reset it.
| Button Combination | Action | Result |
|---|---|---|
| 8oz + 10oz | Press simultaneously for 5 sec | Reset descale light |
| 8oz + 12oz | Hold while machine is off for 5 sec | Another reset method |
| Other combinations | Try different variations | Address persistent light |
Maintenance Frequency
To guarantee peak performance and longevity of your Keurig machine, adhere to the suggested descaling frequency of every 3 to 6 months based on the mineral content of your water.
- Check Descale Notification: Keep an eye on the machine for the 'DESCALE' notification, indicating it's time to descale.
- Prepare Descale Solution: Get a descaling solution compatible with your Keurig machine.
- Enter Descale Mode: Follow the manufacturer's instructions to enter the descale mode on your Keurig.
- Time to Descale: Dedicate the necessary time for the descaling process to guarantee thorough cleaning and peak brewing conditions.
Optimal Performance Maintenance
For peak performance maintenance of your Keurig machine, regularly descaling every 3 to 6 months is crucial to guarantee top brewing conditions.
To initiate the descaling procedure, first, make sure your Keurig® Coffee Maker is powered off and cool. Remove any remaining water from the reservoir and fill it halfway with undiluted white vinegar or a Keurig descaling solution mixed with water. Place a large mug on the drip tray and run a brew cycle without a K-Cup pod to pass the descaling solution through the machine. Discard the contents of the mug and repeat until the 'Add Water' light comes on.
Let the Keurig sit for 30 minutes, then rinse the reservoir, fill it with fresh water, and run multiple brew cycles until the vinegar scent dissipates.
Reset the 'Descale' message according to your model's instructions to ensure accurate maintenance tracking and continued top performance.
Conclusion
To sum up, regularly descaling your Keurig with a vinegar-water solution is crucial to keep it running smoothly and extend its lifespan.
By following the simple steps outlined in this guide, you can easily address the 'Descale' message on your Keurig and guarantee peak performance.
Remember to descale every 3 to 6 months to maintain the quality of your coffee and the functionality of your machine.