How to Reset Descale on Keurig Slim in 10 Steps

Let me walk you through the process of resetting the descale indicator on your Keurig Slim in just 10 simple steps. Starting with filling the reservoir with fresh water, there are specific buttons to press and a sequence to follow. Ensuring your Keurig is descaled is important for maintaining its performance and the quality of your coffee. So, let's delve into the steps needed to keep your Keurig Slim running smoothly and producing that perfect cup of coffee you crave.
Fill Reservoir With Fresh Water
How should I properly fill the Keurig Slim reservoir with fresh water to maintain peak performance and reset the descale indicator? To guarantee top-notch functioning and reset the descale indicator on the Keurig Slim, it's essential to use filtered or bottled water when filling the reservoir. Avoid using distilled or softened water as these may impede the descaling process. Properly filling the reservoir to the appropriate level is pivotal for the effective reset of the descale indicator.
When filling the reservoir with fresh water, make sure to fill it to the designated level indicated on the reservoir itself. This action not only ensures the correct amount of water for brewing but also assists in resetting the descale indicator accurately. The quality of water used directly impacts the performance of the Keurig Slim, underscoring the necessity of using filtered or bottled water for best results. By adhering to these steps, you can maintain the peak performance of your Keurig Slim while efficiently resetting the descale indicator.
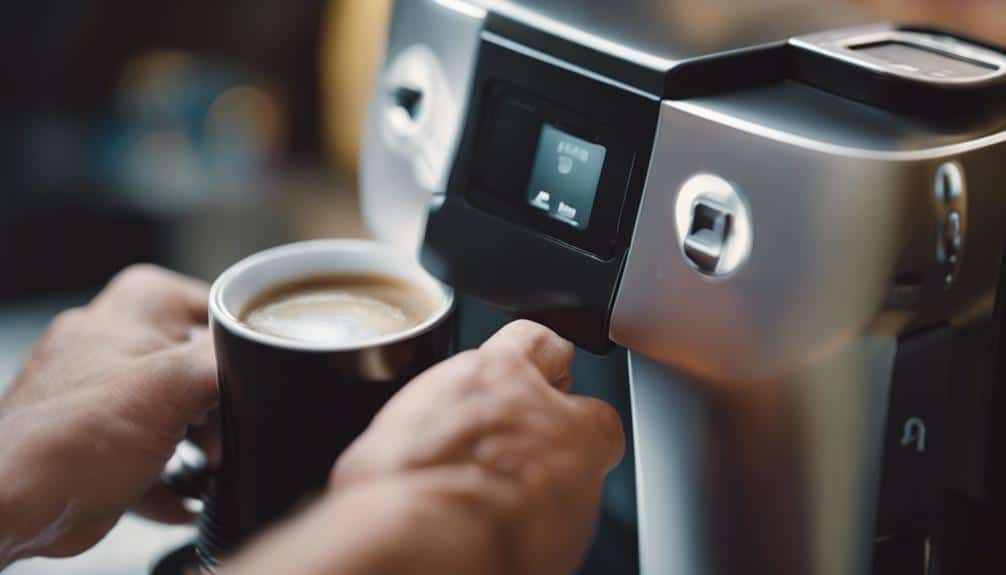
Press and Hold 8 Oz and 10 Oz Buttons
Pressing and holding the 8 oz and 10 oz buttons simultaneously for 5 seconds will effectively reset the descale light on your Keurig Slim, a common method used by users. This action triggers the reset process specifically designed to address the descale notification on Keurig Slim models.
By following this step-by-step procedure, many users find success in quickly resolving the descale indicator issue. The simplicity and efficiency of this method make it a popular choice for Keurig Slim owners seeking to reset the descale light promptly.
Engaging the 8 oz and 10 oz buttons in unison for the designated duration initiates a straightforward reset of the descale notification, eliminating the need for intricate processes or extensive troubleshooting.
Embracing this uncomplicated approach empowers users to maintain the peak performance of their Keurig Slim with ease and convenience.
Release Buttons and Press Blinking 8 Oz Button
Releasing the buttons and pressing the blinking 8 oz button is an important step in resetting the descale light on the Keurig Slim.
This action indicates to the machine that the descaling process is complete and turns off the descale notification.
Successfully completing this step guarantees that the Keurig Slim is prepared for regular use without the descale alert.
Button Reset Method
Engage the button reset method by releasing all buttons and pressing the blinking 8 oz button to clear the descale notification on Keurig Slim models. This method is important and straightforward, ensuring the descale light turns off promptly.
When the descale notification appears, it's essential to follow this procedure to maintain the proper functioning of your Keurig Slim. By adhering to the recommended 10 steps for resetting the descale feature, you can swiftly address this issue and enjoy uninterrupted use of your coffee maker.
Always refer to the user manual for detailed instructions tailored to your specific Keurig Slim model. Take control of the descale process with the button reset method, providing you with the freedom to enjoy your coffee worry-free.
Clearing Descale Notification
To reset the descale notification on Keurig Slim, simply release all buttons and press the blinking 8 oz button. This action is important to clear the descale light and resume normal brewing.
Following these specific steps is vital for an effective reset. By releasing all buttons before pressing the blinking 8 oz button, you guarantee the descale notification is successfully cleared on your Keurig Slim machine.
This process is designed to turn off the descale light, allowing you to enjoy uninterrupted brewing experiences. Remember to follow these instructions carefully to maintain your Keurig Slim in excellent condition and to ensure that the descale notification is reset accurately.
Press 8 Oz Button When Light Flashes
When the descale light flashes on the Keurig Slim, pressing the 8 oz button is vital to resetting the notification.
Understanding the functionality of this button and the significance of the light indicator is essential for resolving descaling issues effectively.
Correctly executing this step guarantees the proper functioning of your Keurig machine and maintains your coffee brewing routine seamlessly.
Button Functionality Explanation
Press the 8 oz button promptly when the descale light flashes to initiate the descaling process on the Keurig Slim. Understanding the button functionality is important for effectively resetting the descale alert and ensuring the Keurig Slim's performance.
Here is a breakdown of the 8 oz button's role in the descaling process:
- Initiates Descaling: Pressing the 8 oz button triggers the descaling cycle on the Keurig Slim.
- Clears Descale Alert: Following the specific instructions for the 8 oz button helps clear the descale alert efficiently.
- Completes Descaling Cycle: The 8 oz button is key to completing the descaling process for the Keurig Slim.
- Maintenance Importance: Knowing when to press the 8 oz button during descaling is essential for maintaining the Keurig Slim's performance.
Light Indicator Significance
Upon observing the descale light flashing, promptly engage the 8 oz button to initiate the necessary descale process on your Keurig Slim for best maintenance. The descale light on the Keurig Slim serves as an essential indicator, signaling the presence of mineral buildup that requires attention. By pressing the 8 oz button when the light flashes, you effectively reset the descale notification, ensuring peak performance of your coffee maker. This action is crucial for preventing potential issues and maintaining the quality of your brewed coffee. Regularly addressing the descale light will help keep your Keurig Slim in top working condition.
| Keurig Slim Light Indicator | Action Required | Importance | Result |
|---|---|---|---|
| Descale Light Flashing | Press 8 oz Button | Prevents Issues | Peak Performance |
Repeat Until Process Is Complete
To guarantee thorough descaling, repeat the process as necessary until the descale light turns off.
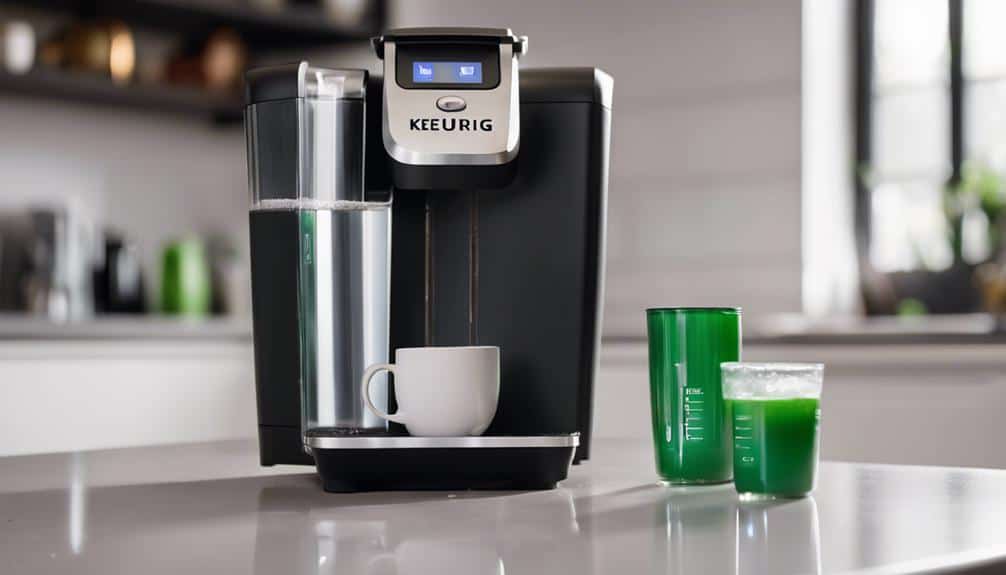
- Refill Tank: Make sure to refill the water tank with a fresh mixture of water and descaling solution before starting each descale cycle.
- Repeat Cycles: Running additional brew cycles is vital to make sure that all parts of the Keurig Slim are adequately descaled.
- Monitor Descale Light: Keep an eye on the descale light indicator throughout the process. Once the descale light turns off, it indicates that the descaling process is complete.
- Complete Process: Following these steps diligently will help you successfully reset the descale mode on your Keurig Slim. Remember, patience and thoroughness are key to achieving a properly descaled coffee maker.
Reset Descale Light
When dealing with a Keurig Slim's descale light, understanding how to troubleshoot is important. Knowing the location of the reset button and following a step-by-step process are key components.
Let's explore:
Descale Light Troubleshooting
Reset Button Location
Step-By-Step Reset Process
Descale Light Troubleshooting
Pressing and holding the 8oz and 12oz buttons simultaneously for 5 seconds resets the descale light on the Keurig Slim. When troubleshooting the descale light, make sure the machine is turned off.
Here are some steps to help resolve the issue:
- Turn off the Keurig Slim before attempting to reset the descale light.
- Hold down specific button combinations, like the 8oz and 12oz buttons, to reset the descale light.
- Experiment with different button sequences to find the one that works for your Keurig Slim.
- Some users suggest turning off the machine and then pressing and holding certain buttons to successfully reset the descale light.
Reset Button Location
Located near the indicator lights on the control panel of the Keurig Slim is the reset button, which, when pressed and held for 5-10 seconds, can reset the descale light. Make sure the Keurig Slim is powered on before attempting to use the reset button. Here is an overview of the reset button location:
| Keurig Slim Reset Button Location | |
|---|---|
| Location | Near the indicator lights on the control panel |
| Function | Resets the descale light after 5-10 seconds of holding |
| Precaution | Make sure the Keurig Slim is powered on before pressing |
Understanding the reset button's position and function on the Keurig Slim's control panel is important for resolving descale light notifications effectively.
Step-By-Step Reset Process
To initiate the reset process for the descale light on the Keurig Slim, simultaneously press and hold the 8oz and 12oz buttons for 5 seconds. Here is the step-by-step reset process:
- Power Off Machine: Make sure the Keurig Slim is powered off before proceeding with the reset.
- Press and Hold Buttons: Simultaneously grasp the 8oz and 12oz buttons for 5 seconds to activate descale mode.
- Wait for Response: The machine will respond by indicating that it's in descale mode.
- Run Descaling Solution: Use white vinegar or a descaling solution through brew cycles to complete the reset process effectively.
Following these steps should help reset the descale light on your Keurig Slim. If the light persists, consider repeating the reset process.
Maintain Optimal Performance
How can I guarantee my Keurig Slim maintains peak performance? Ensuring the top performance of your Keurig Slim involves regular maintenance, including descaling. Descaling is essential to prevent issues and maintain the efficiency of your machine. To help you understand the importance of maintenance, here is a table highlighting key aspects:
| Maintenance Task | Frequency | Importance |
|---|---|---|
| Descaling | Every 3-6 months | Prevents machine issues |
| Cleaning | Weekly | Ensures freshness |
| Filter Replacement | Every 2 months | Improves water quality |
Descale Every 3 Months

To maintain peak performance in your Keurig Slim, descaling every 3 months is essential to prevent issues and guarantee efficient operation of the machine. Descaling is an important maintenance task that helps in removing mineral deposits like calcium buildup which can affect the taste of your coffee and the functionality of your Keurig Slim. Here are some key points to keep in mind:
- Prevent Calcium Buildup: Descaling every 3 months helps prevent the accumulation of calcium deposits in the machine, ensuring a smoother brewing process.
- Extend Lifespan: Regular descaling not only maintains the quality of your coffee but also extends the lifespan of your Keurig Slim by preventing damage caused by mineral buildup.
- Ensure Efficient Operation: Following the recommended descaling frequency ensures that your Keurig Slim operates efficiently, delivering consistent brewing performance.
- Avoid Issues: Ignoring the descaling prompts can lead to problems like the descale light staying on, indicating potential issues with the machine's functionality.
Ensure Coffee Quality
Maintaining excellent coffee quality in your Keurig Slim is important for ensuring a delightful brewing experience and consistent flavor profile. Regular descaling is essential in upholding the quality of your coffee. By removing mineral deposits and calcium buildup through descaling, you can enhance the taste of your brewed coffee.
The presence of these deposits not only affects the brewing process but also impacts the flavor of your coffee. The descale light on your Keurig Slim serves as an indicator, reminding you to perform this maintenance task to uphold the best flavor. Proper descaling every 3 to 6 months is recommended to prevent the occurrence of bitter or off-flavor coffee.
Ensuring that your Keurig Slim is free from mineral deposits and calcium buildup will contribute significantly to the quality of your coffee, allowing you to enjoy a consistently delicious brew each time.
Successful Completion Indication
Upon successful completion of the descaling process on your Keurig Slim, the descale light will turn off, indicating readiness for normal operation. You may observe the descale light blinking or flashing momentarily before it shuts off completely.
After following the descaling instructions meticulously and running the required brew cycles, the descale light should no longer be illuminated, affirming that the descaling process is finished. Additionally, it's common for the Add Water light to appear after the descale light turns off, signaling the completion of the descaling process.
Once the descale light is reset and switched off, your Keurig Slim is now prepared for regular use, free from any descaling reminders, ensuring that your coffee experience remains uninterrupted and enjoyable.
Conclusion
To sum up, by following these 10 steps to reset the descale indicator on your Keurig Slim, you can guarantee your coffee maker is properly maintained for peak performance. Remember to descale every 3 months to uphold coffee quality and keep your machine running smoothly.
By following these simple steps, you can easily reset the descale light and continue enjoying your favorite brews hassle-free.