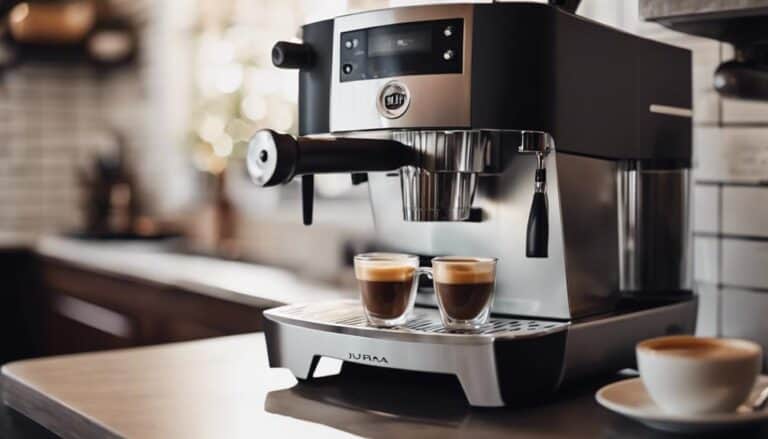
Descaling Your Keurig: Reset in 7 Easy Steps
I recently realized my Keurig wasn't performing at its best, so I decided to take matters into my own hands. The process of descaling seemed challenging at first, but as I followed the steps, something interesting happened. Stay tuned to discover the unexpected outcome that made me rethink my whole coffee routine.
Preparation
To begin the descaling process for your Keurig, remove any used K-Cups from the machine. Before starting, make sure the water reservoir is empty to avoid diluting the vinegar solution. This step is essential for effective descaling.
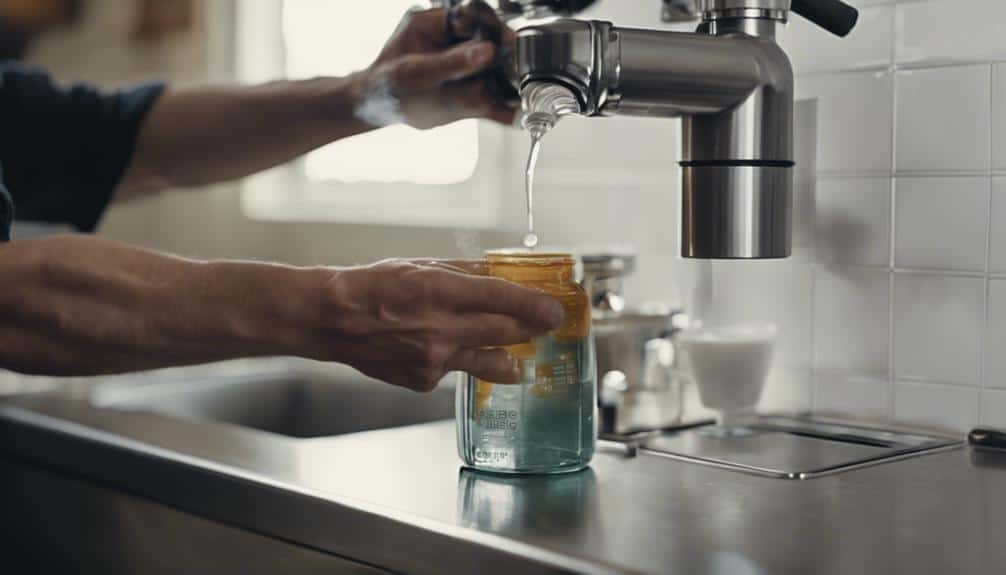
Next, prepare a mixture of distilled white vinegar and water in a 2:1 ratio. The vinegar's acidity aids in breaking down calcium deposits that accumulate in the machine over time. After filling the water reservoir with this solution, place a large empty bottle or container under the brew button. This container will collect the dispensed vinegar solution during the descale process.
Start the brew cycle without inserting a K-Cup, allowing the vinegar mixture to run through the Keurig. Once the cycle is complete, empty the bottle and refill the water reservoir with fresh water. Run a rinse cycle to make sure all traces of vinegar are removed from the system.
Your Keurig may now be free of calcium deposits and ready to brew fresh, delicious coffee.
Empty Water Reservoir
Make sure the water reservoir of your Keurig is completely emptied before proceeding with the descaling process to effectively remove calcium deposits and mineral buildup. Ensuring the reservoir is empty is essential in preparing for the cleaning process and maintaining peak functioning. Here is a table outlining the importance of emptying the water reservoir before descaling:
| Empty Water Reservoir | Descaling |
|---|---|
| Removes calcium deposits | Eliminates scale |
| Clears mineral buildup | Improves brewer's performance |
| Prepares for cleaning process | Enhances efficiency |
| Vital for maintaining Keurig | Resets optimal functioning |
| Ensures descaling solution works efficiently |
Emptying the water reservoir is the initial step in resetting your Keurig and ensuring it continues to function at its best. By following this step, you set the stage for a thorough descaling process that will benefit your Keurig machine in the long run.
Mix Descaling Solution
For best descaling of your Keurig, the descaling solution should be prepared using a 1:1 ratio of distilled white vinegar and water. This mixture is important in effectively cleaning your Keurig machine.
The acidity in white vinegar plays a significant role in breaking down mineral deposits that accumulate inside the machine over time. These mineral deposits, such as calcium deposits, can hinder the proper functioning of your Keurig, affecting the taste and quality of your coffee.
When preparing the descaling solution, make sure that all internal components of the Keurig are thoroughly covered to guarantee a thorough cleaning process. Mixing the white vinegar and water correctly is essential for achieving excellent results during the descaling procedure.
Run Descaling Cycle
I'll guide you through the process of running a descaling cycle on your Keurig.
To begin, make sure you have the descaling solution or vinegar mixture ready.
Next, start the descaling cycle on your Keurig machine to remove any mineral deposits effectively.
Run Descaling Solution
To start the descaling process for your Keurig, make sure the water reservoir is filled with the Descaling Solution mixed with water up to the MAX fill line. Place a large mug on the drip tray and press the brew button.
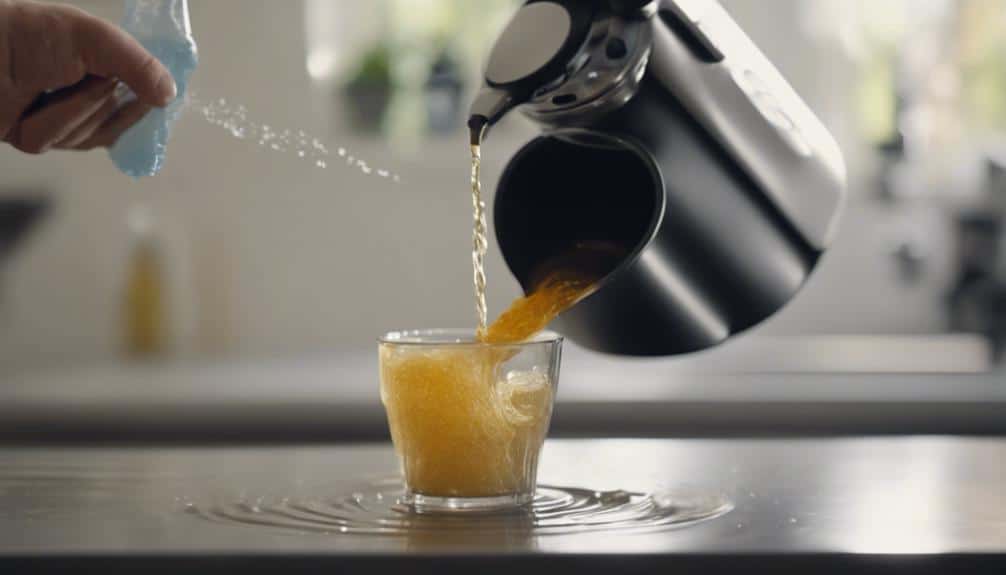
When the brew button flashes, press and hold it to run the Descaling cycle. The machine will dispense hot liquid into the mug. Discard the liquid and repeat until 'Add Water' is displayed.
Flush With Clean Water
After completing the descaling process with the descaling solution, proceed to flush the Keurig system with clean water by running a descaling cycle.
This step is important as it helps remove any residue of the descale solution, ensuring that it doesn't affect the flavor of your coffee. Flushing with clean water also plays a significant role in maintaining the internal components of your Keurig, preventing clogs or blockages that could hinder its performance.
It's recommended to run multiple rinse cycles with clean water until all traces of the descaling solution are eliminated from the brewed water.
Repeat if Needed
For best descaling results, consider running extra descaling cycles if necessary to guarantee thorough cleaning of your Keurig system.
To repeat the descaling process, make sure the water reservoir is filled with fresh water and the appropriate descaling solution.
Place a mug under the brew spout and initiate the descaling cycle by pressing the brew button.
Allow the solution to flow through the system, addressing any remaining mineral buildup.
Repeat this process until the Keurig prompts for a water refill, indicating the completion of the descaling procedure.
Multiple descaling cycles may be required for heavily scaled machines or those that haven't been descaled regularly.
Regular reminders to descale will help maintain the quality and taste of your coffee.
Rinse Machine
I flush the water reservoir and meticulously clean all removable parts after descaling my Keurig machine.
It's vital to use fresh, clean water during this rinsing process to make sure all residual descaling solution is completely removed.
Attention to detail, especially in cleaning the internal components and spigots, is essential to prevent any lingering vinegar taste or smell.
Flush Water Reservoir
Flush the Keurig's water reservoir with fresh water to eliminate any remaining descaling solution. It's important to make sure all traces of the descaling solution are removed to prevent any unwanted flavors in your future brews. Follow these steps for a thorough rinse:
- Empty Reservoir: Remove any remaining water and descaling solution from the reservoir.
- Refill with Fresh Water: Fill the reservoir with fresh water to the maximum level.
- Run Rinse Cycle: Place a mug on the drip tray and run a rinse cycle without a pod.
- Repeat if Necessary: If there's still a lingering smell of vinegar or descaling solution, repeat the rinse cycle until the odor is gone.
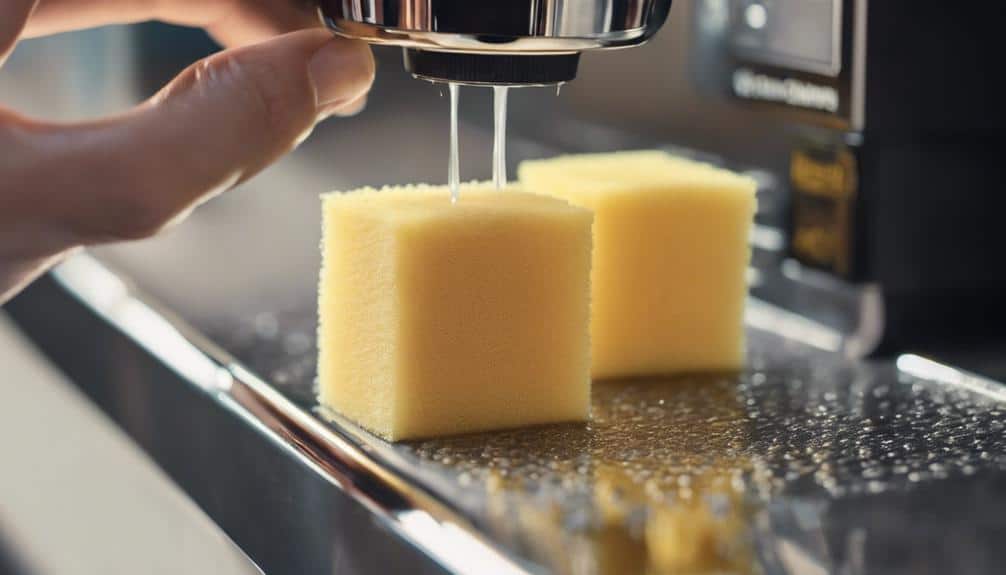
Clean Removable Parts
After thoroughly rinsing the Keurig's water reservoir, proceed to clean the removable parts of the machine by rinsing them with warm, soapy water to eliminate any debris or build-up. Use warm, soapy water to guarantee all surfaces, including the spout and needle, are free of clogs or blockages that could impact the functionality of the machine. Remember to rinse the parts with clean water to remove any soap residue before reassembling the Keurig for use. Regularly maintaining and cleaning the removable parts, such as the drip tray and reservoir, is essential for the overall cleanliness and proper functionality of your coffee maker.
| Parts | Cleaning Method | Importance |
|---|---|---|
| Reservoir | Rinse with warm, soapy water | Removes coffee residue and maintains cleanliness |
| Drip Tray | Wash with warm, soapy water | Eliminates build-up and upholds hygiene |
| Needle | Clean with warm, soapy water to prevent clogs | Guarantees proper water flow and brewing process |
Clean External Parts
Using a damp cloth, wipe down the exterior of the Keurig to remove any dust and grime accumulation. When cleaning the external parts of your Keurig, here are some essential steps to follow:
- Gentle Cleaning: Use a mild detergent or cleaning solution for stubborn stains on the external surfaces. This will help maintain the appearance of your Keurig without causing any damage.
- Detail Attention: Pay close attention to areas like the drip tray, handle, and buttons when cleaning the external parts. These are common areas where grime can build up and affect the overall cleanliness of your coffee maker.
- Avoid Abrasives: Avoid using abrasive cleaners or scrubbing pads that could potentially damage the finish of your Keurig. Opt for gentle cleaning methods to preserve the external appearance of your machine.
- Hygiene Maintenance: Regularly cleaning the external parts is important for maintaining the overall hygiene and appearance of your Keurig. By keeping the exterior clean, you maintain a pleasant brewing experience every time.
Final Brew and Enjoy
Upon completing the descaling process, refill the water reservoir with fresh water for the final rinse before enjoying a fresh cup of coffee from your clean Keurig brewer. It's important to run a cycle of fresh water through the Keurig to make sure all descaling solution is rinsed out thoroughly. This step guarantees that your Keurig is free from any residual cleaning solution, ensuring a clean and descaled brewer.
After the final rinse, check for improved water flow and taste to confirm the descaling process was successful. Once you have confirmed that the descaling solution has been completely rinsed out, your Keurig is ready for use. Now, brew yourself a fresh cup of coffee and enjoy the final brew.
The combination of a clean machine, improved water flow, and the removal of any lingering cleaning solution will enhance the taste and quality of your coffee. Sit back, relax, and savor every sip of your freshly brewed coffee from your revitalized Keurig.
Conclusion
In summary, by following these 7 simple steps to descale and reset your Keurig, you can guarantee peak performance and cleanliness of your machine.
By regularly descaling your Keurig, you can improve the brewing experience and maintain the hygiene of your machine.
Remember to periodically clean external parts and enjoy a fresh cup of coffee with a well-maintained Keurig.