How to Descale Your Keurig When It's Not Working
So, your Keurig seems a bit off lately, and you're wondering why. Well, let's talk about how to address that. Imagine waking up to a perfect cup of coffee every morning without the hassle of troubleshooting your machine. Wouldn't that be great? Let's explore some simple steps to get your Keurig back on track and brewing your favorite beverages like a pro.
Signs of Calcium Buildup
If you notice visible white or brown deposits in your Keurig's water reservoir or on internal components, it may indicate the presence of calcium buildup. This buildup can lead to issues such as slow brewing, off-tasting coffee, and machine malfunctions. Additionally, a descale light indicator on your Keurig may illuminate to signal the need for descaling due to calcium deposits.
When calcium accumulates in your Keurig, it can affect critical components like the heating element and pump, disrupting the brewing process. This interference may result in your Keurig not performing at its best, impacting the taste and quality of your coffee.
To address calcium buildup and prevent further problems, regular descaling every 3-6 months is essential. By descaling your Keurig consistently, you can maintain the efficiency of your machine and ensure a delightful coffee experience every time. Remember, caring for your Keurig through descaling is key to its longevity and performance.
Accessing Internal Components
Upon carefully removing the top of the Keurig machine, access to its internal components can be gained for inspection and maintenance. Inside, one may encounter the presence of calcium buildup, potentially impeding the machine's performance.
To address this, adapt a hose attachment for efficient cleaning of the internal parts to eliminate calcium deposits. It's essential to verify the pump's functionality and check for any clogs within the water reservoir heating element.
Manual cleaning of the internal reservoir is often necessary to guarantee proper water flow and heating within the Keurig. By accessing these internal components, one can conduct thorough maintenance to optimize the machine's performance and extend its lifespan.
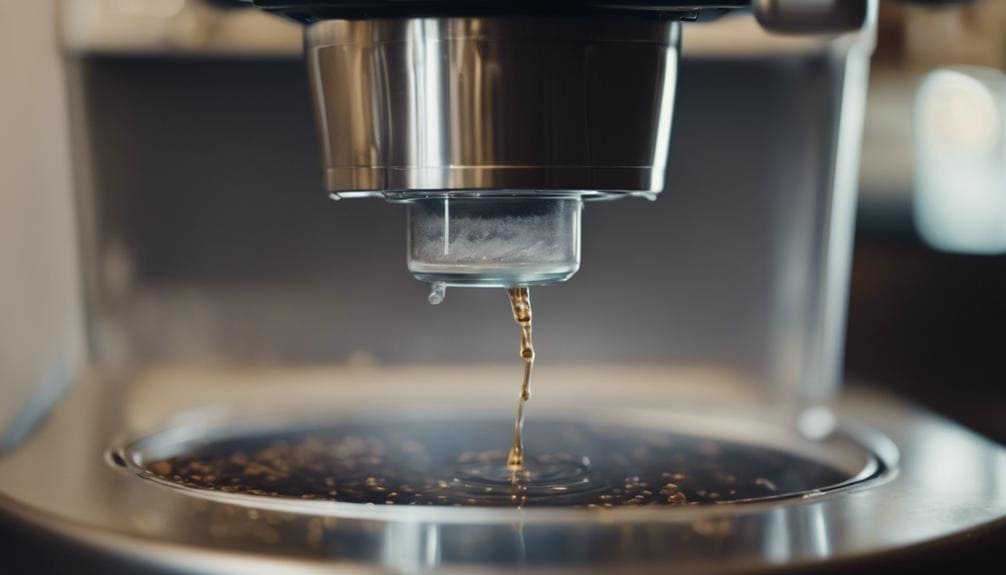
Cleaning With Descaling Solution
To effectively clean your Keurig machine, begin by using a descaling solution specifically formulated for Keurig machines to remove mineral deposits. Follow the manufacturer's recommendations for the proper dilution ratio of the descaling solution to water, ensuring peak effectiveness.
Running multiple brewing cycles with the descaling solution will thoroughly clean the internal components, helping to eliminate any build-up that may be causing issues with your machine. After descaling, always remember to rinse the machine with clean water to remove any lingering solution and prevent affecting the taste of your coffee.
Regular descaling is essential for maintaining your Keurig's performance and prolonging its lifespan. By preventing clogs and scaling within the machine, you can make sure that it continues to brew your favorite beverages smoothly. Keeping your Keurig free from mineral deposits not only improves its efficiency but also enhances the quality of your coffee.
Focus on Heating Element
When addressing the heating element in your Keurig, focus on ensuring it remains free from mineral deposits to maintain peak performance.
Mineral deposits, such as calcium buildup, can lead to issues like slow brewing or no brewing at all. Cleaning the heating element is important for restoring proper water heating and brewing functionality.
Clogs in the heating element are a common cause of Keurig machines not working correctly. Regular descaling can help prevent mineral buildup in the heating element, ensuring top Keurig performance.
By keeping the heating element free from mineral deposits, you can avoid problems with clogs that disrupt water heating and brewing processes.
Maintaining a clean heating element is essential for the overall functionality of your Keurig and can have a significant impact on its performance. Remember to prioritize cleaning the heating element to prevent issues and enjoy a consistent brewing experience.
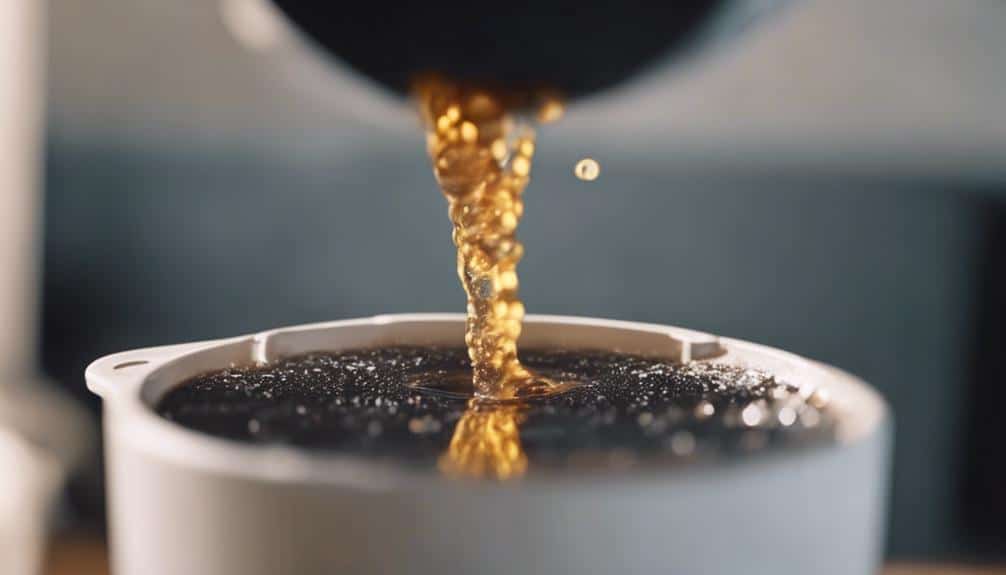
Preventive Descaling Maintenance
Regular descaling of your Keurig every 3 months is vital in preventing clogs and maintaining peak brewing performance. Neglecting this maintenance could lead to issues like slow brewing or even machine breakdown.
Pay attention to the descale light on your Keurig; it serves as a reminder to clean the machine. When descaling, using vinegar or citric acid is effective in removing stubborn buildup that can affect the taste of your coffee.
Additionally, changing the water filter every 2 months is essential to prevent a stale taste in your coffee. To make sure your Keurig coffee maker operates at its best, sticking to a schedule of regular maintenance, including descaling, is key.
Conclusion
In conclusion, regular descaling of your Keurig machine is essential to ensure peak performance and longevity.
By addressing signs of calcium buildup, accessing internal components, cleaning with a descaling solution, focusing on the heating element, and maintaining a preventive descaling schedule, you can keep your Keurig working efficiently.
Remember to follow the manufacturer's instructions and stay proactive in maintaining your machine to enjoy delicious coffee for years to come.