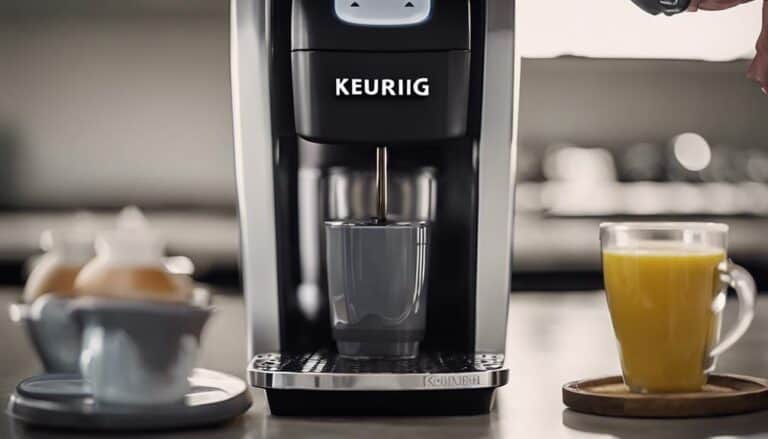
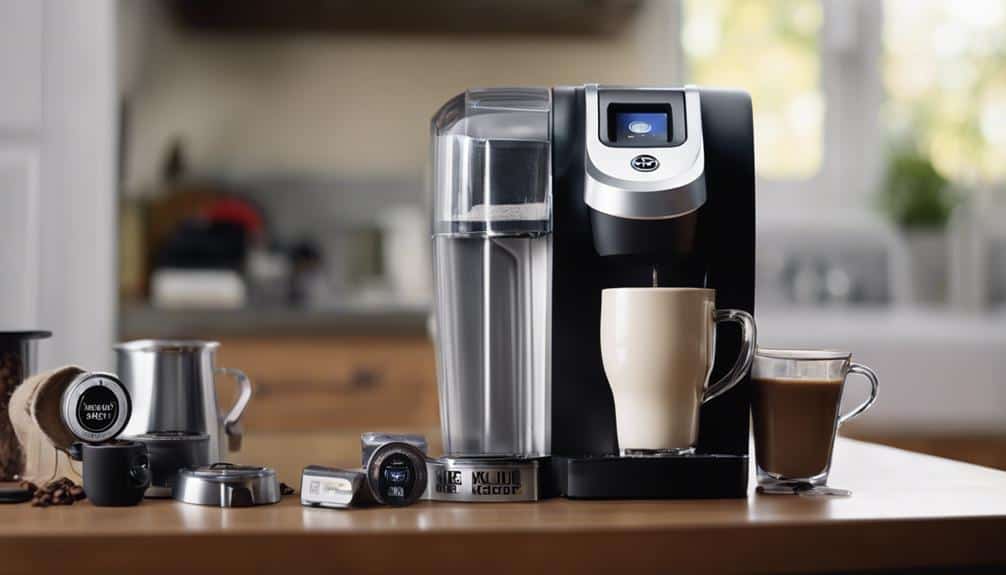
Decoding Keurig's Descaling Light: Step-by-Step Guide
As I approached my Keurig this morning, the blinking descaling light caught my attention, signaling it was time for maintenance. I wondered, what exactly triggers this indicator, and how can I guarantee my coffee maker stays in prime working condition? Understanding the ins and outs of Keurig's descaling process is essential, but where to begin? Let's unravel the mystery behind the descaling light and explore a step-by-step guide to keeping your Keurig brewing at its best.
Reasons for Keurig's Descaling Light
When the Keurig's descaling light illuminates, it signals an important maintenance task to guarantee the machine's peak performance by removing calcium deposits. Keurig machines are prone to calcium build-up due to the minerals present in water, which can impede the brewing process. The descaling light serves as a reminder to initiate the descaling process, often referred to as Descale Mode, to prevent clogs and ensure the quality of your coffee remains uncompromised.
Ignoring the descaling light on Keurig machines can result in decreased brewing efficiency and potentially damage the internal components of the coffee maker. Hard water build-up triggers the descaling light to indicate the need for cleaning to maintain top functionality. Regular descaling is necessary to uphold the performance of your Keurig machine and extend its lifespan. Understanding the reasons behind the descaling light is important for preserving the quality of your coffee and ensuring your machine operates at its best.
Understanding the Descale Process
To thoroughly understand the descale process for Keurig machines, it's essential to familiarize oneself with the specific descale instructions tailored to each model. When descaling a Keurig brewer, follow these steps:
- Use the Right Descaling Solution: Select a descaling solution compatible with your Keurig model to effectively remove mineral buildup.
- Empty the Water Reservoir: Make sure the water reservoir is empty before beginning the descaling process to prevent dilution of the descaling solution.
- Run a Rinse Cycle: After descaling, run multiple rinse cycles with fresh water to eliminate any residual descaling solution from the system.
- Follow Manufacturer Guidelines: Adhere to the manufacturer's recommendations for descaling frequency to maintain peak performance and prolong the life of your Keurig brewer.
Preparing Your Keurig for Descaling
Before starting the descaling process, it's important to empty the water reservoir and remove any K-Cups or water filters from the Keurig.
Following the manufacturer's instructions, prepare a mixture of descaling solution and water in the reservoir.
Once everything is set, run the cleaning cycle to ensure a thorough descaling of your Keurig's internal components.
Check Water Reservoir
To guarantee proper descaling of your Keurig coffee maker, start by confirming that the water reservoir is empty.
- Remove any remaining water filter from the reservoir.
- Pour Keurig descaling solution into the empty water reservoir.
- Make sure the reservoir is empty before adding the descaling solution.
- Refill the reservoir with water after adding the descaling solution.
Preparing the water reservoir is an important step in the descaling process to maintain the functionality and longevity of your Keurig machine. By following these steps, you ensure that the descaling solution can work effectively to remove any mineral buildup and residues, allowing your Keurig to continue brewing delicious coffee.
Remove K-Cup Holder
After confirming the water reservoir is empty, the next step in preparing your Keurig for descaling is removing the K-Cup holder.
To do this, lift the handle and locate the K-Cup holder assembly. Press the release buttons on both sides of the assembly simultaneously to detach it from the Keurig.
The K-Cup holder should then slide out easily, granting access to the interior for descaling. This step is important to guarantee a thorough cleaning and descaling of the brewing chamber.
Remember to let the K-Cup holder dry completely before reassembling it into the Keurig post descaling. Properly removing the K-Cup holder is a crucial part of the maintenance process to keep your machine in excellent condition.
Run Cleaning Cycle
Initiate the cleaning cycle on your Keurig to eliminate any residue or buildup, guaranteeing ideal preparation for the descaling process.
Running the Cleaning Cycle:
- Ensure Effectiveness: Removing residue and buildup readies internal components for descaling.
- Enhanced Performance: A clean machine maximizes the descaling solution's effectiveness.
- Prolonged Longevity: Maintaining internal cleanliness enhances overall Keurig performance and lifespan.
- Manufacturer's Guidance: Following instructions guarantees superior descaling results.
Step-by-Step Descale Instructions
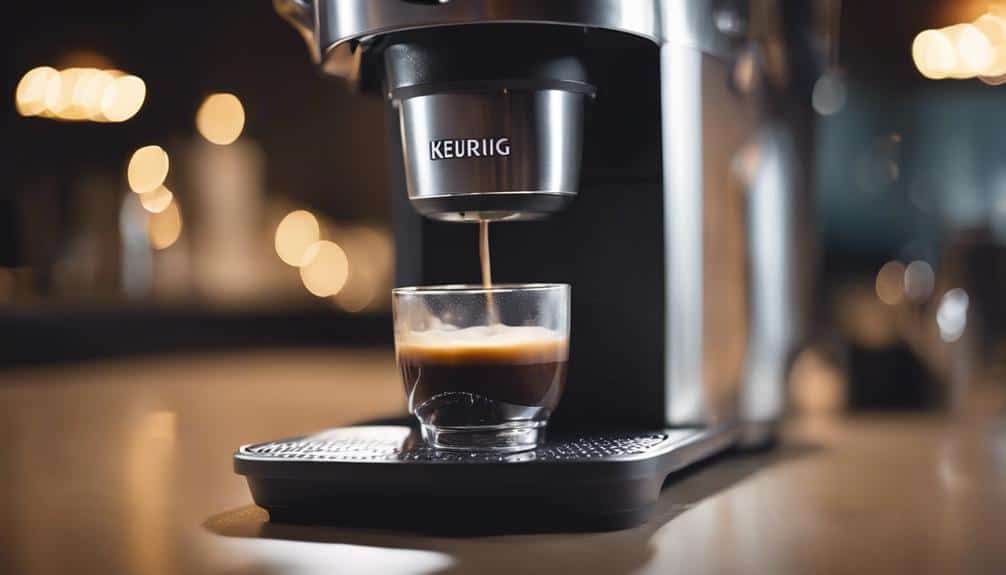
When commencing the descale process for your Keurig machine, it is important to gather all necessary materials and guarantee a clean workspace. Ensuring you have the descaling solution, a large ceramic mug, and access to fresh water is vital for effective descaling. Follow these step-by-step instructions tailored to your Keurig model to maintain peak brewing performance:
| Steps | Instructions | Time Required |
|---|---|---|
| Prepare | Turn off the Keurig machine and unplug it. Remove any used K-Cup® pods from the brewer. | 2 minutes |
| Mix Solution | Fill the water reservoir with descaling solution and add water to the max fill line. | 3 minutes |
| Descale | Place a large ceramic mug on the drip tray, start the brew cycle without a K-Cup® pod. Discard the liquid. | 10 minutes |
| Rinse | Repeat the brew cycle with fresh water to ensure all descaling solution is removed from the machine. | 5 minutes |
Following these steps, adjust your descaling frequency based on your water's mineral content to prevent calcium buildup and maintain your Keurig's performance.
Importance of Rinsing and Final Rinse
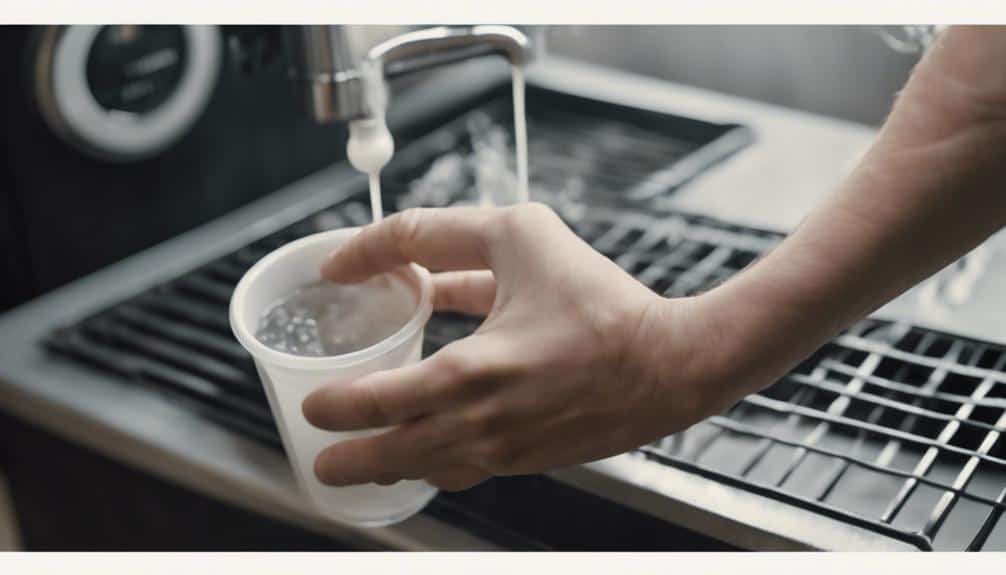
Rinsing and completing a final rinse after descaling your Keurig machine is vital to thoroughly remove any traces of descaling solution and guarantee peak brewing performance. To maintain your Keurig properly, follow these essential steps:
- Refill Reservoir: After descaling, refill the reservoir with fresh water to prepare for the final rinse.
- Brew Multiple Cups: Brew multiple 12-ounce cups to thoroughly rinse out any remaining descaling solution from the system.
- Remove Descaling Solution: Rinsing with fresh water helps eliminate any leftover descaling solution, ensuring a clean machine.
- Repeat as Needed: It's advisable to repeat the rinsing process if necessary to completely remove all traces of descaling solution.
Completing the final rinse process adequately will enhance the longevity and performance of your Keurig. Allowing sufficient time for this final rinse, typically around 45 minutes to an hour, is essential for optimal descaling results.
Troubleshooting Descale Light Issues
I've encountered reports from users experiencing the Keurig Duo descale light persistently staying on, despite their attempts to clean the machine. This issue can lead to frustration as the descale light continues to flash, indicating a problem with the descaling process.
To address this, users can attempt to reset the descale light by following specific button combinations provided by Keurig, or seek alternative community solutions for troubleshooting this persistent issue.
Light Won't Turn off
Struggling with the persistent glow of the Keurig descale light despite regular maintenance can be a frustrating experience for many users. Here are four key steps to address the issue effectively:
- Try Resetting: Attempt to reset the descale light by following Keurig's recommended reset procedures.
- Use Button Combinations: Explore different button combinations suggested by Keurig to turn off the descale light.
- Consult the Manual: Refer to the Keurig manual for specific instructions on resetting the descale light.
- Contact Support: If all else fails, reach out to Keurig customer support for further assistance in resolving the persistent descale light problem.
Finding the right solution can help you enjoy your Keurig brewing experience without the annoyance of a constantly lit descale light.
Descaling Process Not Working
How can users effectively troubleshoot issues with the descaling process when the Keurig's descale light fails to turn off despite repeated attempts? When facing persistent descale light problems, trying different button combinations to reset the Keurig machine might help. Below is a table highlighting common button combinations that users have found useful in resetting the descale light:
| Button Combination | Reset Action |
|---|---|
| Power + Brew | Initiates a reset process |
| Menu + Small Cup | Triggers a manual reset |
| Brew + Hot Water | Resets certain Keurig models |
If the descale light frustration continues, contacting Keurig customer support or referring to the user manual for specific model instructions may provide further assistance.
Maintenance Tips for Keurig Owners
Regular maintenance is essential for Keurig owners to guarantee peak brewing performance and extend the lifespan of their coffee maker. To make sure your Keurig operates efficiently, consider the following maintenance tips:
- Regular Descaling: Descale the Keurig every 3 months using a Descale Solution to remove mineral buildup and maintain peak brewing performance.
- Water Filter Replacement: Change the water filter every 2 months to prevent a stale taste in your coffee and maintain the water reservoir stays clean.
- Use Vinegar or Citric Acid: For stubborn mineral deposits, consider using vinegar or citric acid during the descaling process for effective cleaning.
- Adjust Descale Frequency: Depending on the mineral content in your water, you may need to descale more frequently to avoid clogs and maintain the machine's functionality.
Conclusion
In summary, following Keurig's descaling process is essential for maintaining the efficiency and longevity of your coffee maker. By regularly descaling every 3 months, using a compatible descaling solution, and making sure of proper maintenance, you can keep your Keurig in top condition.
Remember to pay attention to the descaling light, follow the step-by-step instructions, and run rinse cycles post descaling to guarantee your Keurig continues to brew delicious coffee for years to come.