DIY Guide for Crafting Your Own Boba Plush
As someone who enjoys crafting and creating unique items, I stumbled upon a fascinating DIY project that allowed me to bring one of my favorite boba tea elements to life in a cuddly form. The process involved selecting the right materials and meticulously sewing them together to form a plush that was not only aesthetically pleasing but also functional. The end result was a delightful boba plush that brought a smile to my face, but there was more to this project than just the final product.
Materials Needed for Boba Plush
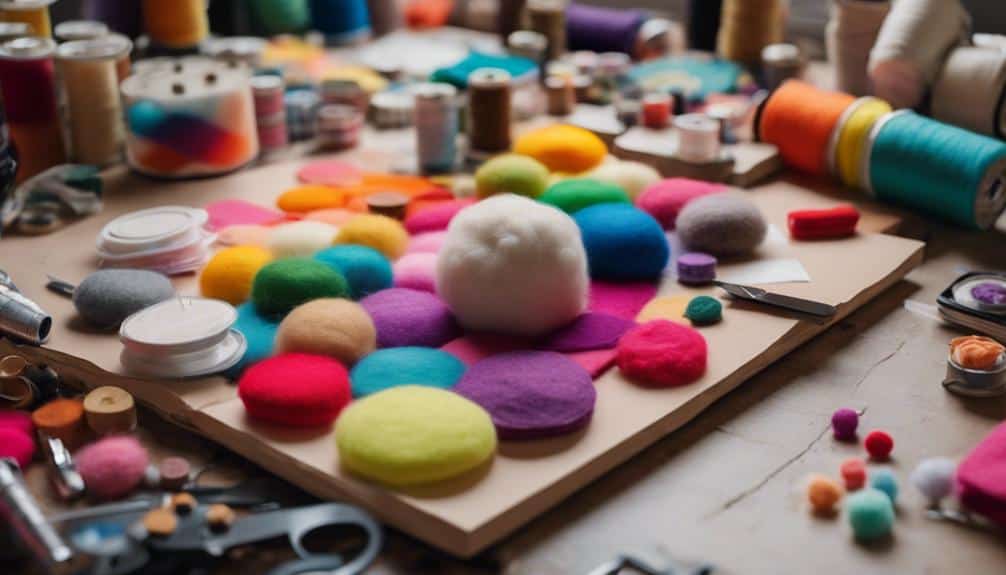
To create your own adorable boba plush, gather felt fabric, embroidery floss, stuffing material, a sewing needle, and scissors as the essential materials. The felt fabric serves as the base for the plushie, providing a sturdy and soft texture for the body of the boba. Choosing a variety of colors can add personality and charm to your creation.
Embroidery floss comes in handy for stitching the different components together securely, ensuring that your boba plush withstands hugs and cuddles. With a rainbow of floss colors available, you can get creative with intricate designs or keep it simple and classic.
When it comes to the stuffing material, opt for polyester fiberfill or cotton to give your boba plush a plump and huggable feel. The sewing needle is a vital tool for assembling the pieces with precision, while the scissors allow you to cut out the shapes of the boba plush components accurately.
Gather these materials, and let your imagination run wild as you bring your boba plush to life!
Cutting and Sewing Fabric Pieces
For crafting the boba plush, I recommend using a mini embroidery hoop or a circular object to trace and cut out precise circles from the fabric. This will guarantee uniformity in size, crucial for the boba's round shape.
Once you have your circles, draw and cut out a rectangle that's long enough to encircle the circle. Sew the width sides of the rectangle together to create a tunnel that will hold the boba filling securely.
Next, sew the round ends of the rectangle onto each circle end, leaving a small gap. This gap will enable you to turn the fabric inside out for stuffing.
Carefully fill the plushie with your desired stuffing, such as plastic bags, and then sew up the gap to seal in the filling.
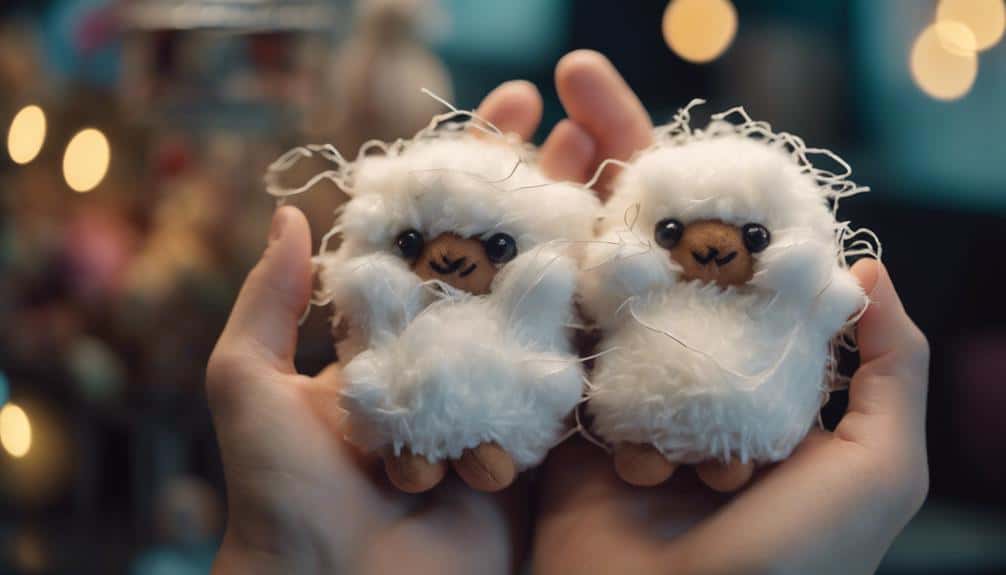
Following these steps will result in a delightful marshmallow-like boba plush, perfect for decoration or as a unique gift for any DIY Boba Tea enthusiast.
Stuffing and Closing the Plush
Using a ladder stitch or whip stitch, neatly close the remaining gap of the boba plush with a matching thread color for a seamless finish. Starting at one end, carefully stitch along the opening, making sure each stitch is secure but not too tight to allow for easy closure. As you reach the end, tie a knot to secure the thread and trim any excess.
Next, it's time to stuff your plushie! Start by gently pushing polyester fiberfill or your chosen stuffing material into the boba plush. Be sure to distribute the stuffing evenly to achieve that soft, squishy texture that boba plushies are known for. Firmly pack the stuffing to maintain the plushie's shape and provide a satisfying squish when squeezed.
After stuffing, double-check the closure to prevent any stray stuffing from escaping. A well-closed plushie guarantees durability and longevity. Now your boba plush is ready for the final touches with boba straws and a touch of hot glue in the next step!
Adding Details to Your Boba Plush
Experimenting with different colored felts for the boba pearls can add a fun and unique touch to your boba plush design. The choice of colors can represent different flavors of bubble tea, making your plushie even more realistic.
For the tapioca pearls, using small black beads or embroidering tiny circles onto the plush can mimic the look of the chewy bubbles found in a cup of bubble tea. Adding cute faces to your boba plush using embroidery floss can give each one its own personality, making them more endearing.
Consider personalizing your boba plush further by attaching a small tag or charm that reflects your style or interests. Adding a keychain attachment provides versatility, allowing you to hang your boba plush on bags, keys, or anywhere you desire. Secure any embellishments with fabric glue for durability, ensuring your boba plush stays looking adorable for a long time.
Let your creativity flow as you add these charming details to your tea-inspired creation.
Final Touches and Completion
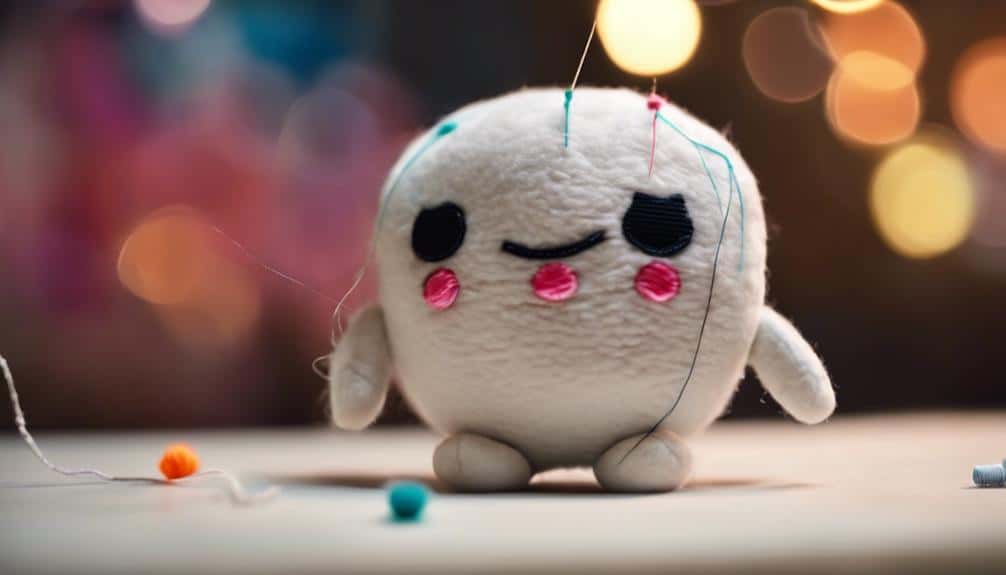
To give your boba plush its final charm and polish, focus on intricately detailing the facial features and guaranteeing all stitches are impeccably secure. The black circles representing boba pearls should be perfectly centered on the boba cup to capture the essence of bubble tea. Pay attention to the size and placement of these circles to create a realistic and appealing look.
Additionally, carefully embroider a smiling mouth or cute eyes to give your plushie a friendly and inviting expression. Skip the keychain attachment if you intend to use the plushie solely for display, but if you prefer portability, securely attach it for functional use.
Conclusion
Crafting your own boba plush is a fun and rewarding DIY project that allows you to showcase your creativity and attention to detail. By using felt fabric, embroidery floss, and beads, you can bring your plush to life with adorable boba and tapioca pearl details.
With precise cutting, sewing, stuffing, and embellishing, you can create a huggable companion that's sure to bring joy and charm to anyone who sees it. Let your imagination run wild as you craft your very own boba plush masterpiece!