Step-by-Step Guide for Brewing the Perfect Coffee in a Moka Pot

When it comes to brewing the perfect coffee in a Moka Pot, the process may seem straightforward, but getting that ideal balance of flavors requires finesse. I've discovered a few key steps that can make a significant difference in the outcome of your coffee. From the grind size to the water temperature, each detail plays an essential role in achieving that rich, aromatic cup of coffee. So, let's start with the basics and uncover the secrets to mastering the art of Moka Pot coffee brewing.
Preparing the Moka Pot
For best results when preparing the Moka Pot, it's vital to fill the bottom chamber with hot water up to the designated fill line to guarantee a perfect brew. The bottom chamber serves as the foundation for the entire brewing process, and the temperature of the water plays a pivotal role in extracting the flavors from the coffee grounds. Using the right grind size is equally important; opting for a medium to fine grind ensures excellent extraction and a rich, flavorful cup of coffee.
When assembling the Moka Pot, remember not to tamp down the coffee grounds in the filter basket. Allowing the grounds to sit loosely in the filter basket promotes proper extraction and prevents over-packing, which can result in a bitter taste. Placing the filter basket with the coffee grounds inside the bottom chamber sets the stage for the brewing magic to happen.
Once everything is set, it's time to apply heat. Heating the Moka Pot on a medium-low setting is key to brewing the perfect cup without scorching the coffee grounds. This gentle approach ensures a smooth and balanced extraction, resulting in a delicious brew that truly showcases the flavors of the coffee beans.
Filling the Water Chamber
Filling the water chamber of the Moka pot with freshly boiled water up to the indicated fill line is an essential step in guaranteeing a successful brewing process. This process sets the stage for creating the perfect cup of coffee. The hot water is the catalyst that will generate the steam pressure needed to push the water through the coffee grounds, extracting those rich flavors we all crave. Overfilling the water chamber beyond the safety valve level can be dangerous, so it's vital to follow the manufacturer's instructions.
To help you understand this step better, let's break it down into a handy table:
| Key Points | Details |
|---|---|
| Water Chamber | Fill with freshly boiled water up to the indicated fill line. |
| Steam Pressure | Correct water level is essential for generating the necessary steam pressure. |
| Safety Valve | Avoid overfilling to prevent accidents – stay below the safety valve level. |
| Water-to-Coffee Ratio | Maintaining the right ratio ensures a balanced and flavorful brew. |
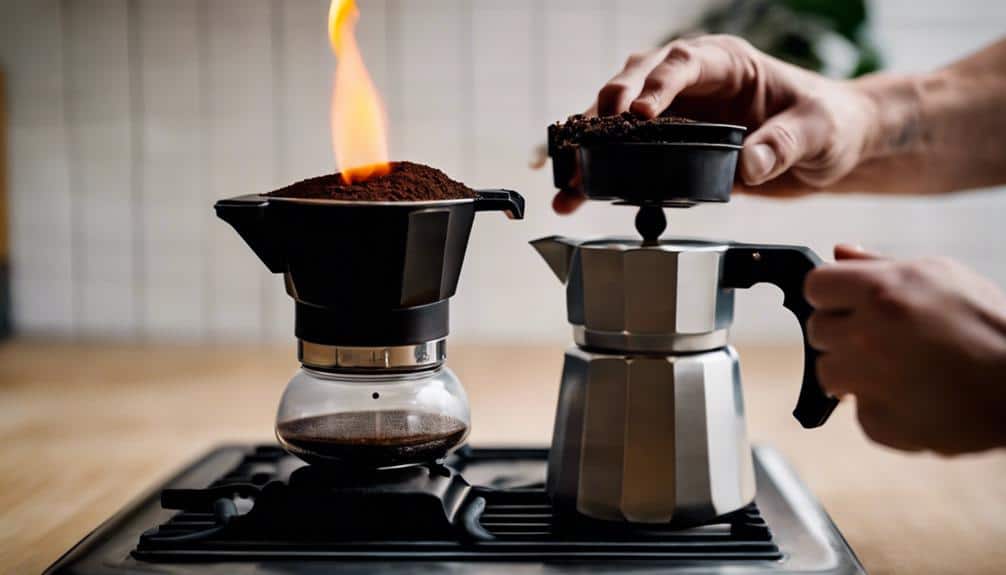
Adding Coffee Grounds
When adding coffee grounds to the Moka pot, it's important to choose a medium to fine grind size for best extraction. Avoid compacting the grounds in the filter basket; this allows water to flow through evenly.
Fill the basket without pressing down the grounds to create a perfect brewing environment.
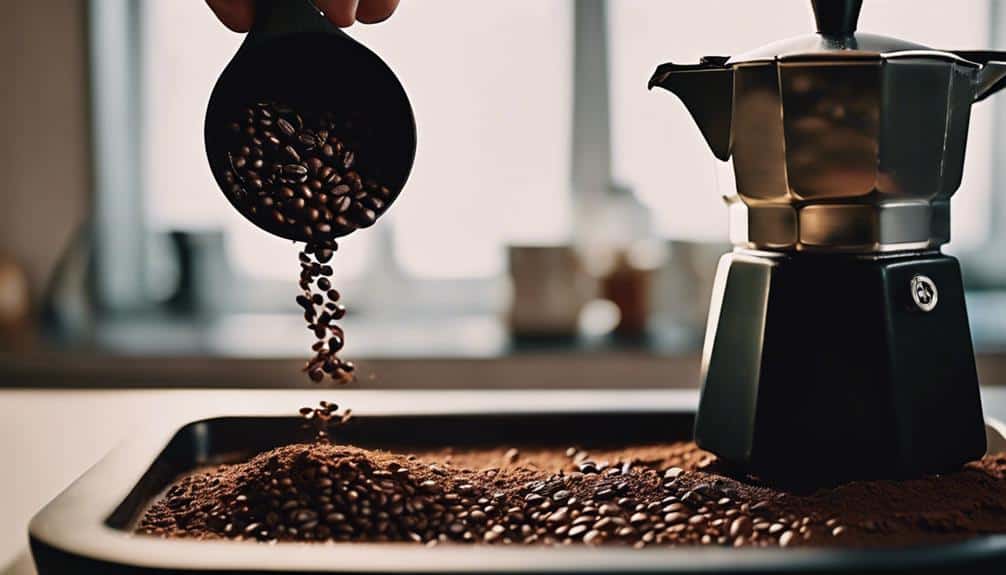
Selecting Coffee Bean Type
When brewing coffee in a Moka Pot, it's important to carefully select high-quality, freshly roasted coffee beans to guarantee a rich and flavorful cup of coffee.
- Quality Matters: Opt for the best coffee beans you can find for a superior Moka pot experience.
- Grind Size: Choose a medium to fine grind size to ensure proper extraction and a balanced taste.
- Exploring Origins: Experiment with various coffee bean origins to discover unique flavor profiles and characteristics.
- Strength Control: The type and amount of coffee grounds used will dictate the strength and intensity of your brew.
Selecting the right coffee beans sets the foundation for an exceptional Moka pot coffee experience. It's all about exploring and finding the perfect match to enjoy a cup of coffee that resonates with your tastes and desires.
Measuring Coffee Grounds
Selecting the perfect coffee beans is the first step towards achieving a delightful Moka pot brew; now, let's focus on mastering the art of measuring and adding the coffee grounds for that impeccable cup of coffee. To guarantee consistency in flavor, using a coffee scale is crucial for accurately measuring the coffee grounds.
Remember, the standard coffee-to-water ratio is approximately 1:10, so adjust the amount of grounds accordingly. Experimenting with different grind sizes allows you to find the perfect balance between strength and flavor. When adding the grounds to the filter basket, avoid compacting them to enable proper extraction.
Be cautious not to overdo it with the coffee grounds, as this can lead to over-extraction and result in a bitter taste in your coffee.
Leveling Coffee Grounds
To achieve a perfectly balanced and flavorful cup of Moka pot coffee, making sure the coffee grounds are evenly leveled in the filter basket is crucial.
- Leveling coffee grounds in the Moka pot filter basket guarantees even extraction during brewing.
- Distributing coffee grounds evenly helps prevent channeling and under-extraction.
- Leveling the grounds promotes consistent flavor and strength in the brewed coffee.
- A flat and level bed of coffee grounds allows for best water flow through the grounds.
With these steps, you can guarantee a balanced cup of delicious coffee every time you brew in a Moka pot. By focusing on leveling the grounds, you set the stage for a rich and satisfying coffee experience.
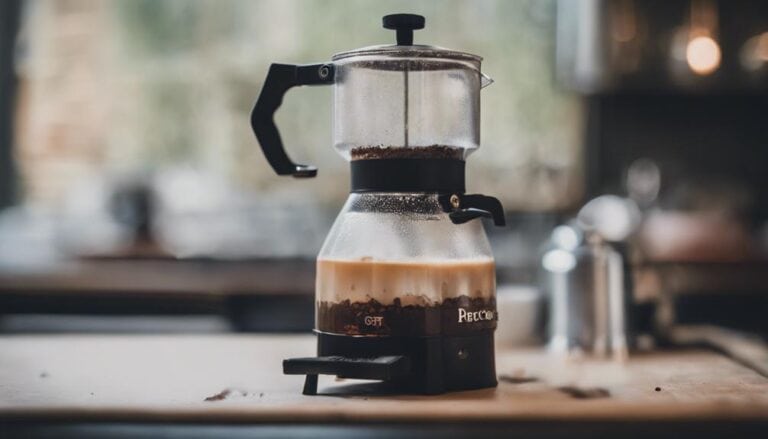
Assembling and Heating
Securing the filter basket into the bottom chamber of the Moka pot firmly is vital to prevent leaks during the brewing process. Ensuring a snug fit is essential for a seamless brewing experience. Once the filter basket is in place, it's time to assemble the Moka pot by firmly placing the upper chamber onto the bottom chamber. This step sets the stage for the magic to happen.
With the Moka pot assembled, it's time to heat things up. I recommend setting the pot on a medium heat setting. This gentle heat allows the water to percolate through the coffee grounds at just the right pace, extracting those rich flavors we all love. Keep a watchful eye as the coffee begins to brew, ensuring the heat is consistent but not overpowering.
When the upper chamber is filled with coffee, promptly remove the Moka pot from the heat to prevent over-extraction. Patience is key; let the residual heat finish the brewing process. Now, the tantalizing aroma of freshly brewed coffee fills the air, signaling that it's time to enjoy your perfect cup.
Brewing and Monitoring
With the Moka pot assembled and the heat set just right, the next step is to closely monitor the brewing process to guarantee a perfect cup of coffee.
- Listen for a gurgling sound: This indicates that the brewing process is complete and the coffee is ready to be served.
- Watch the color: As the coffee rises in the upper chamber, observe its rich, dark hue for a visual cue of the strength and flavor of your espresso.
- Regulate the heat source: Maintain a steady brewing process by regulating the heat to ensure the pressure builds up gradually without rushing the extraction.
- Time it right: Use a timer to track the brewing time consistently, allowing you to replicate your preferred coffee strength with each brew.
Serving the Perfect Coffee

Providing your meticulously brewed coffee from the Moka pot promptly after extraction guarantees an exquisite experience of its full-bodied flavor and invigorating aroma. To guarantee the coffee's ideal temperature, it's advisable to use pre-warmed cups. This simple step not only maintains the drink's warmth but also enhances the overall drinking experience by preserving its flavors.
For those looking to customize their coffee further, consider adding sugar, honey, syrups, or extracts to tailor the taste to your preference. Before pouring, gently stir the coffee in the upper chamber to ensure an even distribution of flavors, allowing you to savor each sip to the fullest.
For more serving tips and recommendations to elevate your coffee experience, engaging with coffee enthusiasts or communities can provide valuable insights. By embracing these suggestions, you can transform your coffee serving ritual into a delightful and personalized affair that resonates with your unique preferences.
Cleaning and Maintenance
Maintaining the cleanliness of your Moka pot is essential for brewing delicious coffee every time.
A regular cleaning routine should include rinsing after each use, discarding used grounds, and running warm water through the sections.
Using gentle detergents when needed, inspecting for damages, and storing correctly will guarantee your Moka pot lasts for many brews to come.
Regular Cleaning Routine
Regular upkeep is vital for guaranteeing your Moka pot consistently brews delicious coffee. Here are four key steps to maintaining your stovetop coffee maker:
- Rinse with Hot Water: After each use, clean your Moka pot by rinsing it with hot water to remove coffee residue and oils, guaranteeing the next brew is fresh and flavorful.
- Discard Used Grounds: Unscrew the top half of the Moka pot to discard used coffee grounds, keeping the pot clean and ready for the next brewing session.
- Flushing with Warm Water: Clean the Moka pot thoroughly by flushing warm water through each part to prevent any buildup that could impact the taste of your specialty coffee.
- Wipe Dry: Finish by wiping away any excess coffee residue with a dry paper towel for a spotless exterior. Regular cleaning will help maintain your Moka pot's performance and ensure every cup is as delicious as the last.
Use Gentle Detergents
When caring for your Moka Pot, remember to use gentle detergents to maintain its pristine condition and guarantee a delightful coffee brewing experience.
Choose mild dish soap or gentle detergents to clean your Moka Pot, ensuring you avoid harsh chemicals that could harm its aluminum or stainless steel material.
After cleaning, be sure to rinse the Moka Pot thoroughly to eliminate any soap residue. Additionally, make sure to dry the pot completely before putting it back together to prevent rust or corrosion.
Check for Damages
Upon inspecting your Moka Pot for damages, carefully examine for any dents, scratches, or loose parts that may impact its brewing performance. Here are essential steps to make sure your Moka Pot is in top shape:
- Look for Mineral Deposits: Check for any buildup that could alter the taste of your coffee.
- Inspect the Rubber Gasket: Guarantee it's in good condition to maintain a proper seal.
- Clean All Components: Remove any old coffee grounds to prevent off-flavors.
- Regular Maintenance: Replace the rubber gasket periodically to uphold the Moka Pot's performance and durability.
Maintaining your Moka Pot's integrity will guarantee delicious brews every time, allowing you to enjoy the freedom of a perfect cup of coffee.
Conclusion
To sum up, brewing the perfect coffee in a Moka Pot is a delightful and rewarding experience that can elevate your morning routine. By following the step-by-step guide and paying attention to details like grind size and water temperature, you can enjoy a rich and flavorful cup of coffee every time.
With a little practice and care, you can become a Moka Pot master and impress your friends and family with your barista skills. Cheers to the perfect cup of coffee!