How to Brew Perfect Coffee in a Percolator
When it comes to crafting that perfect cup of coffee in a percolator, there are essential steps that can make all the difference in achieving that rich and flavorful brew. The methodical selection of coffee grounds and precise measurement of water play vital roles in the process, ensuring a harmonious balance of tastes and aromas. But the real secret to revealing the full potential of your percolator lies in the preparation and extraction process. Stay tuned to uncover the key steps that will elevate your coffee game to new heights.
Choosing the Right Coffee Grounds
When brewing coffee in a percolator, always opt for coarsely ground coffee beans to ensure a flavorful and balanced brew. The choice of coarsely ground beans plays a crucial role in the taste of your coffee. Coarse grounds allow for ideal flavor extraction during the percolation process, ensuring that the richness and nuances of the coffee are fully realized. By using coarse grounds, you prevent over-extraction, which can result in a bitter taste that masks the true essence of the coffee beans.
Fine grounds, on the other hand, can lead to a brew that's overly strong and lacks the subtleties that make a great cup of coffee. The control over the strength of the brew that coarser grounds provide is essential for achieving the perfect balance in your coffee. Coarse grounds in a percolator not only enhance the overall taste but also contribute to the ideal brewing process, giving you a cup of coffee that's a delight to savor.
Measuring Water for Brewing
To brew the perfect cup of coffee in a percolator, start by precisely measuring the water using a standard measuring cup. Here are four essential tips for measuring water for brewing:
- Use a measuring cup: Utilize a measuring cup to guarantee accuracy in the amount of water added to the percolator. This step is important for maintaining consistency in your coffee brewing process.
- Standard coffee cup equivalent: A standard coffee cup typically contains around 6 ounces of water. Keep this measurement in mind when determining how much water to add for your desired number of cups.
- Adjust based on quantity: Adjust the amount of water based on the number of cups of coffee you intend to brew. Be mindful not to overfill the percolator to prevent any potential overflowing issues during brewing.
- Maintain coffee-to-water ratio: Consistent water measurement is key to achieving the ideal coffee-to-water ratio. This balance is essential for developing a well-rounded and flavorful coffee profile.
Loading the Coffee Grounds
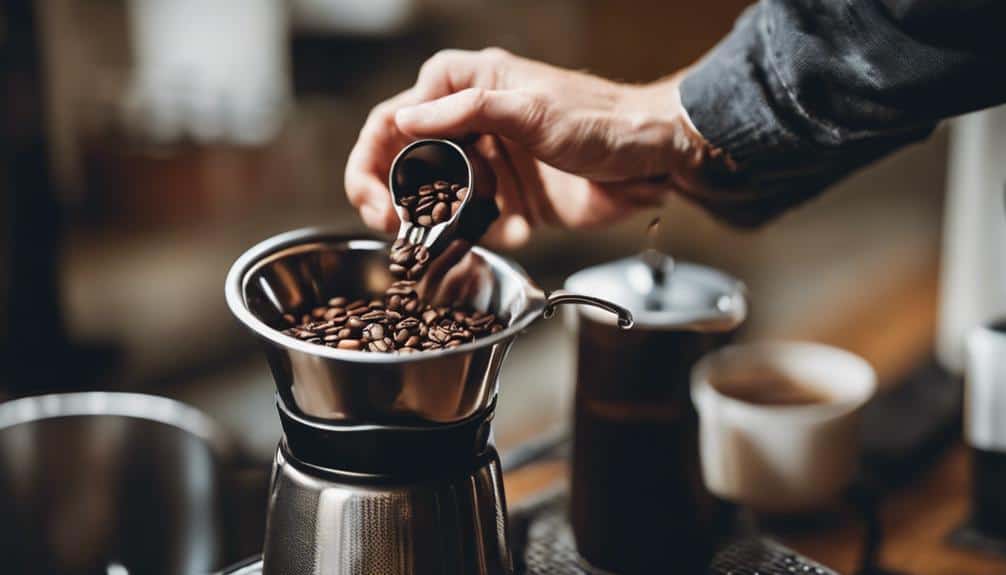
Let's now explore the process of loading the coffee grounds into the percolator to continue our journey towards brewing the perfect cup of coffee. The key to a flavorful brew starts with measuring the right amount of coffee grounds; follow the golden rule of 1 tablespoon per cup of water. Remember, coarsely ground coffee is your best bet for ideal flavor extraction in the percolator.
Once you have your measured coffee grounds, it's time to fill the percolator basket. Be cautious not to overfill the basket, as this could lead to a messy brewing process. Distribute the coffee grounds evenly in the basket to make sure each granule plays its part in creating a delicious brew.
For a successful brewing process, close the percolator basket securely. This step is essential to prevent any grounds from escaping during the brewing cycle. By loading the coffee grounds correctly into the percolator basket, you're setting the stage for a delightful coffee experience.
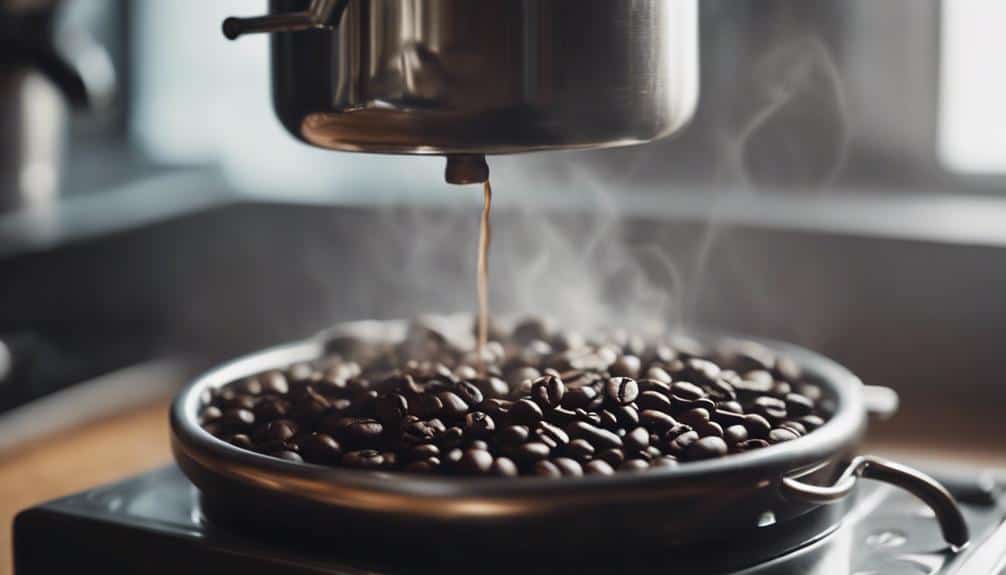
Setting Up the Percolator
When preparing my percolator for brewing, I always start by filling the water reservoir with cold water according to the number of cups I want.
Next, I carefully add coarsely ground coffee to the percolator basket and make sure the stem is properly inserted for brewing.
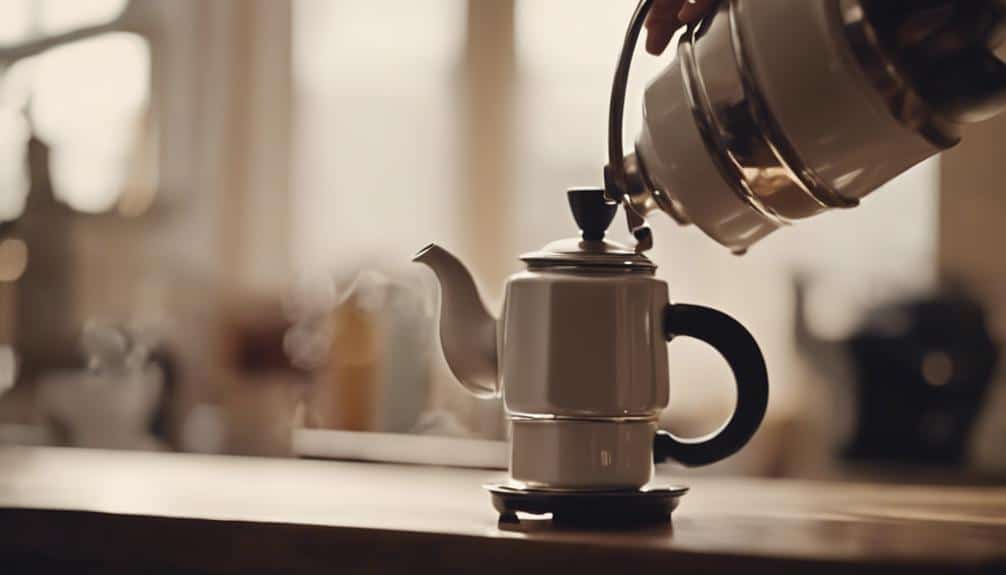
Fill Water Reservoir
Want to brew the perfect cup of coffee in a percolator? Start by filling the water reservoir with cold, filtered water up to your desired number of cups.
- Measure Carefully: Use a measuring cup or the percolator's markings to guarantee the right water-to-coffee ratio.
- Avoid Overfilling: Prevent water from touching the bottom of the coffee basket by not overfilling the water reservoir.
- Adjust Water Level: Modify the water level based on the amount of coffee grounds to achieve your preferred coffee strength and flavor.
- Preheat for Best Extraction: Preheat the water before brewing for faster percolation and the most effective extraction of coffee flavors.
Add Coffee Grounds
When preparing the percolator, make sure to measure out the coarsely ground coffee based on your desired brew strength for best flavor extraction. The key to a perfect cup of percolator coffee lies in the right amount of coffee grounds – typically around 1 tablespoon per cup of water is a good starting point.
Using coarsely ground coffee is essential to prevent bitterness during the brewing process. Fill the percolator basket with the measured grounds, ensuring an even distribution for best flavor. Closing the percolator basket securely is vital to keep the grounds from escaping into your brew.
Assemble Percolator Parts
Assembling the parts of the percolator is vital for ensuring a smooth brewing process and a delicious cup of coffee.
- Clean and Dry: Make sure the percolator is clean and dry before assembling the parts.
- Secure Stem: Place the stem securely in the percolator base for proper brewing.
- Add Water: Add the desired amount of water to the reservoir, making sure not to exceed the maximum capacity.
- Prep Coffee Grounds: Place the coffee grounds in the basket and cover it with the basket lid to prevent spillage during brewing.
Passion and precision come together in assembling the percolator, an important step in the journey to a perfect cup of coffee. With each part in its place, the stage is set for the magic of brewing to unfold, allowing the rich aroma of freshly brewed coffee to fill the air.
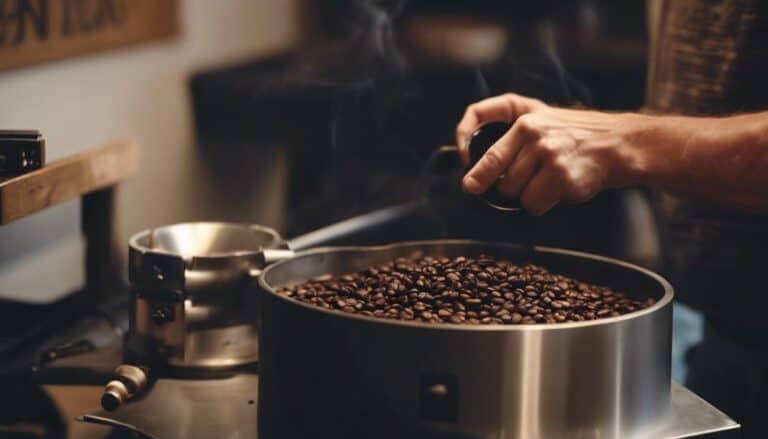
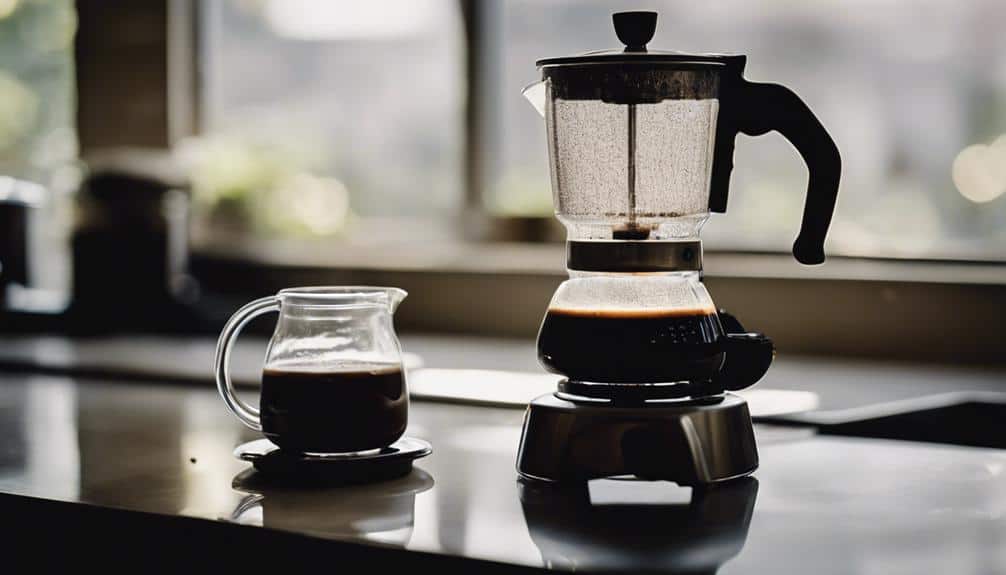
Heating and Percolating Process
To initiate the percolating process in a percolator, begin by heating it on low to medium heat until bubbles form in the glass globe, indicating that the coffee is starting to percolate. This step is vital as it sets the stage for the magic to happen within the percolator. As the water heats up, it moves through the tube and onto the coffee grounds, creating that rich and aromatic brew we all love.
Let's break down the percolating process in a neat table to emphasize the key steps:
| Percolating Process | ||
|---|---|---|
| Heat the percolator | Low to medium heat | Start percolation |
| Watch for bubbles | Glass globe | Indicate percolation |
| Percolate coffee | 8-10 minutes | Strong, flavorful brew |
| Remove from heat | Completion | End percolation |
| Discard wet grinds | Basket | Prevent over-extraction |
Monitoring Percolation Time
I find that closely monitoring the percolation time is essential for achieving that perfect cup of coffee.
The ideal range of 5 to 10 minutes guarantees optimal flavor extraction without risking over-extraction.
Time Management Tips
When aiming for the perfect cup of coffee brewed in a percolator, closely monitoring the percolation time within the ideal range of 5 to 10 minutes is crucial. Here are some time management tips to guarantee your coffee is brewed to perfection:
- Stay Engaged: Keep an eye on the percolator to track the brewing time accurately.
- Use a Timer: Set a timer to help you manage the percolation time effectively.
- Avoid Distractions: Minimize interruptions during the brewing process to maintain focus on timing.
- Practice Makes Perfect: With practice, you'll develop a sense of timing for that excellent coffee flavor extraction every time.
Mastering the timing in percolator brewing is the key to experiencing a delightful and balanced coffee.
Percolation Process Control
Staying actively engaged in the percolation process guarantees precise control over the brewing time, a fundamental aspect of achieving the perfect cup of coffee in a percolator. Monitoring the percolator closely is key to preventing over-extraction, which can result in a bitter taste. Adjusting the brewing time allows for control over the strength and flavor profile of your coffee. By consistently observing the percolation process, you secure a well-balanced and flavorful brew.
| Percolator Tips | Benefits |
|---|---|
| Monitor closely | Prevent over-extraction |
| Adjust brewing time | Control strength and flavor |
| Stay engaged | Achieve perfect cup |
| Consistent observation | Secure well-balanced coffee |
Adjusting Strength as Needed
To adjust the strength of your coffee brewed in a percolator, simply vary the amount of coffee grounds used per cup of water. Whether you prefer a robust kick to start your day or a milder flavor for a relaxed afternoon, adjusting the strength is as easy as tweaking your coffee-to-water ratio.
Here are some key tips to help you tailor your brew to perfection:
- Increase Strength: Add more coffee grounds per cup of water to intensify the flavor and caffeine content of your brew.
- Decrease Strength: If you find your coffee too strong, simply reduce the amount of coffee grounds used to achieve a milder taste.
- Experimentation is Key: Don't be afraid to play around with different ratios until you discover the ideal balance of strength and flavor that suits your palate.
- Consistency is Essential: Keep track of the coffee-to-water ratio that yields your preferred strength to make sure your brew remains consistently satisfying.
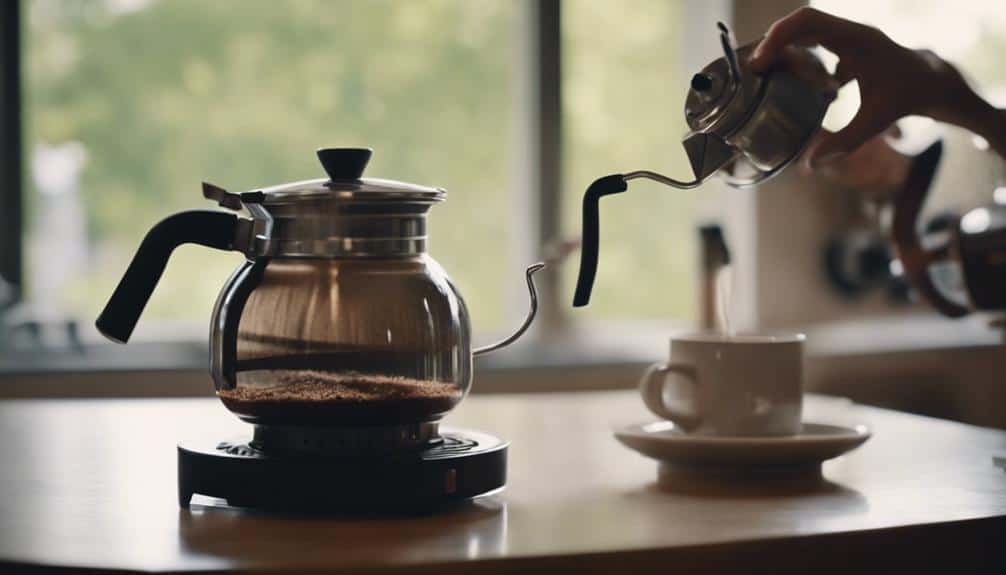
Serving and Enjoying the Brew
When it comes to serving percolated coffee, presentation is key. Pour your brew slowly to prevent any grounds from muddying the experience.
Enhance the tasting journey by customizing your cup to suit your preferences, and don't forget to clean your percolator for the next perfect brew.
Coffee Presentation Tips
After letting the percolated coffee rest for a minute, slowly pour it into cups to guarantee a smooth drinking experience while preventing sediment from entering.
Here are some coffee presentation tips to enhance your enjoyment:
- Give it a Stir: Before serving, gently stir the coffee to make sure a consistent flavor profile.
- Dress it Up: Customize your brew with sugar, milk, or flavored syrups to suit your taste preferences.
- Cleanse and Preserve: Keep your percolator clean after each use to maintain the purity of your coffee's taste.
- Share the Love: Invite friends and family to savor the delightful experience of percolated coffee together, spreading the joy of this classic brewing method.
Enhancing Tasting Experience
Enhancing the tasting experience of percolated coffee involves savoring each flavorful sip while appreciating the unique richness of the brew.
Letting the brewed coffee rest for a minute after percolation allows the grounds to settle, enhancing the overall flavor profile.
When pouring, do so slowly to prevent any sediment from disrupting the smooth texture and taste.
You can personalize your coffee by adding sugar, milk, or other ingredients to match your taste preferences.
It's essential to clean the percolator diligently after each use to preserve the integrity of the coffee flavor.
Cleaning and Maintenance Tips
Ensuring your percolator remains spotless after each brew is essential for maintaining its performance and the quality of your coffee. Here are some cleaning and maintenance tips to keep your percolator in top shape:
- Clean your percolator immediately after each use to prevent stains and oil residue buildup.
- Use warm, soapy water to clean the brewing basket, water chamber, and stem thoroughly.
- Consider using baking soda or vinegar for deep cleaning to remove built-on stains and residue.
- Remember that lingering stains and oil residue can impact the flavor of future brews if not cleaned properly.
Regular cleaning and maintenance play an important role in ensuring your percolator functions effectively and consistently produces great-tasting coffee. By following these simple steps, you can enjoy delicious coffee brewed to perfection every time.
Troubleshooting Common Percolator Issues
To troubleshoot common percolator issues, start by adjusting the amount of coffee grounds used for a stronger brew. If your coffee is coming out weak, it's likely that you need to increase the quantity of ground coffee to water ratio.
To avoid over-extraction and bitterness, keep a close eye on the brewing time during the percolation process. Adjusting the grind size to a coarser setting can help prevent grounds from seeping into your coffee.
If you're tasting a burnt flavor, try lowering the brewing temperature or using a medium heat setting for a gentler extraction in both stovetop and electric percolators. For a metallic taste, make sure to thoroughly clean all components to remove any residue that could be affecting the flavor.
Conclusion
Brewing coffee in a percolator is an art form that requires precision and care. By choosing the right coffee grounds, measuring water accurately, and mastering the percolating process, you can create the perfect cup of coffee every time.
With a little practice and attention to detail, you'll be able to enjoy a delicious, flavorful brew that will satisfy your caffeine cravings and elevate your morning routine. Happy brewing!