How to Descale Keurig and Reset in 3 Steps
When it comes to maintaining your Keurig, descaling and resetting are key tasks. The process may seem challenging, but with a few simple steps, you can have your machine running smoothly in no time. Imagine the satisfaction of a perfectly brewed cup of coffee after ensuring your Keurig is descaled and reset correctly. So, let's begin this journey to uncover the secrets of keeping your favorite coffee companion in excellent condition.
Descaling Solution Preparation
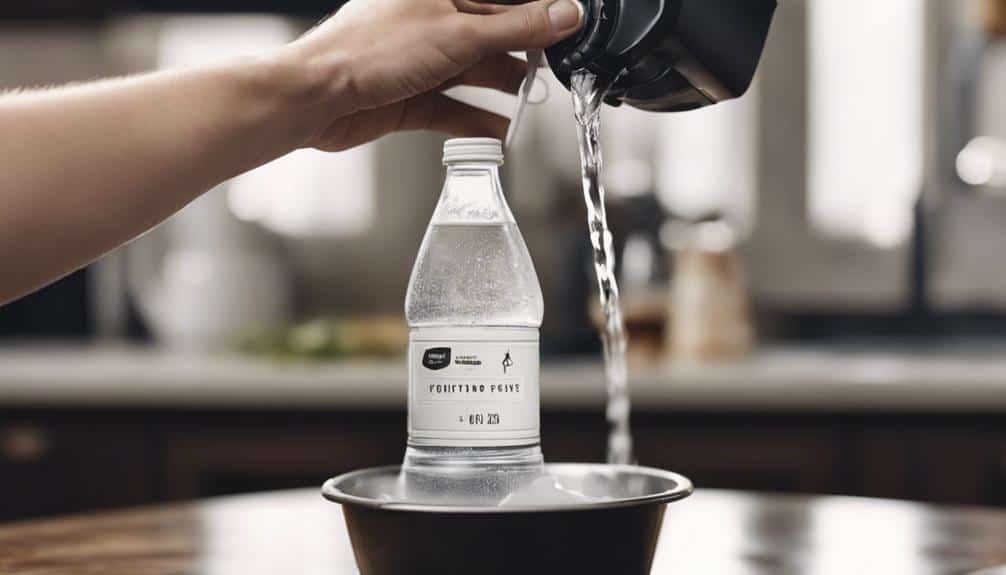
To prepare the descaling solution for your Keurig, carefully follow the manufacturer's recommended dilution ratio using the provided descaling solution. Confirm your Keurig is powered off and cool.
Lift the handle and remove any K-Cup pod. Open the top of the machine and carefully lift the water reservoir straight up to detach it from the Keurig.
Wash the reservoir with mild dish soap and rinse thoroughly with fresh water. Refill the water reservoir with fresh water up to the max fill line. Add the descaling solution following the manufacturer's instructions for the proper dilution ratio, typically using one part descaling solution to one part water.
Carefully reattach the water reservoir to the Keurig, ensuring a secure fit. You're now ready to proceed with the descaling process to keep your Keurig running smoothly and producing delicious Keurig® Coffee.
Descale and Rinse Process
For effective descaling and rinsing of your Keurig, start by making sure the machine is powered off and cool. Follow these steps:
- Prepare Descaling Solution: Mix the descaling solution with water following the manufacturer's instructions. Pour the solution into the water reservoir.
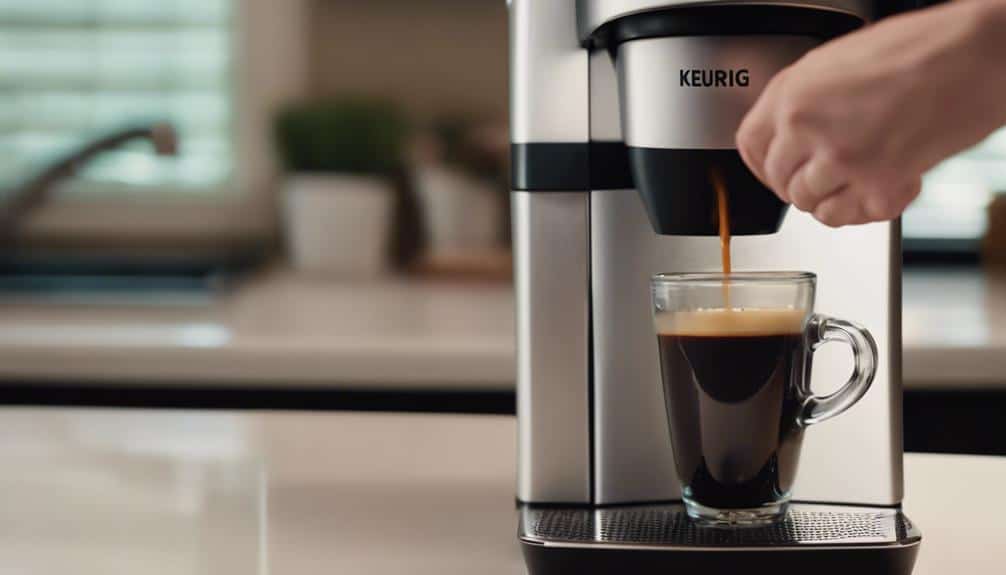
- Run Rinse Cycle: Place a large mug on the drip tray. Press the power button to turn on the coffee maker. Select the largest cup size and start a brew cycle without a K-Cup. Empty the mug once the cycle is complete.
- Repeat Rinse Process: Refill the water reservoir with fresh water and run a brew cycle without a K-Cup. Repeat this step until all the descaling solution is flushed out.
- Clean Water Filter: If your Keurig has a water filter, remove it and rinse it under running water. Place it back into the reservoir once clean.
Following these steps will make sure that your Keurig is properly descaled and rinsed, ready to brew fresh, delicious coffee.
Resetting the Descale Light
Resetting the Keurig descale light can be achieved by holding down specific button combinations for a few seconds. To reset the descale light, try pressing and holding the 8oz and 10oz buttons simultaneously for 5 seconds.
Alternatively, while the Keurig is off, hold down the 8oz and 12oz buttons for the same duration. Users have found success by turning off the Keurig and holding these button combinations.
The common method involves pressing and holding the 8oz and 10oz buttons together for 5 seconds. Experiment with different button combinations to reset the descale light and maintain your Keurig brewer's proper maintenance.
Conclusion
To sum up, descaling your Keurig and resetting the descale light in 3 steps is simple and crucial for maintaining your coffee maker's performance.
By following the manufacturer's guidelines for preparing the descaling solution, running rinse cycles, and experimenting with button combinations to reset the light, you can guarantee your Keurig is clean and ready to brew a fresh cup of coffee.
Don't forget to regularly descale your Keurig to keep it running smoothly.