Step-by-Step Guide to Decoding the Descale Light on Keurig
I've always wondered about that pesky descale light on my Keurig. It seems to pop up at the most inconvenient times, disrupting my coffee routine. However, I recently discovered a step-by-step guide that promises to simplify the process. It involves following specific instructions and using the right descaling solution. I can't wait to try it out and see if it finally resolves the mystery of the descale light once and for all.
Understanding the Descale Light Indicator
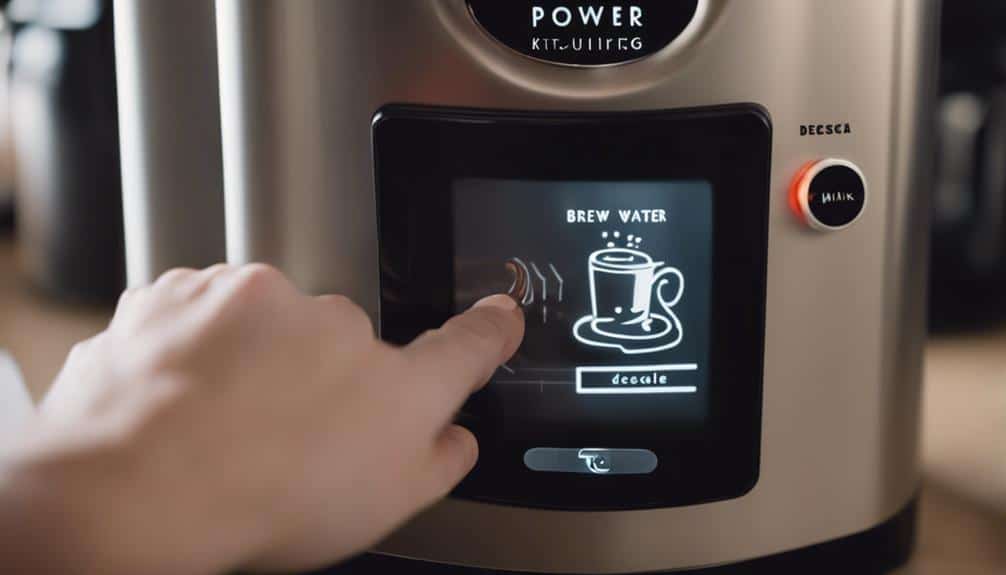
When observing the Keurig descale light indicator, it's important to understand its significance in maintaining the coffee maker's performance. The descale light serves as a warning that mineral buildup has reached a level where it can impair the brewing process. Ignoring this indicator can result in clogs, slower brewing times, and potential damage to your Keurig machine.
To reset the descale light, follow the manufacturer's instructions carefully. This typically involves a series of button presses or a specific sequence to acknowledge that descaling has been completed. Remember, even after descaling, the light may stay on until you perform the reset. Properly resetting the descale light is crucial for ensuring that your Keurig functions efficiently and continues to brew delicious coffee.
Checking Manufacturer's Guidelines for Descaling
I start by reviewing the manufacturer's descaling instructions provided with the Keurig machine.
Next, I determine the recommended descaling frequency, usually every 3 to 6 months.
Then, I make sure I have the correct descaling solution as specified by Keurig for best cleaning performance.
Manufacturer's Descaling Instructions
To effectively maintain your Keurig brewer, refer to the manufacturer's guidelines for descaling, guaranteeing peak performance and avoiding descale light issues. Keurig offers specific descaling instructions tailored to each model, detailing the process to uphold functionality.
It's essential to follow the manufacturer's recommended descaling intervals and methods to prevent problems with the descale light. Different Keurig models may have varying descale processes, so consulting the manual is essential for the correct procedure.
Proper Descaling Frequency
Referencing the previous discussion on descaling instructions from Keurig, understanding the proper descaling frequency outlined by the manufacturer is crucial for maintaining peak performance of your brewer. Keurig recommends descaling every 3 to 6 months depending on the mineral content of the water you use. Following these guidelines guarantees that your brewer operates at its best.
Regular descaling prevents scale buildup, which can affect the taste of your coffee and the efficiency of the machine. System prompts and reminders will indicate when it's time to descale. If your water has a high mineral content, more frequent descaling may be necessary to ensure optimal operation of your brewer. Remember, keeping up with descaling is key to a well-functioning system.
Using Recommended Descaling Solution
Utilize the Keurig Descaling Solution as the recommended descaling solution for peak performance, ensuring effective removal of calcium deposits and scale buildup in your coffee maker. Following the manufacturer's guidelines is essential to maintain top performance. Failure to use the suggested descaling solution may lead to incomplete descaling, potentially causing damage to the coffee maker.
Refer to the user manual or the Keurig website for specific instructions on descaling and the appropriate descaling solution to use. By adhering to these guidelines and using the Keurig Descaling Solution, you can prolong the life of your coffee maker and enjoy consistently great-tasting coffee.
Remember that proper maintenance, including using the right descaling solution, is key to keeping your Keurig machine in top condition.
Manually Resetting the Descale Light
To manually reset the descale light on Keurig, you can try pressing the 8oz and 10oz buttons simultaneously for 5 seconds. If that doesn't work, attempt holding down the 8oz and 12oz buttons for 5 seconds to reset the descale light.
Experimenting with different button combinations, like holding the 8oz and 10oz buttons at the same time for 5 seconds, may help in resetting the descale light efficiently.
Resetting With Buttons
When manually resetting the descale light on a Keurig coffee maker, pressing and holding specific button combinations can effectively resolve the issue.
To reset the descale light, try pressing and holding the 8oz and 10oz buttons simultaneously. Alternatively, some users have had success by pressing the 8oz and 12oz buttons for a few seconds. Another method involves turning off the machine and holding down certain buttons for a set period.
Using Vinegar Solution
For manually resetting the descale light on your Keurig coffee maker using a vinegar solution, prepare a mixture of equal parts white vinegar and water. This solution will act as an alternative to Keurig descaling solution.
Run the vinegar solution through your Keurig brewer and allow it to sit for approximately 30 minutes to break down mineral deposits that may be causing the descale light to illuminate.
After the soaking period, thoroughly rinse the machine with fresh water to remove any vinegar residue. Using this vinegar solution can effectively reset the descale light and improve the overall performance of your Keurig machine by ensuring that mineral deposits are eliminated, allowing your brewer to function at its best.
Running Descaling Solution Through the Machine
Using a descaling solution is crucial for maintaining the peak performance of your Keurig machine by effectively removing mineral deposits and scale buildup.
Follow these steps to run the descaling solution through your Keurig:
- Prepare Your Keurig: Make sure the water reservoir is filled with the descaling solution mixed with water according to the manufacturer's instructions.
- Start the Descaling Process: Place a large mug on the drip tray and begin the brewing cycle without a K-cup. Pour out the solution into the mug after each brewing cycle.
- Rinse and Repeat: Continue brewing and pouring out the solution until the water reservoir is empty. Refill the reservoir with clean water and run multiple brewing cycles to rinse out any remaining solution.
Troubleshooting Persistent Descale Light
To troubleshoot persistent descale light issues on your Keurig machine, begin by ensuring the water reservoir is properly seated and securely in place. If the descale light on your Keurig Duo or Keurig Elite remains illuminated despite following the descaling instructions, you can attempt to reset it using specific button combinations.
First, turn off your Keurig machine and unplug it from the power source. Wait for a few minutes before plugging it back in. Press and hold certain combinations of buttons simultaneously for a few seconds, such as the 'Strong' and 'Hot Water' buttons, to trigger a reset of the descale light. If this method doesn't work, consider reaching out to Keurig customer support for further assistance.
In some cases, persistent descale light issues have led users to explore alternative coffee machines as a solution to this decoding challenge.
Maintaining Optimal Performance

Regular descaling every 3 to 6 months maintains the peak performance of your Keurig machine. Neglecting this maintenance can lead to scale buildup, affecting the taste of your coffee and the efficiency of your brewer.
To guarantee top-notch brewing, follow this step-by-step guide. Start by filling the water reservoir with equal parts water and vinegar or citric acid. Run a brew cycle without a K-cup to clean the internal components. Repeat this process with water only to rinse thoroughly.
If your Keurig has a water filter, replace it every 2 months to prevent calcium deposits. Additionally, descale your machine every 3 months to keep it running smoothly.
These regular maintenance practices won't only extend the life of your Keurig but also promise a delicious cup of coffee every time.
Conclusion
To sum up, by following the step-by-step guide to decoding the descale light on your Keurig, you can guarantee that your machine continues to function efficiently and produce high-quality coffee.
Remember to refer to the manufacturer's guidelines, use the recommended descaling solution, and thoroughly rinse the machine.
By maintaining your Keurig properly, you can enjoy delicious coffee while prolonging its lifespan.