How Do You Use a Coffee Percolator in 5 Easy Steps?
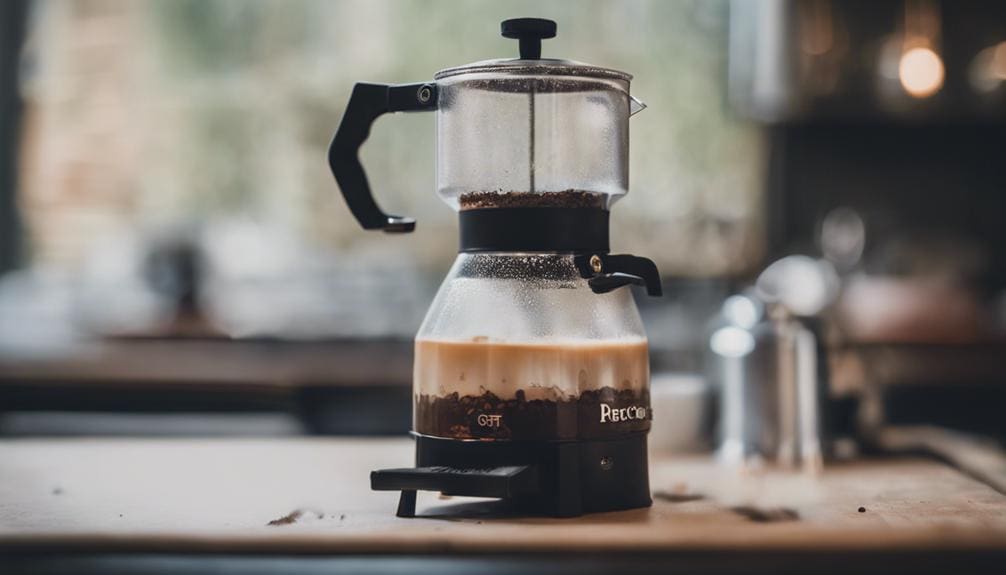
Using a coffee percolator can be a soothing morning ritual once you get the hang of it. I remember feeling a bit lost the first time I tried to make coffee this way, but after a few tries, it became second nature. The process might seem challenging at first, but breaking it down into simple steps can make all the difference. Let me guide you through the beginning of this journey, and you'll soon find yourself savoring a perfect cup of coffee that you brewed with care and precision.
Filling the Percolator With Water
When preparing to brew coffee using a percolator, the first essential step is filling the pot with cold water up to the desired level indicated by the measurement marks inside.
Using an old-fashioned stovetop percolator is a delightful experience that brings out the true essence of coffee brewing. The quality of the water used plays a significant role in the final taste of your cup of coffee. Opt for filtered or bottled water to enhance the flavor and prevent any mineral residue in your percolator.
It's important not to overfill the percolator to avoid any messy spills or water boiling over during the brewing process. Make sure the water covers the pump tube adequately but doesn't exceed the maximum capacity for ideal circulation. Adjust the amount of water based on the number of cups of coffee you wish to brew, ensuring you achieve your desired strength with each flavorful sip.
Assembling the Percolator Components
Assembling the components of a coffee percolator involves carefully fitting together the reservoir, stem, basket, and basket lid to guarantee the best brewing performance.
- Reservoir: The main body where water is poured for the brewing process.
- Stem: Connects the reservoir to the basket, allowing hot water to percolate through the coffee grounds.
- Basket: Holds the coffee grounds during brewing, essential for flavor extraction.
- Basket Lid: Covers the basket to make sure the grounds stay in place while allowing the brewed coffee to flow back down.
Ensuring each piece fits snugly and securely is critical for a successful brewing experience. The reservoir sets the stage, the stem guides the water, the basket holds the key to flavor, and the basket lid keeps everything in check. As you assemble these components, envision the delicious coffee you're about to brew, each part playing its significant role in the symphony of flavors that will soon fill your cup.
Adding Coffee Grounds
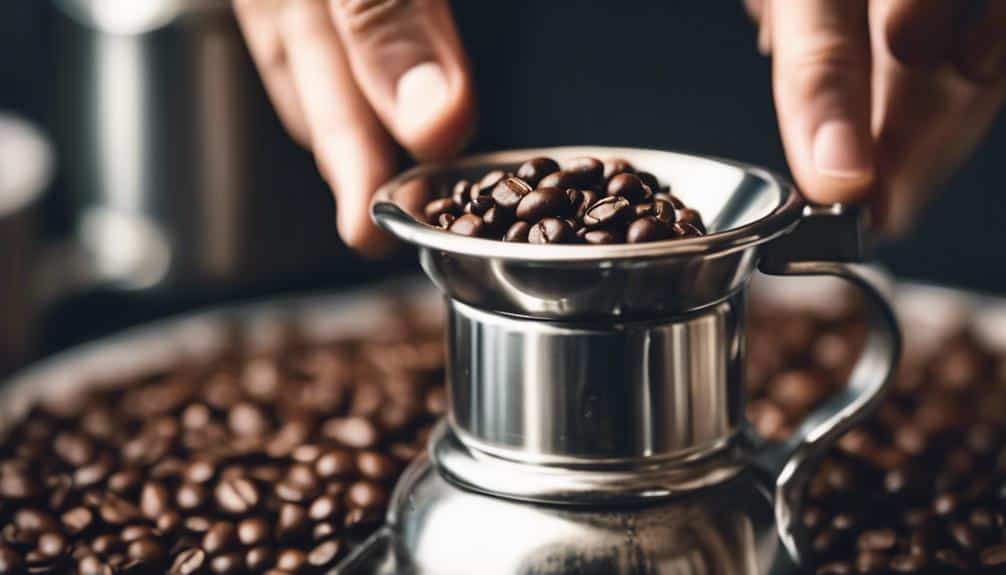
With the reservoir assembled and ready, it's time to carefully add the measured, coarsely ground coffee to the basket for a flavorful brewing experience.
Start by measuring the appropriate amount of ground coffee based on your desired coffee strength. Using coarsely ground coffee is vital to prevent grounds from passing through the percolator basket, ensuring a smooth cup of coffee.
When adding the ground coffee to the basket, make sure to distribute it evenly for best brewing results. Avoid compacting the coffee grounds in the basket as this will allow for proper water circulation during the brewing process.
Remember, using fresh, high-quality coffee grounds is essential for a delicious brew. The stainless steel Percolator, paired with the right amount of ground coffee and a good-quality coffee filter, will result in a rich and aromatic cup of coffee that will satisfy your taste buds.
Enjoy the process of brewing coffee with your Percolator and savor the delightful flavors it brings.
Heating the Percolator
Gently heat the percolator over low heat to guarantee a gradual water temperature increase, preserving the coffee grounds' flavors and preventing scorching. When heating the percolator, it's important to handle the process with care and attention to detail. Here are some essential tips to make sure the perfect brewing temperature:
- Choose a gentle heat source to maintain control over the brewing process.
- Avoid high heat settings to prevent a rapid boil that can affect the quality of your coffee.
- Keep a close eye on the percolator to maintain a steady and consistent brewing temperature.
- Practice patience as you heat the percolator, allowing the flavors to develop without risking burning the grounds.
Enjoying Your Freshly Brewed Coffee
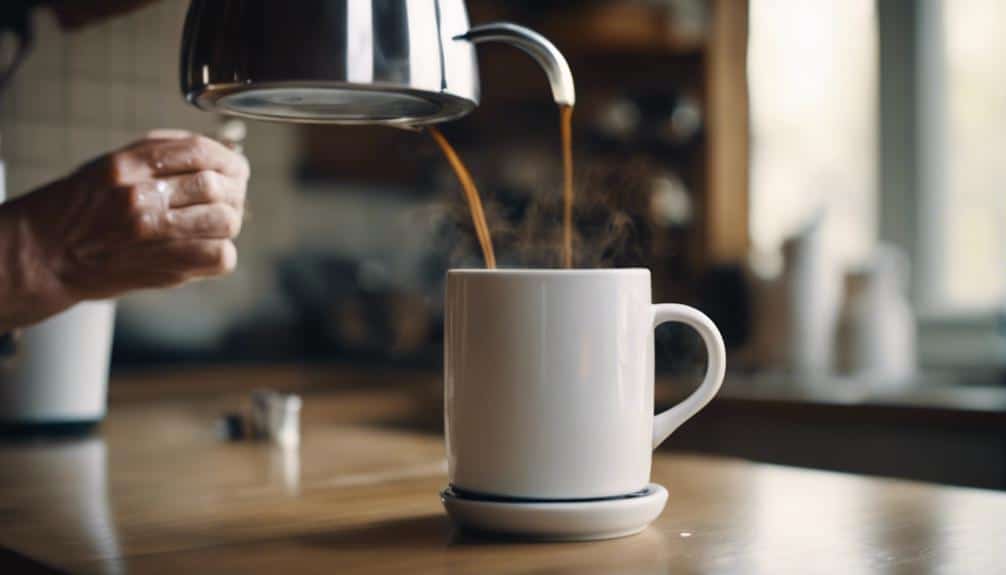
Heating the percolator gently guarantees a gradual water temperature increase, preserving the coffee grounds' flavors and preventing scorching; now, savor the rich aroma of your freshly brewed coffee from the percolator. There's something special about that first sip of percolated coffee. The robust flavor profile and deep aroma create a sensory experience like no other. As the steam rises from the pot of coffee, I pour it into my favorite mug, feeling the warmth in my hands. Adding a touch of cream or sugar enhances the experience, allowing me to customize my drink to perfection. Each sip brings comfort and satisfaction, reminding me of the care and precision that went into making this delicious brew.
| Enjoying Your Freshly Brewed Coffee |
|---|
| 1. Savor the rich aroma |
| 2. Pour into favorite mug or cup |
| 3. Customize with cream or sugar |
| 4. Appreciate robust flavor profile |
| 5. Feel warmth and comfort |
Conclusion
I hope these simple steps have helped you learn how to use a coffee percolator with ease.
By following these instructions, you can enjoy the ritual of brewing your own fresh cup of coffee at home.
The rich aroma and robust flavor of percolator coffee are truly unmatched.
So, get brewing and savor every sip of your perfectly brewed cup of joe.
Cheers to the art of percolating!

