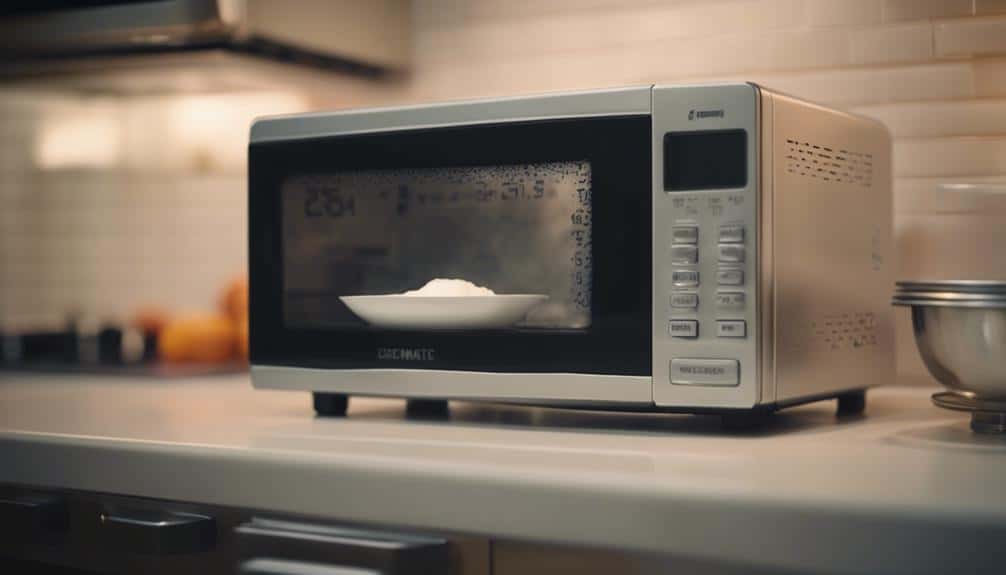
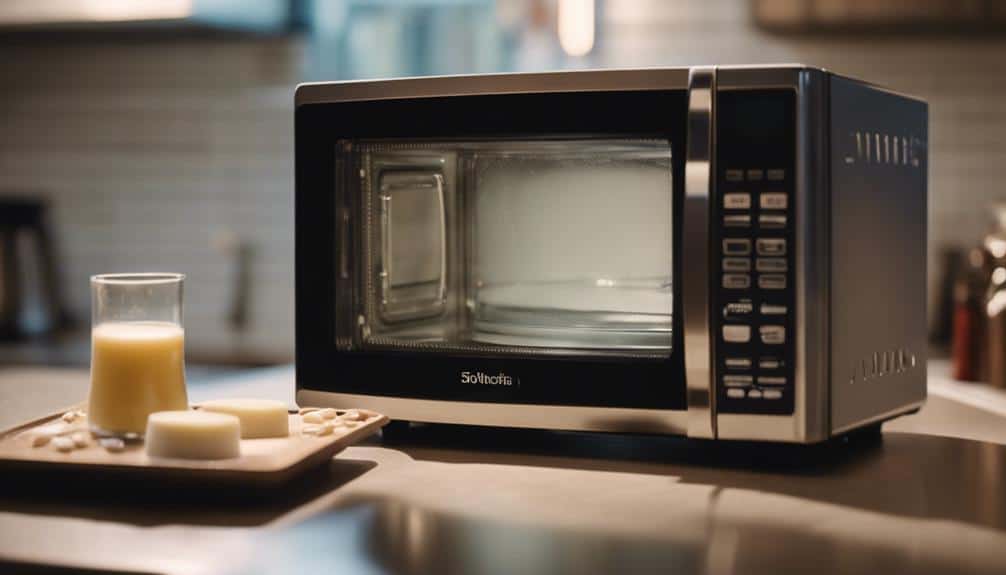
How to Heat Milk Long in the Microwave
When it comes to heating milk in the microwave for an extended period, there's a critical balance to strike. The process involves more than just pressing a button and waiting. By following certain steps, you can guarantee that the milk is heated evenly and maintains its quality. But what happens if you skip an essential step or don't monitor the temperature meticulously? Let's explore the nuances of heating milk in the microwave for a longer duration and how each detail contributes to the final outcome.
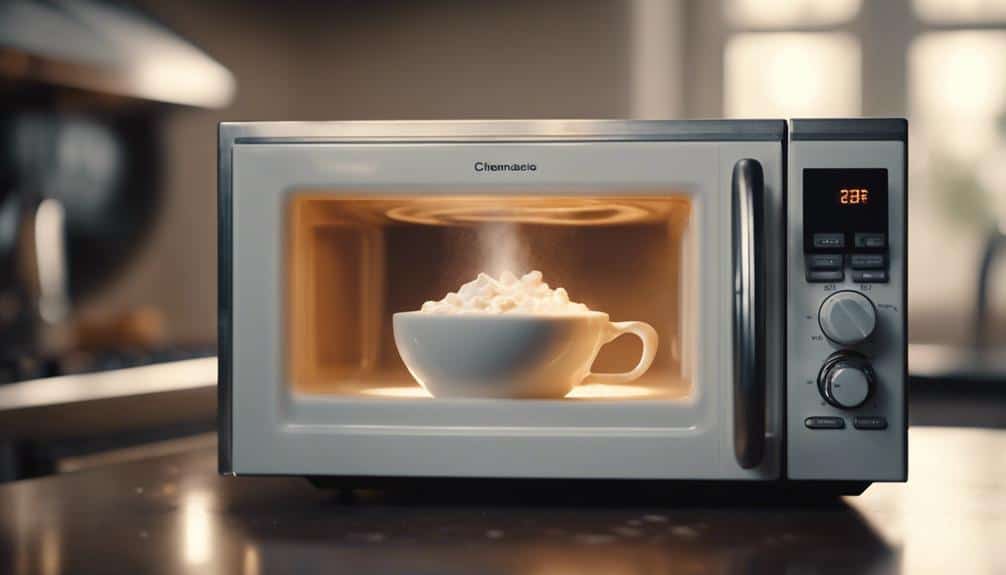
Preparing the Microwave-Safe Container
To prepare the microwave-safe container for heating milk, make sure it's free of any residue and select a size that allows for proper expansion. When choosing a container, opt for glass or ceramic as they're important choices for microwave use. Metal containers should be avoided due to the potential for sparks and damage.
Prior to heating the milk, confirm the chosen container is clean to prevent any contamination of the milk during the heating process. Selecting a size that accommodates the milk's expansion while heating is vital to prevent spills or overflow. Additionally, covering the container with a lid or cover before placing it in the microwave can help prevent splattering and maintain a clean microwave interior.
Pouring the Desired Amount of Milk
First, accurately measure the desired amount of milk to prevent spills in the microwave.
Next, select a suitable microwave-safe container that can accommodate the quantity of milk you intend to heat.
Measure Milk Accurately
Using a measuring cup guarantees precise pouring of the desired amount of milk for consistent heating results in the microwave.
Accurately measuring the milk quantity is essential to prevent wastage and avoid overheating. It guarantees that you achieve the desired temperature without under or over-heating the milk.
Proper measurement also enables efficient heating, reducing the risk of spills or mess in the microwave. By pouring the exact amount of milk needed, you can follow precise heating times and achieve excellent results.
This method not only saves time but also ensures that your milk is heated evenly and ready for consumption. So, remember to measure your milk accurately before heating it in the microwave for the best outcomes.
Use Microwave-Safe Container
When preparing to heat milk in the microwave, ensuring the selection of a microwave-safe container is vital for safe and effective heating. It is essential to choose a container that is labeled as microwave-safe to prevent damage and ensure the milk is heated efficiently. Select the desired amount of milk to pour into the container, avoiding overfilling to prevent spillage and promote even heating. Adjust the quantity of milk based on your needs and the capacity of the chosen microwave-safe container. Prioritize safety by following microwave-safe guidelines for containers to prevent accidents during the heating process.
| Microwave-Safe Container | Importance |
|---|---|
| Prevents damage | Ensures safe heating |
| Efficient heating | Prevents spillage |
| Follow safety guidelines | Promotes even heating |
Setting the Microwave to Medium Power
To ensure a gentle and even heating process without the risk of overheating, adjusting the microwave to medium power is vital when heating milk. Using medium power settings is essential for maintaining the quality of the milk by preventing scorching or boiling, which can alter its taste and nutritional content.
This setting allows for precise temperature control, reducing the likelihood of hot spots and ensuring a consistent heating experience. By opting for medium power levels, you can achieve an ideal temperature that promotes a smoother heating process, leading to a better overall quality of the heated milk.
Embracing medium power in the microwave provides a practical approach to slowly and evenly heating milk, preserving its integrity and enhancing its flavor profile. Make sure to select medium power on your microwave for a controlled and effective milk-heating process.
Initial Heating for 1 Minute
To guarantee even heating distribution and prevent boiling over, starting with an initial 1-minute heating cycle is essential.
This brief period kickstarts the process of warming the milk efficiently.
It's a simple yet effective way to begin the milk-heating process in the microwave.
Even Heating Distribution
For essential even heating distribution in the microwave, it's recommended to start by heating the milk for 1 minute initially. This short heating period allows the milk to warm up gradually, reducing the chances of overheating and ensuring a more uniform temperature.
Hot spots can be avoided by stirring the milk after the first minute, helping to distribute the heat evenly throughout. Maintaining consistent temperature distribution is vital for preserving the quality and taste of the milk.
Prevent Boiling Over
Upon heating one cup (250 mL) of milk for 1 minute in the microwave initially, the significance of boiling over is greatly reduced. This hot start helps warm the milk gradually, preventing sudden temperature spikes that could lead to boiling over.
By using a microwave-safe container and ensuring even heating, you can maintain better control over the milk's temperature. Starting with a shorter heating time allows the milk to warm up uniformly without reaching boiling point too quickly.
Monitoring the milk closely during this initial heating phase is essential to prevent any spillage. Adjusting the heating times as necessary based on your microwave's power will help you achieve the perfect temperature without any messy accidents.
Stirring and Continuing in Intervals

Stirring the milk every 15 seconds while heating guarantees even distribution of heat and helps prevent scorching. This method assures that all parts of the milk are exposed to the heat equally, reducing the likelihood of creating hot spots which can lead to overheating. By incorporating intervals into the heating process, it allows for better temperature control and prevents the milk from reaching a boiling point too quickly.
Continuously stirring the milk during these intervals not only aids in maintaining a consistent temperature throughout but also assists in breaking down any pockets of cooler milk, ensuring a more uniform warming process. These breaks in heating intervals are essential as they allow for a gradual increase in temperature, reducing the risk of overheating and maintaining the milk's quality.
Monitoring Temperature Range
As the milk approaches the ideal temperature range for safe consumption, precision in monitoring its heat levels becomes paramount to avoid any undesirable changes in texture and nutrient content.
Here are three essential points to ponder when monitoring the temperature range:
- Vital Temperature Range: Heating the milk within the recommended range of 65-70°C is essential to prevent scalding and guarantee safety without compromising its nutritional value.
- Nutritional Value Preservation: Sustaining the temperature of the milk within the ideal range helps preserve its natural sweetness and nutritional content, ensuring you get the most out of your beverage.
- Preventing Overheating: Monitoring the temperature of the milk closely is key to prevent overheating, which can lead to texture changes and nutrient loss. Using a food thermometer can help make sure that the milk is heated safely for consumption.
Preventing Scalding With Stirring

To prevent scalding while heating milk in the microwave, it's important to consistently stir the milk to distribute heat evenly and avoid hot spots. Stirring the milk every 15 seconds during the heating process is vital for avoiding overheating and ensuring that the milk is uniformly heated.
By stirring at regular intervals, you can prevent scalding and maintain a steady temperature throughout the milk, reducing the risk of hot spots that could lead to uneven heating or burning. This method of stirring helps to evenly heat the milk, minimizing the chances of localized overheating and promoting a safe and effective heating process.
Hence, to achieve the desired temperature without any scalding issues, it's recommended to keep stirring the milk every 15 seconds while microwaving it.
Ensuring Even Distribution of Heat
Ensuring even distribution of heat in the microwave when heating milk can be achieved by stirring halfway through the process. This simple action aids in evenly heating the milk, preventing hot spots that can lead to scorching and ensuring a consistent temperature throughout. By incorporating this step, you can maintain the quality of the milk and prevent a grainy or burnt texture.
- Stirring Technique: Gently stir the milk with a spoon or whisk halfway through the microwaving process. This helps to distribute the heat more uniformly, preventing localized overheating.
- Time Interval: Pause the microwave around the halfway mark to stir the milk thoroughly. This interruption in the heating process allows for any hot spots to dissipate and promotes a smoother texture.
- Quality Maintenance: Consistent stirring not only ensures even heating but also helps to maintain the quality and taste of the milk, resulting in a more enjoyable beverage.
Perfectly Heating Milk for Hot Chocolate
For achieving ideal results when heating milk for hot chocolate, consider utilizing a thermometer to monitor the milk's temperature throughout the process. Start by heating the milk in the microwave on medium power for 1 minute, then continue in 20-second intervals, stirring between each interval to guarantee even heating. Aim to reach a final milk temperature between 65-70°C, as this range enhances the natural sweetness of the milk, prevents scalding, and guarantees safety for hot chocolate preparation.
Once the milk reaches the desired temperature, gradually add chopped dark chocolate to the heated milk. Stir the mixture until the chocolate is fully melted and blended, creating a rich and creamy base for your hot chocolate. To sweeten the hot chocolate, add 1-2 tablespoons of caster sugar, a pinch of sea salt, and optionally, 1/2 teaspoon of vanilla extract for added flavor depth.
Following these precise steps will result in a delicious homemade hot chocolate perfect for cozy evenings or special occasions.
Conclusion
To sum up, by following these detailed steps and closely monitoring the temperature range, you can heat milk in the microwave for a longer duration while guaranteeing it remains heated thoroughly and maintains its nutritional value.
Stirring at regular intervals and using medium power settings will help prevent scorching and ensure even distribution of heat.
This method is perfect for preparing warm milk for hot chocolate or any other recipe that requires gently heated milk.