7 Easy Steps to Clean Your Keurig Duo
Cleaning my Keurig Duo has never been easier with these 7 simple steps. From unplugging and washing parts to running a cleansing brew cycle, each step plays an essential role in maintaining the machine's performance. But what happens if these steps are neglected? Let's explore the consequences of overlooking these easy cleaning tasks and why they are important for the longevity of your beloved brewing companion.
Unplug and Remove Pods
Before starting the cleaning process for your Keurig Duo, it's important to unplug the machine and clear out any K-cup pods or coffee grounds to guarantee a safe and effective cleaning session. Safety is of utmost importance, so always begin by disconnecting the machine from the power source to prevent any electrical accidents. Make sure that the Keurig Duo is cool to the touch before handling it to avoid burns or injuries. Removing any remaining pods or grounds is vital for a thorough cleaning process and prevents any blockages in the brewing system.
To begin, unplug the Keurig Duo and remove any remaining water from the reservoir. Next, open the pod holder and dispose of any used pods. Check the drip tray for any coffee grounds or spills and clean it thoroughly. By taking these simple steps, you establish the groundwork for a successful cleaning session, ensuring that your Keurig Duo continues to brew your favorite beverages flawlessly.
Wash Removable Parts
To effectively clean your Keurig Duo, thoroughly wash the removable parts using warm, soapy water and a non-abrasive cloth or sponge. Start by removing the water reservoir, lid, drip tray, and K-Cup holder for a thorough clean. Make sure to scrub these parts diligently, focusing on any coffee residue or buildup to guarantee cleanliness.
After washing, rinse the removable parts with clean water to eliminate any soap residue. Allow the parts to air dry completely before reassembling them back into the Keurig Duo for future use. Remember, a thorough cleaning of the removable components is important for maintaining the functionality and hygiene of your coffee maker.
Wipe Exterior With Cloth
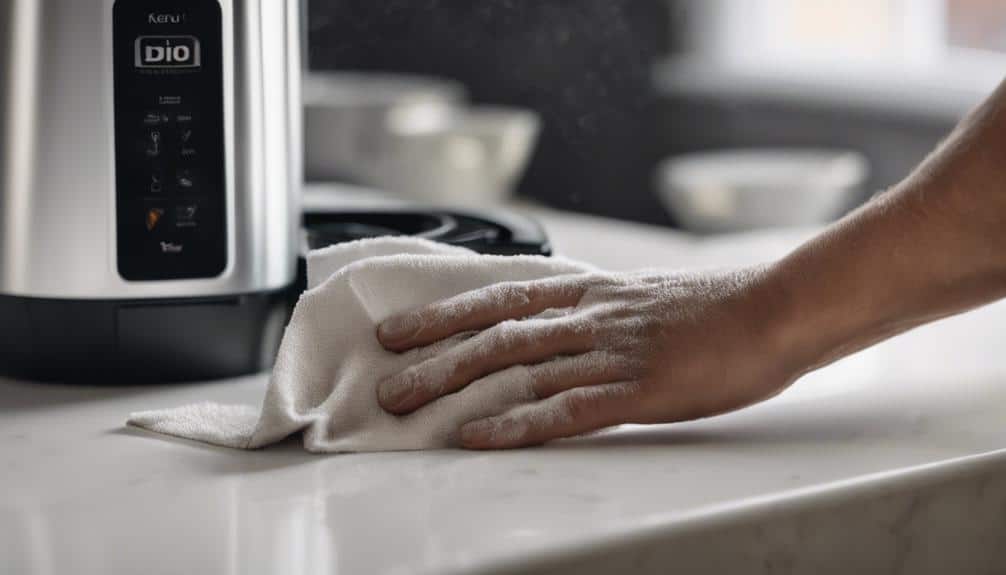
Wiping down the exterior of your Keurig Duo with a damp cloth and dish soap helps maintain its cleanliness and appearance. Here are some key steps to effectively clean the exterior of your Keurig Duo:
- Use a Damp Cloth: Start by dampening a cloth with water and a small amount of dish soap. Make sure the cloth isn't dripping wet to prevent water damage to the machine.
- Focus on Buttons and Handles: Pay special attention to the areas around buttons, handles, and the water reservoir. These areas are prone to collecting dirt, spills, and coffee stains.
- Wipe Away Dust and Spills: Regularly wipe down the exterior to remove dust, spills, and splatters. This helps prevent the buildup of grime and maintains the hygiene of your Keurig Duo.
- Maintain Overall Appearance: Cleaning the exterior of your Keurig Duo after spills or regularly as part of your cleaning routine will aid in maintaining the overall appearance and cleanliness of your machine.
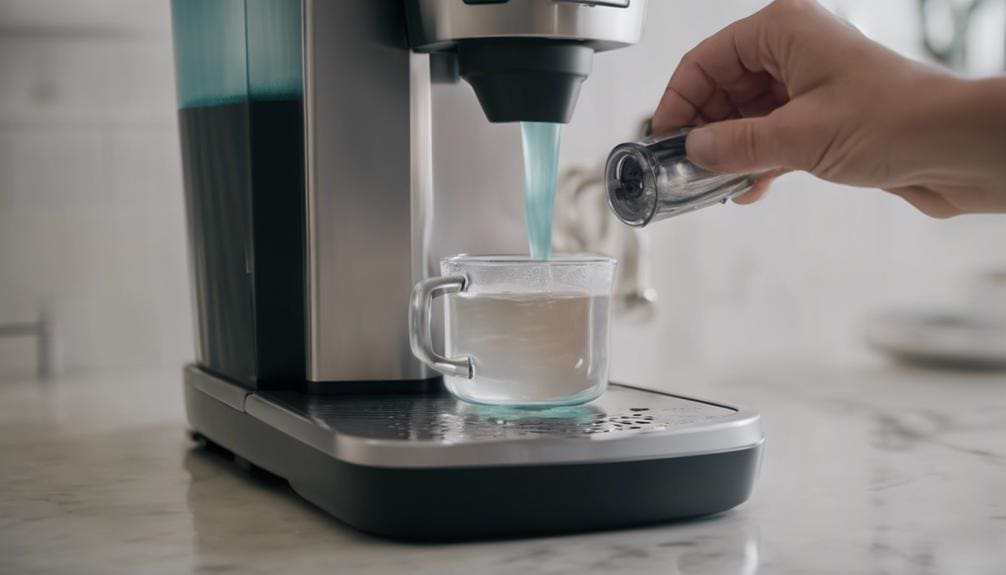
Run Cleansing Brew Cycle
When it comes to maintaining your Keurig Duo, the Cleansing Brew cycle plays an important role.
This cycle effectively removes residue and build-up, ensuring excellent coffee flavor.
Descaling the Machine
Descale your Keurig Duo by initiating a cleansing brew cycle without a K-cup pod for best machine performance. To effectively descale your Keurig Duo, consider the following:
- Use Keurig descaling solution or a mixture of white vinegar and water.
- Make sure the water reservoir is filled with the descaling solution or vinegar solution.
- Start the cleansing brew cycle following the manufacturer's instructions for the appropriate duration.
- Repeat the process with water to rinse the machine thoroughly.
Regular descaling every 3-6 months helps eliminate mineral buildup, guaranteeing your coffee maintains its fresh and delicious taste. Following these steps will keep your Keurig Duo running smoothly and producing great-tasting coffee.
Using Cleaning Solution
Using a Keurig-approved cleaning solution or a mixture of white vinegar and water, initiate a cleansing brew cycle without a K-cup pod to effectively clean the inner components of your Keurig Duo. This process helps eliminate any residue or build-up that may have accumulated inside the machine, ensuring a fresh and hygienic brewing environment.
By running the cleansing brew cycle with the cleaning solution, you can maintain the performance and flavor integrity of your Keurig coffee maker. It's essential to regularly perform this cleaning step to keep your Keurig Duo operating at its best and to prevent any issues caused by residue build-up.
Clean Needles With Tools
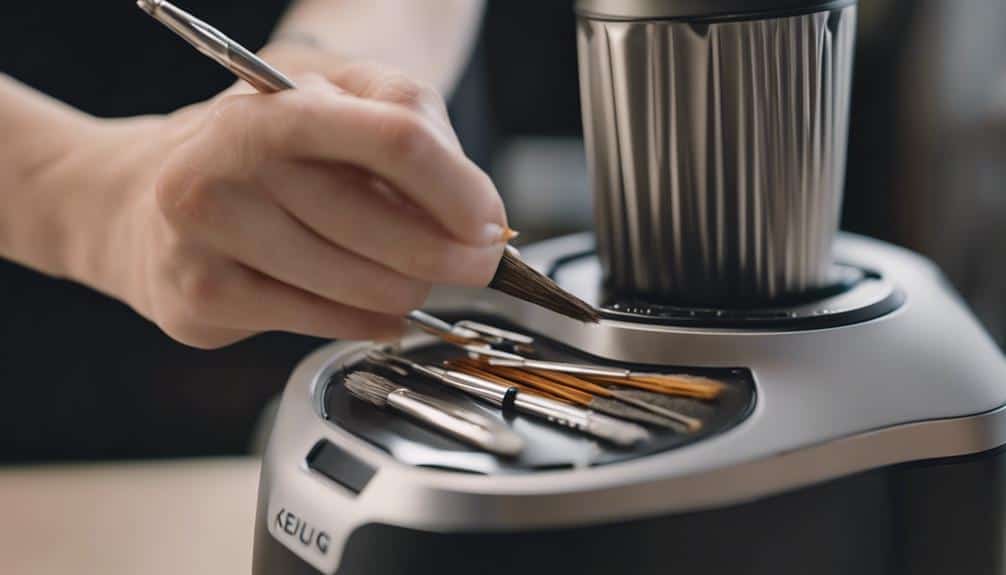
To effectively clean the needles in your Keurig Duo, utilize a paper clip or the Keurig-approved needle cleaning tool. Here are the steps to clean the needles in your Keurig:
- Unplug the machine: Before beginning the cleaning process, it's essential to unplug your Keurig to guarantee safety.
- Clear debris from the pod holder: To maintain peak performance, make sure to clear any debris from the pod holder area.
- Focus on the entrance needle under the brewer head: Pay special attention to the entrance needle under the brewer head as it's vital for thorough maintenance.
- Brew two cups of clear water: After cleaning the needles, brew two cups of clear water through your Keurig to ensure proper functionality.
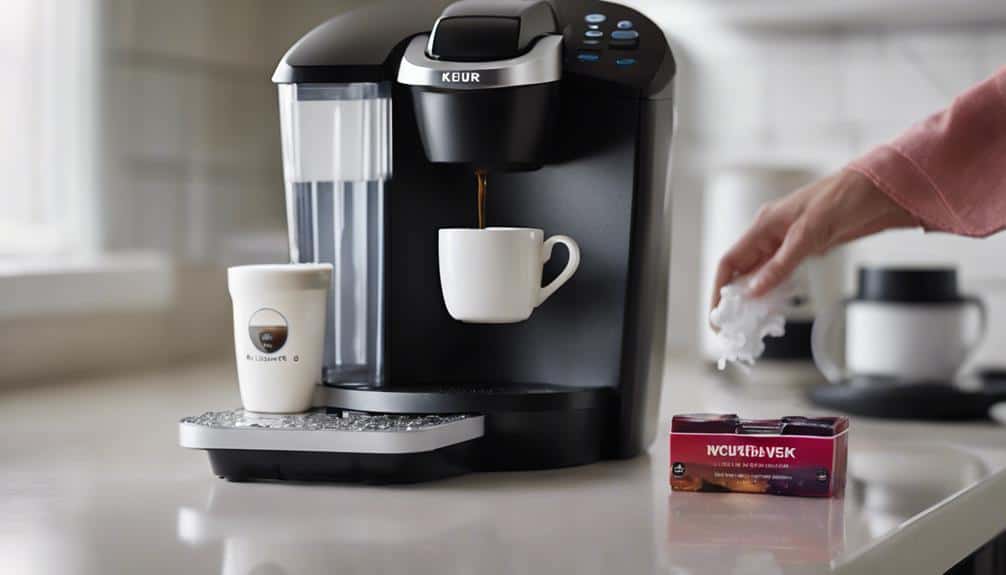
Replace Water Filter
When replacing the water filter in your Keurig Duo, guarantee peak performance and taste by following the recommended replacement schedule of every 2-3 months.
Start by soaking and rinsing the new water filter cartridge to make certain it's clean before installing it back into the filter holder. Make sure to wash and reassemble the filter holder properly, then lock it back into the reservoir securely.
It's advisable to replace the water filter after descaling your Keurig Duo to maintain the freshness of your beverages. Regularly replacing the water filter helps in removing impurities, ensuring the purity of the water used in brewing your coffee or tea.
Maintain Regular Cleaning Schedule
Maintain a consistent cleaning schedule for your Keurig Duo to guarantee peak performance and longevity of your coffee maker. Follow these easy steps to keep your machine running smoothly:
- Clean after each use: Wipe down the exterior and drip tray to prevent residue buildup.
- Weekly maintenance: Wash removable parts like the water reservoir and filter holder with dish soap and water.
- Thorough drying: Hand wash all parts and air dry completely before reassembling.
- Regular descaling: Set reminders to descale your Keurig Duo every 3-6 months using white vinegar or Keurig Descaling Solution to maintain top performance.
Conclusion
To sum up, following these 7 easy steps to clean your Keurig Duo will guarantee its peak performance and longevity. Regular maintenance is key to keeping your machine free from blockages, residue, and impurities.
By unplugging, washing, wiping, running a cleansing brew cycle, cleaning needles, replacing the water filter, and maintaining a cleaning schedule, you can enjoy a consistently great cup of coffee every time.
Keep your Keurig Duo in top condition with these simple cleaning steps.