Reset Keurig Slim Descale in 3 Simple Steps
I recently discovered a straightforward method to reset the descale function on my Keurig Slim, and it has made a significant difference in how my coffee tastes. By following just three simple steps, I was able to guarantee that my machine operates at its best. The process is quick and easy, but the results are definitely worth it. If you're looking to maintain the quality of your coffee and your Keurig machine, these steps are essential.
Fill Water Reservoir
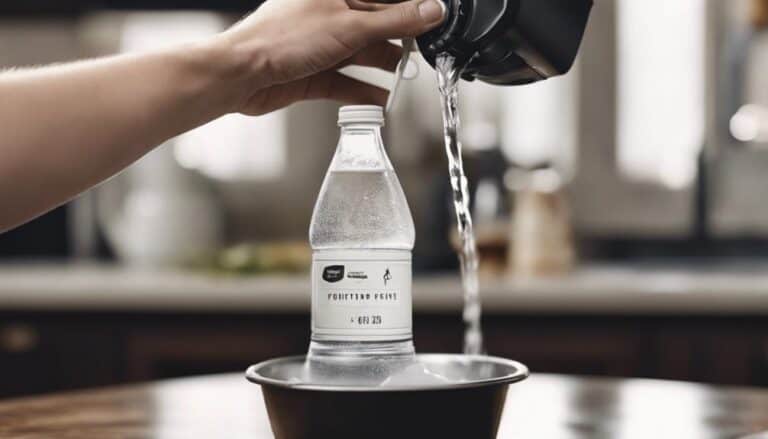
To start descaling the Keurig Slim, first make sure the water reservoir is empty. For the descale process, you'll need a descaling solution or a mixture of white vinegar and water. Refer to the manufacturer's instructions to determine the proper dilution ratio for the descaling solution. Avoid using distilled or softened water in the reservoir, as these can lead to buildup and impact the machine's performance negatively.
When filling the water reservoir, make sure you pour the descaling solution or white vinegar mixture up to the recommended level indicated by the manufacturer. This step is essential in effectively descaling the Keurig Slim and maintaining its peak performance. Regularly check the water level and refill the reservoir as needed to prevent any potential damage to the machine and to ensure seamless brewing processes. Remember, a clean and properly filled water reservoir is vital for the overall functionality of your Keurig Slim.
Press and Hold Buttons
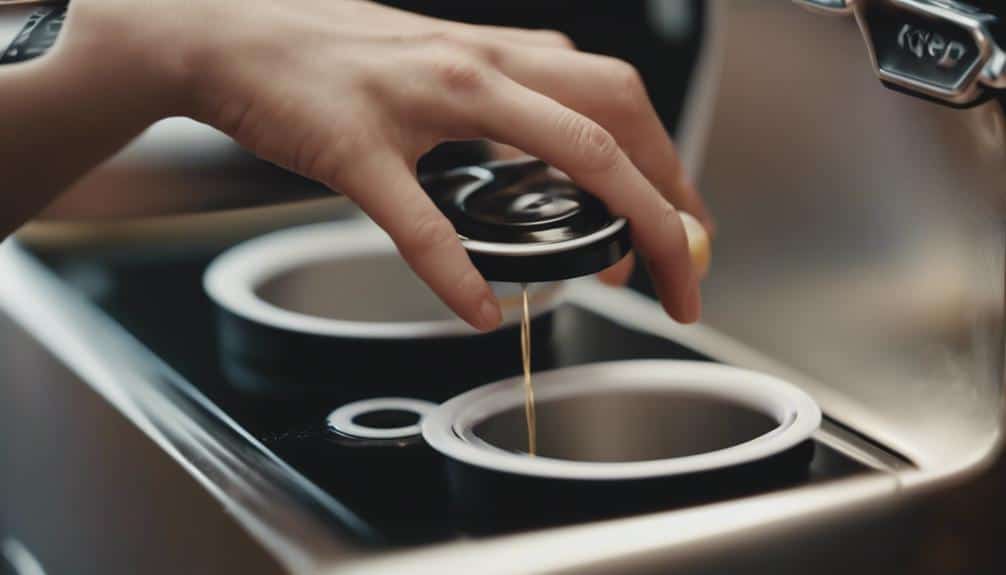
I press and hold the 8oz and 12oz buttons simultaneously to reset the descale light on my Keurig Slim. This action triggers the descale mode, which is essential for clearing the descale indicator light. By following these instructions, I can guarantee proper maintenance of my Keurig Slim, ultimately enhancing its performance.
Resetting the descale light is a critical step in the maintenance of the Keurig Slim. It helps in keeping the machine in top working condition and ensures that it continues to brew delicious coffee. Proper descaling is crucial for extending the lifespan of the Keurig Slim and avoiding any potential issues that may arise from neglecting this maintenance task.
Run Cleansing Brew Cycle

After successfully resetting the descale light by pressing and holding the 8oz and 12oz buttons on the Keurig Slim, the next step is to run a cleansing brew cycle to guarantee peak performance.
Running a cleansing brew cycle is essential to flush out any descaling solution residue that may be present in the machine. This process guarantees that no descaler or vinegar remnants affect the taste of your coffee, maintaining its quality.
Additionally, the cleansing brew cycle helps eliminate any lingering odors or flavors from the descaling process, ensuring a fresh and clean brew every time. Performing this step post-descaling is recommended to uphold the Keurig Slim's performance.
Regularly incorporating cleansing brew cycles into your routine can help keep your machine in top condition for brewing, enhancing its longevity and efficiency. Remember, a clean machine brews better coffee.
Conclusion
To sum up, by following these three simple steps to reset the descale light on your Keurig Slim, you can guarantee peak performance and delicious coffee every time.
Remember to fill the water reservoir, press and hold the buttons to trigger descale mode, and run a cleansing brew cycle.
These quick and easy actions will keep your Keurig Slim in top working condition and extend its lifespan.
Enjoy your freshly brewed coffee without any worries!