Quick Guide for Keurig Descale Reset in 5 Easy Steps
So, you've got a Keurig that needs a descale reset, but not sure where to start? Well, let me tell you, in just five straightforward steps, you can have your Keurig running smoothly again. Keeping your machine in top shape is crucial for that perfect cup of coffee every time. Why not give these steps a try and see the difference it can make to your brewing experience?
Power Off Brewer and Empty Reservoir
Before beginning the descale reset process for your Keurig, make sure to power off the Brewer and empty the reservoir. To effectively reset the descale light, ensuring the Brewer is completely turned off is essential. This action sets the stage for successful troubleshooting to reset the descale indicator.
Start by locating the power button on your Keurig Brewer and switch it off. Next, detach the water reservoir from the Brewer and pour out any remaining water. It's important to have an empty reservoir to proceed with the reset process.
Pour Descaling Solution and Water
To properly initiate the descaling process for your Keurig Brewer, begin by combining the recommended descaling solution with fresh water in the water reservoir. The descaling solution is vital for breaking down mineral deposits and scale buildup within the machine. Follow these steps to guarantee the proper mixture:
| Descaling Solution | Water | Process |
|---|---|---|
| 1 bottle | Fill the water reservoir | Add the descaling solution |
| Fill the rest with fresh water | Mix the solution and water thoroughly | |
| The mixture is now ready for the descaling process |
After adding the descaling solution and water to the reservoir, the Keurig is prepared for the next steps in the descaling process. Remember that the proper dilution of the solution is essential for effectively cleaning the internal components of your Keurig Brewer. Once the reservoir is filled with the solution and water, you can proceed with the descaling process by pressing the appropriate button on your machine.
Perform Cleansing Brew Cycle
Start the cleansing brew cycle by selecting the appropriate cup size on your Keurig machine and pressing the brew button. The cleansing brew cycle is important for removing mineral deposits and buildup within the internal components of the Keurig. This process helps maintain the machine's performance and longevity by ensuring it functions at its best.
Running the cleansing brew cycle with descaling solution is key to resetting the descale light indicator. To thoroughly descale your Keurig, it's recommended to repeat the cleansing brew cycle multiple times. By doing so, you can effectively clean the internal components and ensure that your Keurig operates at its peak.
Let Stand, Empty, and Rinse Reservoir
After allowing the descaling solution to sit for 30 minutes, proceed by completely emptying the water reservoir to eliminate any remaining solution. Here are the next steps to guarantee peak performance:
- Empty Water Reservoir: Remove any residual solution by emptying the water reservoir completely.
- Rinse Thoroughly: Rinse the water reservoir carefully to remove any traces of descaling solution.
- Refill with Fresh Water: Before starting the rinsing process, refill the reservoir with fresh water to guarantee thorough cleaning.
- Rinse the Brewer: After descaling, rinsing the Brewer with fresh water is essential to remove any remaining solution for top performance.
Repeat Cleansing Brew Cycle
For ideal descaling results, initiate the repeat cleansing brew cycle to thoroughly remove any lingering mineral deposits from the Keurig machine. Start by ensuring the descaling solution is still in the water reservoir.
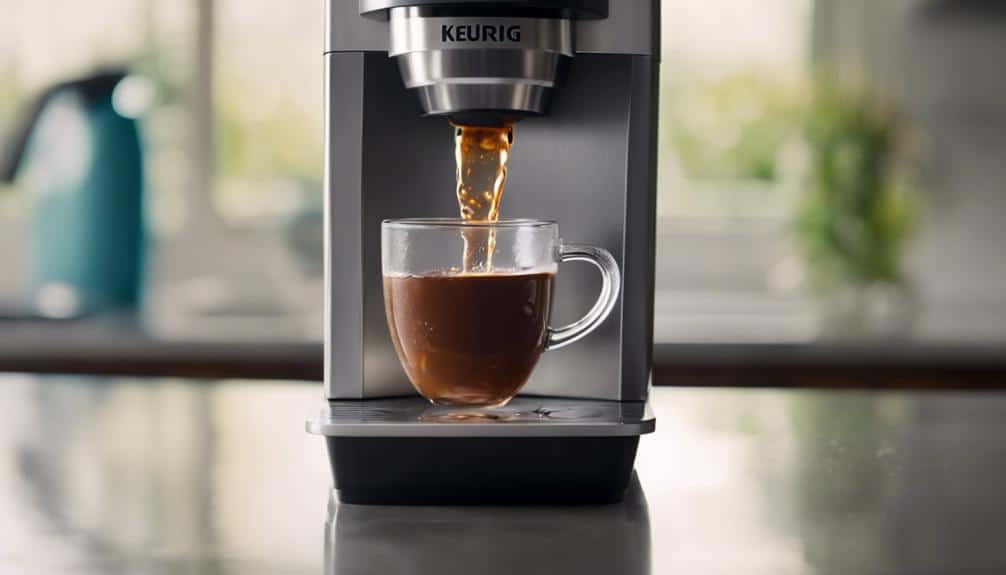
Place a large mug on the drip tray to collect the solution. Press the brew button to begin the cleansing cycle. As the solution flows through the machine, it works to break down any remaining mineral deposits.
Repeat this process multiple times if necessary, depending on the severity of the buildup. The cleansing brews help reset the descale light and maintain peak brewing performance.
Conclusion
In just 5 easy steps, you can descale and reset your Keurig for peak performance.
By following this quick guide, you can maintain your machine and guarantee a great tasting cup of coffee every time.
Remember to regularly descale your Keurig to prevent mineral buildup and keep it running smoothly.
Enjoy hassle-free brewing with these simple steps!