A Step-by-Step Guide to Decoding the Keurig Descaling Light

When the descaling light on my Keurig Brewer starts blinking, it's like a silent call for attention. The steps to decode and address this indicator are straightforward but essential for maintaining the quality of my daily coffee routine. Gathering the supplies and preparing the Brewer may seem like basic tasks, but what comes next is where the real magic happens. Stay tuned to uncover the key to keeping your Keurig in top shape and your coffee tasting just right.
Understanding the Descale Light Indicator
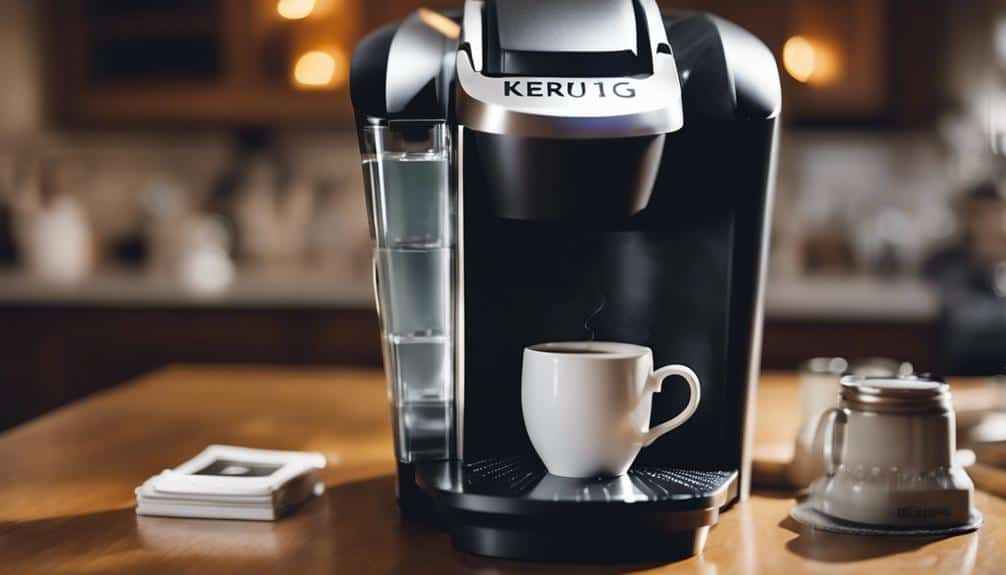
When I notice the descale light indicator illuminate on my Keurig machine, I know it's time to address potential mineral buildup to maintain peak performance. Descaling is important to guarantee the longevity of my Keurig Brewer.
The descale light serves as a warning sign, indicating that the water flowing through the system might contain minerals that can accumulate over time. These minerals can hinder the brewing process by clogging the system and affecting the taste of my coffee.
To start the descaling process, I need to press the descale button on my Keurig. This action initiates the cleaning cycle, where a descaling solution runs through the Brewer, removing any mineral deposits in the reservoir and internal components. After the descaling process is complete, it's vital to rinse the reservoir thoroughly with clean water to make sure all traces of the descaling solution are removed.
Regular descaling is key to maintaining the quality of my brews and the overall health of my Keurig machine.
Gathering Necessary Supplies and Equipment
To get ready for the descaling process, make sure you have the necessary supplies and equipment.
First, make certain you have the Keurig descaling solution, a vital component for effectively descaling your Keurig Brewer. Additionally, have a large mug ready for collecting the descaling solution during the process.
Access to a sink is essential for rinsing various parts of the Brewer. Prepare fresh water for rinsing the water reservoir thoroughly post-descale.
Furthermore, ensure the Keurig Brewer is connected to a power source to begin the descaling process successfully.
Having all these items in place is essential for a smooth descaling operation and maintaining the peak performance of your Brewer. By gathering these necessary supplies and equipment, you're one step closer to tackling the Keurig Descaling Light and ensuring your Brewer functions at its best.
Preparing Your Keurig Brewer for Descaling

Before commencing the descaling process on your Keurig Brewer, make sure it's powered off and the water filter, if present, has been removed from the reservoir.
To prepare for descaling, disable any auto-off features on the Keurig Brewer to avoid interruptions during the procedure. Make sure you have the Keurig descaling solution ready for an effective descale cycle.
Additionally, empty the water reservoir of any remaining water to begin the descaling process smoothly. By removing the water filter, you prevent any interference with the descaling solution, allowing it to work effectively throughout the Brewer.
Keeping the Brewer powered off is important for safety and ensures a proper descaling cycle. These steps are necessary to set the stage for a successful descaling operation, maintaining the efficiency and longevity of your Keurig Brewer.
Performing the Descaling Process
Starting the descaling process on your Keurig Brewer involves activating the Descale Mode for peak performance maintenance. To perform the descaling process correctly, follow these steps:
- Prepare the Brewer: Empty the water reservoir and pour fresh water mixed with a descaling solution into it up to the MAX fill line.
- Initiate Descaling: Start the brewer's descaling cycle. The DESCALE light turns on, indicating the process has begun.
- Flush with Fresh Water: Once the descaling cycle is complete, empty the bottle with water and add fresh water to the reservoir up to the MAX fill line. Pour this hot liquid through the brewer to rinse out any remaining descaling solution.
- Let it Stand: Let the brewer stand for a few minutes before proceeding to the next step.
Completing the Descaling Cycle

After completing the multiple cleansing brews with descaling solution, it's crucial to let the Brewer stand for at least 30 minutes before proceeding to the final rinsing step with fresh water. Allowing this time guarantees that the descaling solution effectively breaks down any mineral build-up within the Brewer.
Once the standing time has elapsed, empty the water reservoir and thoroughly rinse it with fresh, clean water. Refill the reservoir and repeat the cleansing brew process at least two more times to make sure all traces of the descaling solution are removed. This meticulous approach ensures that the Brewer is free from any remaining descaling agent, which could impact the taste of your beverages.
Once these final cleansing brews are completed, the Keurig Brewer is successfully descaled and ready for regular use. Remember, following these steps accurately is essential to maintaining the optimal functionality of your Brewer. If you encounter any issues during the descaling procedure, contact Keurig Consumer Care for assistance.
Ensuring Optimal Brewer Functionality
To maintain peak performance and beverage quality of your Keurig Brewer, regularly monitoring the descaling light is essential for achieving the best functionality. Guaranteeing ideal Brewer functionality involves the following steps:
- Regular Descaling: Descaling every 3 to 6 months prevents mineral buildup, clogs, and malfunctions, ensuring your Keurig Brewer operates at its best.
- Extend Life of Brewer: By adhering to a scheduled descaling routine, you can greatly prolong the lifespan of your Keurig Brewer, saving you money in the long run.
- Step-by-Step Process: Following a systematic descaling process recommended by Keurig helps maintain the Brewer's functionality and prevents issues that may arise from neglecting maintenance.
- Delicious Coffee: Promptly addressing the descaling light ensures that your Keurig continues to produce delicious coffee, preserving the quality of your beverages and enhancing your overall brewing experience.
Conclusion
In summary, by following the step-by-step guide to decoding the Keurig descaling light, you can effectively maintain your Brewer and enjoy delicious coffee without any issues.
Regular descaling every 3 to 6 months is essential to prevent mineral buildup and guarantee peak functionality.
Remember to gather the necessary supplies, prepare the Brewer, perform the descaling process, and repeat as needed for a prolonged lifespan of your Keurig Brewer.


