Keurig Descaling Light Step-by-Step Guide
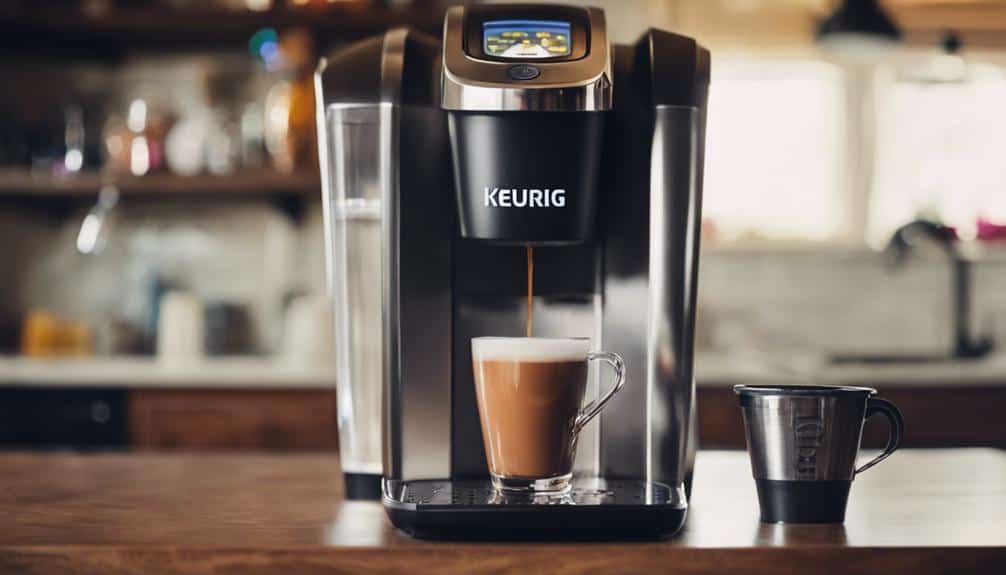
So, you've noticed that pesky descaling light blinking on your Keurig, signaling it's time for some maintenance. Let me walk you through a seamless step-by-step guide to tackling this task efficiently and ensuring your beloved brewer stays in top shape. Trust me; you don't want to overlook this essential process if you want to continue enjoying your favorite cup of coffee hassle-free.
Water Reservoir Preparation
Before beginning the descaling process, it's important to completely empty the water reservoir of any liquid. This step guarantees that the descaling solution can work effectively without any dilution. Additionally, it's essential to remove any water filter present in the reservoir to facilitate thorough cleaning. Detaching the water reservoir from the Keurig machine allows for easier access and maintenance during the descaling process. Check the reservoir for any mineral buildup or debris that could impede the descaling process and clean it accordingly.
Proper preparation of the descaling solution is crucial for successful cleaning. Follow the manufacturer's instructions to prepare the descale solution accurately. This step ensures excellent performance and longevity of your Keurig machine. By adhering to these steps and maintaining the water reservoir, you guarantee that your Keurig operates efficiently and provides you with delicious, fresh coffee every time.
Descaling Solution Preparation
To prepare the descaling solution for your Keurig machine, make sure you have either Keurig Descaling Solution or white vinegar on hand. Refer to the manufacturer's guidelines for the correct water to solution ratio. Begin by filling the water reservoir with the descaling solution. It's important to follow the specific descaling instructions provided for your Keurig model to guarantee effective descaling.
Fresh water is vital for this process as it will help in thoroughly cleaning your Keurig. The descaling solution acts to remove mineral build-up and residue within the machine, ensuring your coffee tastes as intended. Remember to remove any coffee pods or filters from the machine before proceeding with the descaling process.
Initial Brew Cycle
When it comes to the initial brew cycle after descaling, adjusting the water temperature and selecting the brew strength are key points to keep in mind.
Ensuring the water temperature is ideal and choosing the right brew strength will help in flushing out any remaining descaling solution effectively.
These steps are essential for maintaining the Keurig's brewing condition and preparing it for regular use post-descale.
Water Temperature Adjustment
Adjusting the water temperature during the initial brew cycle of a Keurig machine can greatly impact the flavor profile of your coffee. Keurig machines come with a default temperature setting of around 192°F, but you have the freedom to customize this according to your taste preferences.
Lowering the water temperature can result in a milder brew, while increasing it can intensify the flavor of your coffee. By experimenting with different water temperatures, you can find the perfect balance that suits your taste buds.
This customization allows you to enhance the overall coffee experience, ensuring that each cup is tailored to your specific preferences.
Brew Strength Selection
When selecting the brew strength on a Keurig machine, users have the option to adjust the intensity of their coffee flavor to suit their preferences. This feature allows users to customize their coffee experience by choosing between different strengths such as mild, medium, or strong.
The brew strength selection directly impacts the brewing time and the extraction process of the coffee, influencing the final taste. Keurig models offer this functionality to cater to various taste preferences, enabling individuals to tailor their coffee to their liking.
Allowing Solution to Sit
To enhance descaling efficiency, it's essential to allow the solution to sit inside the Keurig for the recommended duration. Allowing the descaling solution to sit aids in breaking down calcium buildup within the machine. Depending on the Keurig model, the sit time can vary from 30 minutes to an hour. The longer the solution sits, the more effectively it can dissolve the scale deposits.
Some Keurig models may require multiple cycles of solution sitting to thoroughly descale the internal components. Following the recommended sitting time ensures a thorough descaling process, leading to peak performance of the coffee maker. Ensuring the solution effectiveness by adhering to the recommended sit time is crucial for maintaining the Keurig's internal components and allowing it to function at its best.
Continuous Brewing
Continuous brewing without proper maintenance can accelerate mineral buildup in your Keurig, prompting the activation of the descale light. To prevent this, it's important to rinse the water reservoir with fresh water every time you descale.
When the DESCALE light turns on, remove the water filter, fill the empty descaling solution bottle with fresh water, and add the appropriate amount of descaling solution. Begin the descaling process by pouring the mixture into the water reservoir and starting a brew cycle without a K-cup.
Once the cycle is complete, empty the reservoir and rinse it thoroughly. Refill the reservoir with fresh water and run multiple brew cycles until the DESCALE notification turns off. Regular descaling is vital to maintaining the performance of your Keurig brewer and ensuring a consistent brewing experience.
Flushing With Fresh Water
After completing the descaling process, the next step is to flush the Keurig system with fresh water to ensure the removal of any residual descaling solution and uphold the quality of your coffee. Flushing with fresh water is an essential step in the descaling process as it helps eliminate any remaining descaling solution, ensuring that your coffee won't have any residual taste or smell. This process also prepares your Keurig for regular use by ensuring the water used for brewing is clean and free of descaling solution, maintaining the quality and taste of your coffee. Below is a table summarizing the importance of flushing with fresh water:
| Importance of Flushing with Fresh Water |
|---|
| Removes remaining descaling solution |
| Eliminates residual taste |
| Prepares Keurig for regular use |
| Maintains quality and taste of coffee |
Repeat Rinsing Process
I'll now address the final rinse cycle and checking the descaling progress in detail. This step is vital to guarantee all traces of descaling solution are completely removed from the system.
Final Rinse Cycle
For thorough removal of any remaining descaling solution, multiple repetitions of the rinsing process with fresh water are recommended to guarantee the water reservoir is completely free of residue.
The final rinse cycle is essential to make sure all descale solution is flushed out, preventing any residual solution from impacting the flavor of your coffee.
By repeating the rinsing process, you maintain the quality and best brewing performance of your machine. This thorough rinse is necessary to eliminate any lingering taste of descaling solution, ensuring that your coffee is free from any unwanted flavors.
Properly completing the final rinse cycle is vital for enjoying a delicious cup of coffee without any hints of descaling agents affecting its taste.
Check Descaling Progress
To assess the progress of descaling, examine the water reservoir for any remaining residue of the solution.
- Repeat the rinsing process to make certain all traces of descaling solution are eliminated.
- Thoroughly rinse all components to prevent any residual taste in brewed coffee.
- Vital rinsing is essential for maintaining coffee quality and flavor.
- Eliminate any descaling solution remnants to prevent taste issues.
- A thorough rinsing process is essential to flush out the system and prevent any potential taste or performance problems.
Ensuring No Vinegar Smell
Opting for Keurig Descaling Solution instead of vinegar guarantees the absence of any lingering vinegar smell in your machine during the descaling process. Keurig Descaling Solution is specifically formulated to address the descaling needs of Keurig machines, ensuring a thorough cleaning without leaving behind any unwanted odors.
Vinegar, on the other hand, can permeate the machine with a strong odor if used for descaling, potentially affecting the taste of your beverages.
Final Fresh Water Rinse
I'll cover the final fresh water rinse in this section.
To guarantee the water reservoir is thoroughly cleared, it's crucial to run a brewing cycle.
This step ensures that any remaining descaling solution is completely flushed out.
Clear Water Reservoir
After completing the descaling process, fill the water reservoir with fresh water for a thorough final rinse to remove any remaining descaling solution.
- Confirm the water reservoir is securely in place before the brewing cycle.
- Use enough fresh water to completely fill the reservoir for a thorough rinse.
- The final fresh water rinse helps remove any remaining descaling solution from the system.
- Completing the final fresh water rinse guarantees the removal of any residual descaling solution for best brewing performance.
- Rinse thoroughly to guarantee all descaling solution is eliminated.
Run Brewing Cycle
To guarantee thorough removal of any remaining descaling solution, initiate a brewing cycle with fresh water as the final rinse step in the descaling process. Before starting the brewing cycle, make sure the water reservoir is filled with fresh water.
Running the brewing cycle with fresh water helps eliminate any lingering taste or residue from the descaling solution. Once the brewing cycle is complete, discard the water used in the final rinse to ensure a clean brewing system.
This step is vital in ensuring that all traces of the remaining descaling solution are flushed out, preventing any unwanted flavors in your beverages. Make sure to follow this final rinse step diligently to maintain the peak performance of your Keurig machine.
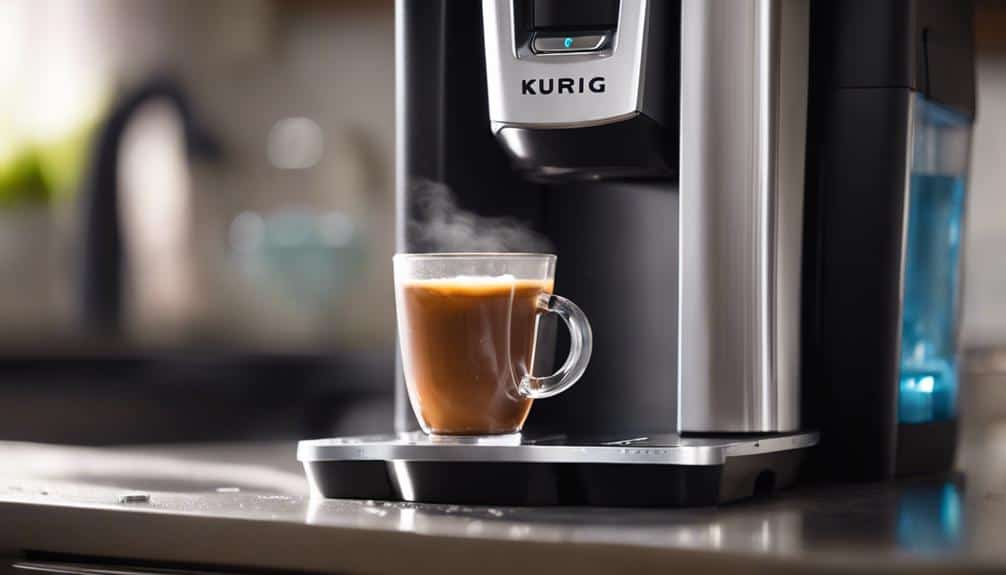
Ready for Brewing
Upon completion of the descaling process, your Keurig is now ready for peak brewing performance.
- Make sure the water reservoir is filled with fresh, clean water.
- Insert a new coffee pod of your choice into the Keurig machine.
- Place a cup or mug on the drip tray to catch the brewed coffee.
- Select your desired cup size on the Keurig machine.
- Press the brew button and enjoy a freshly brewed cup of coffee in moments.
Following the descaling instructions and maintaining your Keurig by descaling when needed ensures that your machine functions at its best. The descaling light serves as a reminder to prevent calcium deposits, clogs, and scale buildup, which can hinder the Keurig's brewing efficiency.
Conclusion
To sum up, by following these step-by-step instructions for descaling your Keurig machine will guarantee top performance and prolong its lifespan. Regular maintenance is key to preventing mineral buildup and maintaining the quality of your brewed beverages.
By taking the time to properly descale your Keurig, you can enjoy consistently delicious coffee or tea without any issues. Keep up with a descaling routine to keep your Keurig running smoothly.