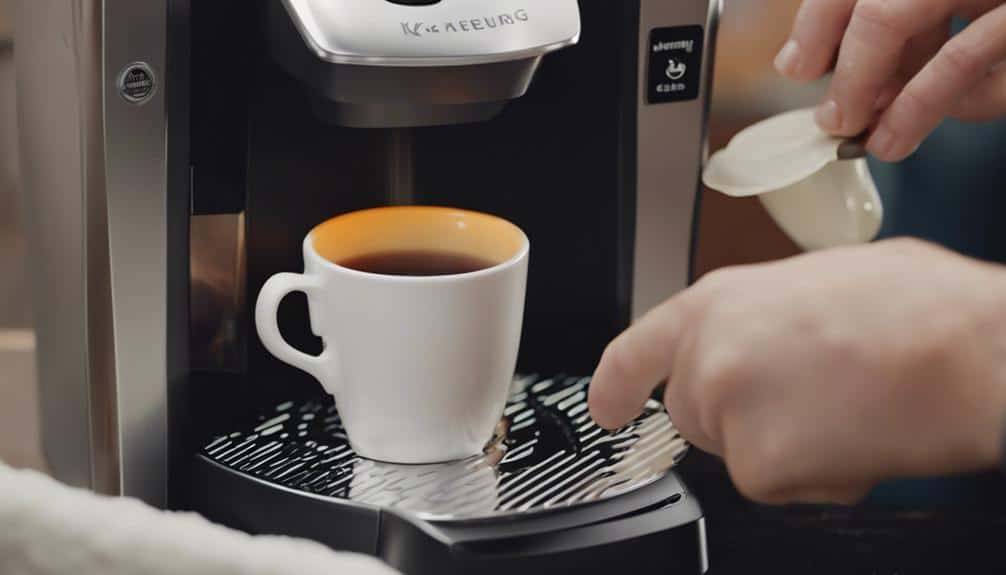
7 Easy Steps for Keurig Descaling Reset

I recently discovered a straightforward process for resetting and descaling my Keurig machine that has made a significant difference in its performance. The seven easy steps involved are not only simple to follow but also essential for ensuring the longevity of the appliance. Implementing these steps has not only resolved previous brewing issues but has also enhanced the quality of my coffee experience. Stay tuned to learn more about how this maintenance routine can benefit your Keurig machine in ways you might not have considered.
Power Off and Unplug Keurig
To properly reset the descale light on your Keurig, the first step is to power off the machine and unplug it from the electrical outlet. Ensuring the Keurig is completely powered off is essential before initiating the reset process.
Next, locate the power cord at the back of the machine and unplug it from the electrical socket to disconnect the Keurig from its power source. This step is vital for safety and allows the machine to reset effectively.
Remove Water Reservoir
First, I'll guide you through the proper process of removing the water reservoir from the Keurig machine.
Next, we'll discuss the essential steps for cleaning the reservoir thoroughly.
Reservoir Removal Process
After confirming that the Keurig machine is powered off and unplugged, proceed to lift the handle to detach the water reservoir.
Double-check that the reservoir isn't filled beyond the max fill line to prevent spills. Carefully pull the reservoir straight off the Keurig machine, being cautious not to tip it to avoid any leftover water dripping.
Place the reservoir on a stable surface to prevent accidental spills. Take this opportunity to clean the reservoir if needed, ensuring no debris or build-up is present.
Once the reservoir is removed, inspect the machine for any visible signs of damage or leaks. This step ensures a smooth descaling reset process when reattaching the reservoir.
Cleaning the Reservoir
When cleaning the reservoir of your Keurig machine, make sure that all power sources are disconnected and the handle is lifted to carefully remove the water reservoir. This step is vital in maintaining the cleanliness and functionality of your Keurig.
By inspecting the reservoir for any debris or buildup, you can guarantee that your brewing process remains efficient. Cleaning the reservoir also prepares it for descaling procedures, which are essential for the longevity of your Keurig machine.
Reattaching Reservoir Securely
Securing the water reservoir back in place requires waiting at least 10 minutes before reattaching it to guarantee proper recognition by the Keurig machine's internal computer.
- Allow Time: Waiting guarantees the Keurig recognizes the reservoir properly.
- Check Indicator: Look for the add water indicator to stop flashing before reattaching.
- Complete Process: Open and close the K-Cup compartment after reattaching the reservoir to finish the reset.
After following these steps, confirm the reset by checking for any error indicators and testing the machine's functionality. This process ensures that the water reservoir is securely reattached, allowing the Keurig to function correctly.
Wait for 10 Minutes
Ensuring a 10-minute waiting period post-unplugging the Keurig is vital for allowing the internal computer to reset effectively. During this time, the Keurig's descale light may flash, indicating the machine is in reset mode.
The waiting period is essential as it gives the Keurig the necessary time to recognize the removal of the water reservoir. This action is fundamental in ensuring that the Keurig functions properly post-reset and avoids potential malfunctions.
Plug In and Power On

I always make sure to plug in my Keurig machine directly to a power source to guarantee a stable power supply. Once it's connected, I switch on the power button to activate the machine, keeping an eye out for indicator lights that confirm it's receiving power.
Checking for any error messages and waiting for the machine to complete its startup process are important initial steps before proceeding with any further actions.
Powering Up Keurig
Curiously, after waiting at least 10 minutes, plug the Keurig machine back in to make sure it's properly connected to a power source.
Once connected, press the power button to initiate the startup process. The Keurig will begin powering up, indicated by lights or sounds. It's important to wait for the machine to complete its startup process before proceeding.
The power button plays a key role in this step as it kickstarts the Keurig's functionality. By following these steps, the Keurig will be ready for use, ensuring a smooth and efficient brewing experience.
Initial Setup Steps
To start the initial setup process for your Keurig machine, make sure it's plugged into a power source and that the power button is switched off.
Once plugged in, turn on the power button and wait for the coffee machine to power on and initialize. Check the display panel for any error messages that may indicate issues with the machine.
Confirm that the Keurig descale light isn't illuminated, indicating that the machine is ready for the descaling reset process. It's essential to have water in the reservoir before proceeding with the descaling reset to guarantee the process runs smoothly.
Following these initial steps will prepare your Keurig for the descaling reset procedure.
Reattach Water Reservoir
After descaling your Keurig machine, ensuring that the water reservoir is securely reattached is essential for the proper functioning of the appliance. Here are three important steps to follow in reattaching the water reservoir:
- Proper Alignment: Align the water reservoir correctly with the machine's base. Ensure that it sits flush and securely in place to prevent any leaks or malfunctions during operation.
- Secure Locking Mechanism: Make sure to engage the locking mechanism of the water reservoir properly. This mechanism is designed to hold the reservoir in place and establish a seal for the water intake system.
- Indicator Confirmation: Wait for the add water indicator on the Keurig machine to stop flashing. This signifies that the machine has recognized and accepted the reattached water reservoir. It indicates that the machine is ready for brewing operations to resume smoothly.
Following these steps will ensure that the water reservoir is reattached correctly, allowing your Keurig machine to function effectively after the descaling process.
Open and Close K-Cup Compartment

Upon completing the descaling process, the next step is to open and close the K-Cup compartment to facilitate the Keurig machine reset. By performing this action, the machine recognizes the detachment and reattachment of the water reservoir, ensuring the reset process is initiated correctly. When opening and closing the K-Cup compartment, pay attention to the add water indicator. This indicator should stop flashing once the compartment is secured back in place, indicating that the machine is ready for the next steps.
Ensuring the proper functioning of the Keurig machine post-descale is essential. By addressing the K-Cup compartment, the machine can reset effectively and be ready for use. Before moving on, check for any error indicators that may appear on the machine. Resolving these indicators before testing the machine will help guarantee a successful reset and the continued smooth operation of your Keurig device.
Confirm Reset and Test Machine
To confirm the reset and test the machine, securely reattach the water reservoir and brew a cup of coffee to verify that the Keurig is functioning properly.
- Verify Proper Reset Completion: Open and close the K-Cup compartment after reattaching the water reservoir to ensure that the reset process has been completed correctly.
- Wait for Indicator Lights: Wait for the add water indicator to stop flashing before proceeding with testing the machine to avoid any issues with the reset.
- Check Error Indicators: Before confirming the reset, check for any error indicators on the machine to make sure that there are no underlying issues affecting its performance.
After following the descaling procedure and resetting the Keurig, it's important to test the machine by brewing a cup of coffee. This step will help confirm the effectiveness of the reset and make sure that the descaling solution has been flushed out, allowing for proper water flow and functioning of the coffee maker thoroughly.
Conclusion
To wrap up, descaling and resetting your Keurig machine is an important maintenance task that can greatly improve its performance and lifespan.
By following the simple steps outlined in this article, you can prevent clogs, enhance coffee flavor, and resolve any brewing issues.
Regular descaling and resetting, along with proper maintenance, will guarantee that your Keurig continues to brew high-quality coffee for years to come.


