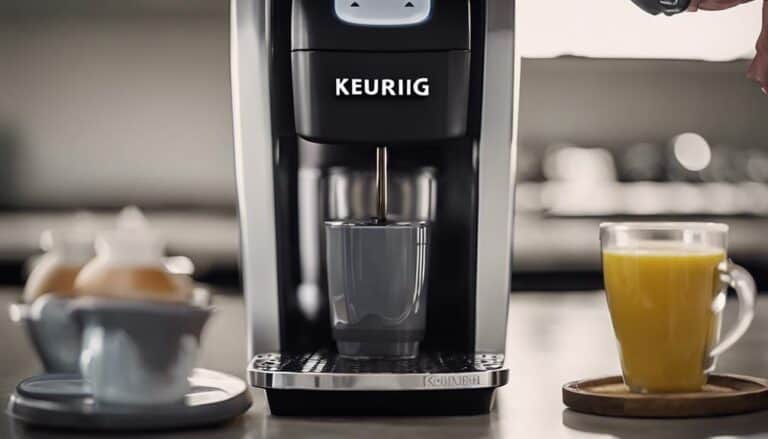
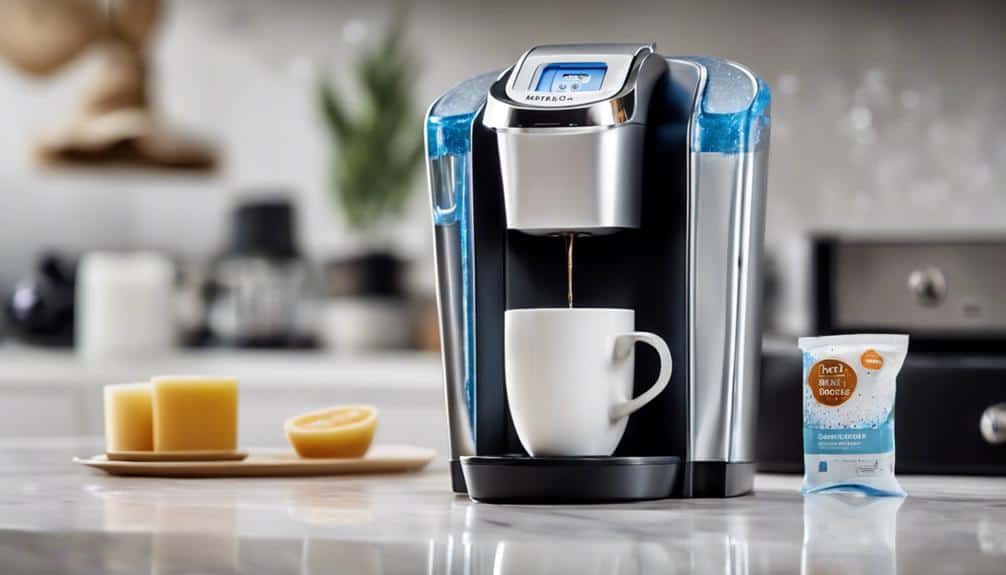
Solving Keurig Duo's 'Add Water' Challenge
So, you've encountered the persistent 'Add Water' challenge with your Keurig Duo, and it's been quite the puzzle to solve. Imagine the frustration of facing that message every time you're craving a cup of coffee. But fear not, there are ways to tackle this issue effectively. By following a systematic approach and implementing a few key tips, you might just uncover the solution you've been searching for. Stay tuned to unravel the mystery behind Keurig Duo's insistent plea for more water.
Disassemble Keurig Duo
To initiate the disassembly process of the Keurig Duo, begin by unplugging the machine and removing the screws located around the water reservoir area. Once the screws are removed, carefully detach the cover to access the internal components of the Keurig Duo coffee maker.
During disassembly, it's important to clean any sticky residue or potential calcium buildup using a wet paper napkin. Make sure there are no obstructions in the water path and gently massage affected parts to dislodge any debris that may be causing the 'Add Water' challenge.
After cleaning and inspecting the internal components, securely reassemble the Keurig Duo, making sure to tighten all screws. To verify a successful resolution, test the device by adding water and checking if the issue has been resolved.
This process will help address any underlying issues that may be causing the Keurig Duo to prompt the 'Add Water' notification.
Identify Sticky Residue
Sticky residue within the Keurig Duo's water path can obstruct proper water flow, potentially leading to issues such as the 'Add Water' notification. Here are some key points to take into account:
- Residue Sources: Sticky residue can result from coffee grounds or mineral deposits from hard water, which accumulate in the water path.
- Impact on Flow: The presence of sticky residue can create blockages within the system, affecting the flow of water from the reservoir to the coffee maker.
- Cleaning Solution: Use a wet paper napkin to gently clean the water path and remove any sticky residue, allowing for smooth water dispensing.
- Maintenance Importance: Regular maintenance is essential to prevent the buildup of sticky residue in the Keurig Duo, ensuring proper water flow and avoiding the 'Add Water' message.
Check for Blockages
Residue buildup may lead to blockages in the Keurig Duo's water path, requiring a thorough check for obstructions to guarantee the best water flow. When facing the 'Add Water' challenge, it is important to investigate potential blockages throughout the system. Here is a breakdown of areas to inspect and actions to take:
| Area | Action | Tools Required |
|---|---|---|
| Water Intake Line | Check for clogs or debris hindering water flow. | Cleaning tool |
| Reservoir Connection | Inspect for any obstructions that may impede water intake. | None required |
| Water Sensor Area | Clear any buildup affecting the sensor's functionality. | Vinegar solution |
To maintain your Keurig Duo's performance, a periodic check for blockages is essential. By ensuring these areas are clear of any obstructions, you can prevent issues with water flow and the 'Add Water' prompt. Remember to use the appropriate tools and solutions to keep your machine running smoothly.
Clean Affected Areas
I'll guide you through the process of cleaning the affected areas in the Keurig Duo to address the 'Add Water' challenge.
Start by using warm, soapy water to remove residue buildup and disinfect the water reservoir.
It's important to make sure all components are reassembled securely after cleaning to maintain the coffee maker's best performance.
Remove Residue Buildup
To effectively address residue buildup in the Keurig Duo, begin by utilizing a wet paper napkin to clean the affected areas.
- Address sticky residue with a damp paper napkin.
- Check for potential calcium buildup in the water path.
- Gently massage components to dislodge any debris.
- Verify there are no obstructions impeding the water flow.
Disinfect Water Reservoir
When disinfecting the water reservoir of your Keurig Duo, make sure to start by thoroughly cleaning with warm, soapy water. Target areas with visible residue or buildup for disinfection. Remove any debris or particles that may affect water quality, paying special attention to corners and edges where contaminants can accumulate. Confirm the reservoir is completely dry before reattaching it to the Keurig Duo to prevent mold or bacteria growth. Here is a table to help guide you through the cleaning process:
| Areas to Clean | Instructions |
|---|---|
| Visible Residue/Buildup | Disinfect with warm, soapy water |
| Corners and Edges | Scrub thoroughly |
| Debris Removal | Check for particles |
Ensure Water Path Is Clear

Regularly check the water path for blockages to guarantee a smooth flow and prevent the 'Add Water' message on your Keurig Duo. Here are some steps to make sure the water path is clear:
- Inspect for Blockages: Examine the water path for any obstructions that could impede water flow.
- Utilize a Cleaning Tool: Use a suitable cleaning tool to dislodge and remove any debris or residue that might be hindering the water's passage.
- Clear the Water Intake Line: Confirm the water intake line is free from clogs or buildup that could be triggering the 'Add Water' alert.
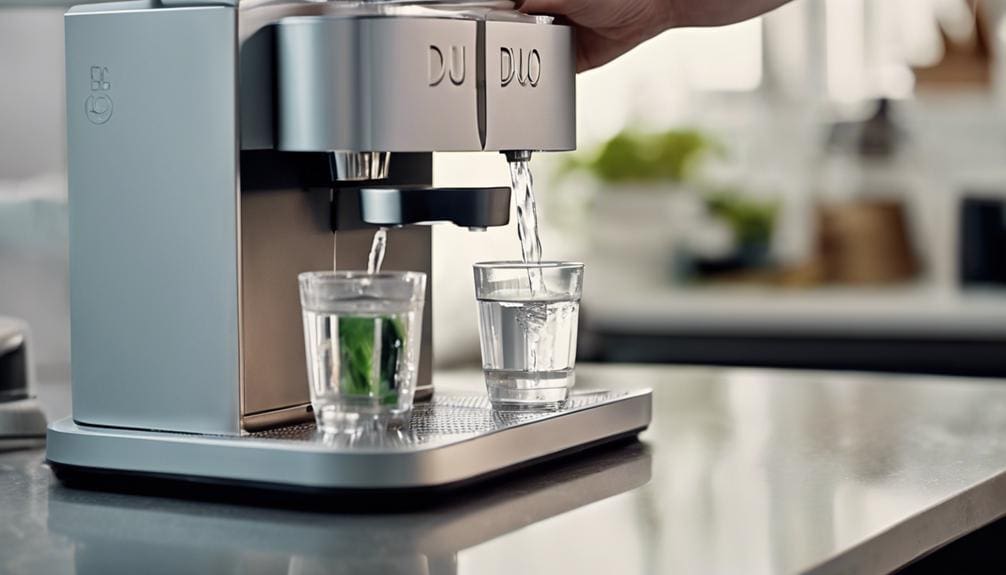
- Check Water Reservoir Connection: Verify that the water reservoir is correctly positioned and connected to the Keurig Duo to maintain a steady water supply.
Reassemble Keurig Device
After carefully cleaning and inspecting the water path, it is crucial to reassemble the Keurig device, making sure all components are securely aligned for best functionality. Begin by putting the disassembled components back into their original positions, ensuring they fit snugly. Securely reattach the cover to prevent any leaks or loose parts during use. Tighten the screws in the water reservoir area to hold all components together firmly. Check the alignment of all parts before proceeding to testing. Once everything is reassembled, add water to the Keurig device to verify that the 'Add Water' challenge has been successfully resolved.
| Step | Description |
|---|---|
| Put components back | Slide components into original positions carefully |
| Reattach cover | Securely attach the cover to prevent leaks |
| Tighten screws | Make sure screws in the water reservoir area are tight |
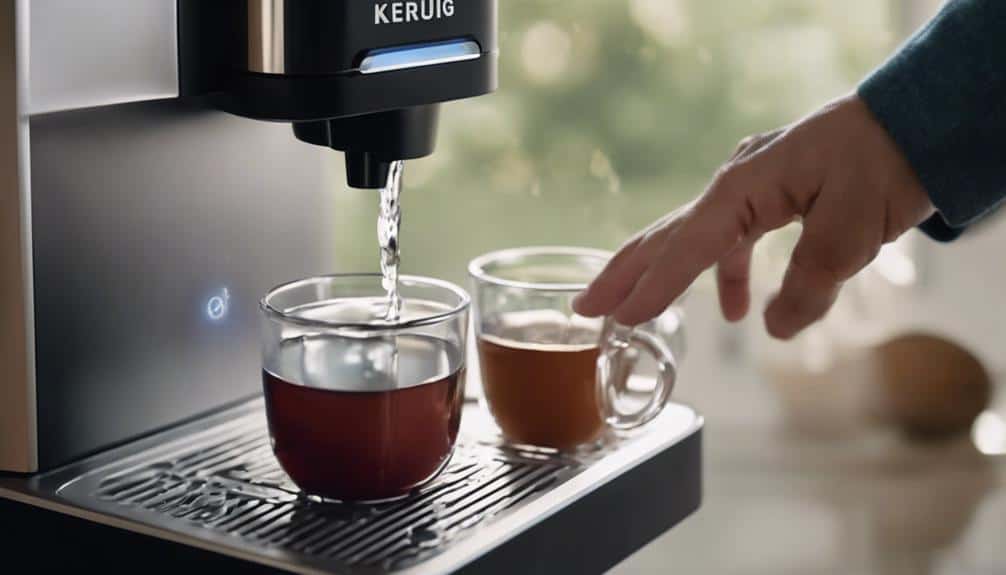
Test Water Addition Function
First, let's focus on the water level sensor, a critical component in detecting water levels accurately. By understanding how this sensor operates, we can troubleshoot any discrepancies in the water detection process efficiently.
Additionally, we should be prepared to interpret any error codes that may indicate issues with the water addition function.
Water Level Sensor
To verify the proper functioning of the Keurig Duo's water level sensor, follow these steps:
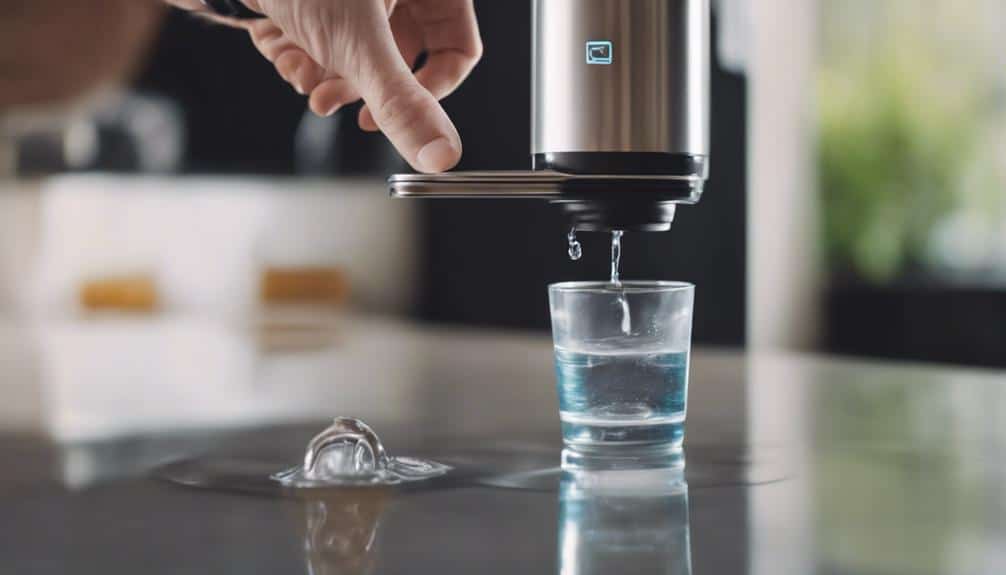
- Add water to the reservoir and observe if the 'Add Water' message disappears.
- Inspect the reservoir: Make sure it's filled with an adequate amount of water.
- Observe sensor response: Confirm if the sensor accurately detects the water level.
- Troubleshoot any issues: Investigate if the sensor is obstructed or malfunctioning.
- Test sensor accuracy: Add water in increments to see if the sensor responds correctly.
Proper functioning of the water level sensor is essential for the Keurig Duo to function correctly. By testing the sensor's response to water addition, you can address any 'Add Water' challenges that may arise.
Error Code Troubleshooting
Upon adding water to the reservoir and checking for the persistence of the error message, we can effectively troubleshoot the Keurig Duo's 'Add Water' challenge. Confirm the water level sensor functions correctly by verifying that the machine detects the added water and displays the accurate status.
Look for blockages or issues in the water intake line that may trigger the 'Add Water' message despite adding water. Validate the reservoir is correctly seated and connected to the coffee maker for a secure water supply.
If the error persists, consider reaching out to Keurig customer support for further assistance in diagnosing and resolving the issue. Testing the water addition function is important in resolving the error message and ensuring the Keurig Duo operates smoothly.
Confirm Successful Fix
Following the successful cleaning process to address the 'Add Water' challenge, the Keurig Duo now functions properly and dispenses water as intended.
- Resolved Issue: The sticky residue and potential calcium buildup have been effectively cleaned, allowing the Keurig Duo to dispense water successfully.
- Demonstrated Fix: The cleaning process effectively demonstrated the solution to the 'Add Water' challenge, ensuring proper water dispensing functionality.
- Maintenance Importance: Regular upkeep is vital to prevent similar issues from arising in the future, maintaining the peak performance of the Keurig Duo.
- Troubleshooting Resources: To stay informed and prepared for any issues, it's recommended to explore instructional videos for troubleshooting guidance, aiding in addressing potential blockages and maintaining the Keurig Duo's functionality.
With the successful resolution of the 'Add Water' challenge, the Keurig Duo is now back to its peak state, ready to provide you with your favorite beverages hassle-free. Regular upkeep and staying informed about troubleshooting methods are key to keeping your Keurig Duo running smoothly.
Maintain Regular Cleaning Schedule
After successfully resolving the 'Add Water' challenge in the Keurig Duo, maintaining a regular cleaning schedule is essential to prevent similar issues from reoccurring. Cleaning the water reservoir with warm, soapy water is vital to remove any debris that might trigger the error message.
Additionally, ensuring there are no blockages in the water intake line is important for proper water detection. Regular descaling of the coffee maker is also necessary to prevent mineral buildup, which can affect water sensing and lead to the error message.
By following a consistent cleaning schedule, you can avoid the 'Add Water' issue in your Keurig Duo. Remember, a clean machine not only brews better coffee but also helps in the smooth functioning of the device.
Make it a habit to clean your Keurig Duo at regular intervals to maintain its efficiency and prolong its lifespan.
Utilize Instructional Videos
Utilizing instructional videos provides a clear and practical approach to resolving the 'Add Water' challenge in your Keurig Duo. Watching these videos can greatly aid in troubleshooting and resolving issues related to water detection problems. Here's how instructional videos can help:
- Detailed Troubleshooting: Instructional videos offer step-by-step guidance to identify and address potential issues causing the 'Add Water' message.
- Disassembly and Cleaning: These videos demonstrate the disassembly, cleaning, and reassembly processes, making it easier to perform maintenance tasks effectively.
- Visual Cues for Maintenance: Visual cues in the videos help users understand the exact areas to target for cleaning and maintenance, enhancing the overall user experience.
- Enhanced Confidence: By following along with detailed instructions in the videos, users can boost their confidence in tackling Keurig Duo's water detection problem efficiently.
Conclusion
To sum up, through disassembling, cleaning, and maintaining the Keurig Duo regularly, you can effectively solve the 'Add Water' challenge. Identifying and removing sticky residue, checking for blockages, and ensuring a clear water path are key steps in troubleshooting.
Testing the water addition function and utilizing instructional videos can help maintain peak performance. Stay proactive in cleaning to prevent future issues and enjoy a hassle-free brewing experience with your Keurig Duo.