How to Descale Keurig When Not Working
When my Keurig stops working, it's frustrating. Descale it? Sure, but where do I even start? The process seems challenging, but the solution might be simpler than expected. Let's break down the steps together.
Selecting the Right Descaling Solution
How do I choose the most suitable descaling solution for my Keurig machine?
When selecting a descaling solution for your Keurig, consider the options available based on effectiveness and compatibility with your machine. Citric acid solutions are known for their effectiveness in removing mineral buildup from Keurig machines. Vinegar is a natural alternative that can also be used for descaling. Additionally, there are descaling solutions specifically formulated for Keurig machines, ensuring peak performance and preventing damage to the internal components.
It's essential to factor in the water hardness in your area when choosing a descaling solution, as harder water may require a more potent solution. Following the manufacturer's recommendations is vital to make sure that the descaling solution is suitable for your specific Keurig model and won't void any warranty.
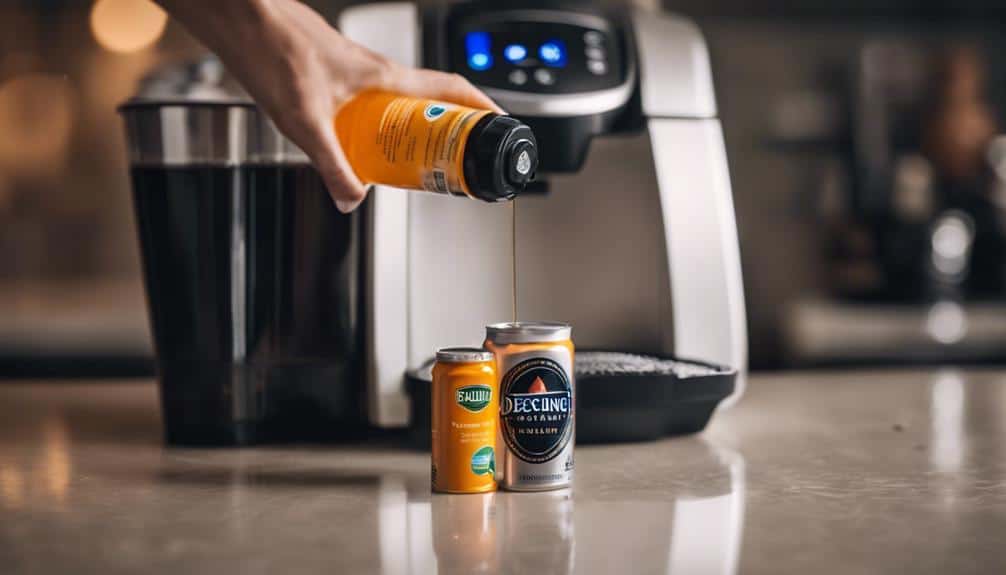
Pouring Solution Into Reservoir
Before proceeding, make sure the Keurig is powered off to prevent any electrical issues when pouring the descaling solution into the reservoir. To effectively descale your Keurig, follow these steps:
| Step | Instructions |
|---|---|
| 1 | Power off the Keurig. |
| 2 | Open the water reservoir. |
| 3 | Pour the descaling solution into the reservoir. |
When pouring the descaling solution into the water reservoir, make certain that you adhere to the manufacturer's guidelines regarding the amount of solution to use. Directly applying the solution to the reservoir is more efficient than pre-mixing it with water. This direct application targets the internal components that need cleaning. Allow the descaling solution to sit in the reservoir for the specified time indicated in the manufacturer's instructions. This time allows the solution to break down any mineral deposits and scale buildup effectively, ensuring a thorough descaling process.
Filling Reservoir With Water
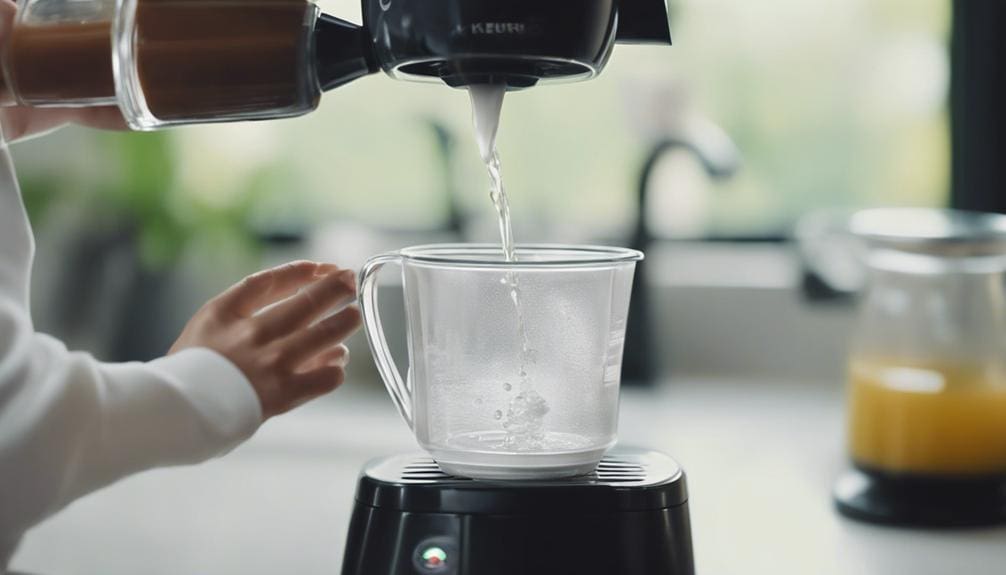
To guarantee thorough descaling of the Keurig, the next step involves filling the reservoir with a 1:1 mixture of descaling solution and water. When filling the reservoir, it's of utmost importance to follow specific guidelines to make sure the descaling process is efficient and effective:
- Use the Correct Ratio: Mix the descaling solution and water in equal parts to create a potent cleaning solution that can eliminate mineral deposits and build-up inside the machine effectively.
- Fill to the Maximum Level: Make certain the reservoir is filled to the maximum level indicated on the Keurig to cover all internal components adequately and facilitate thorough descaling.
- Opt for Filtered Water: Consider using filtered or distilled water when preparing the descaling mixture to prevent further mineral accumulation and enhance the descaling efficiency of the solution.
- Avoid Overfilling: Be cautious not to overfill the reservoir to prevent spills and leaks during the descaling process, maintaining a smooth and mess-free cleaning operation.
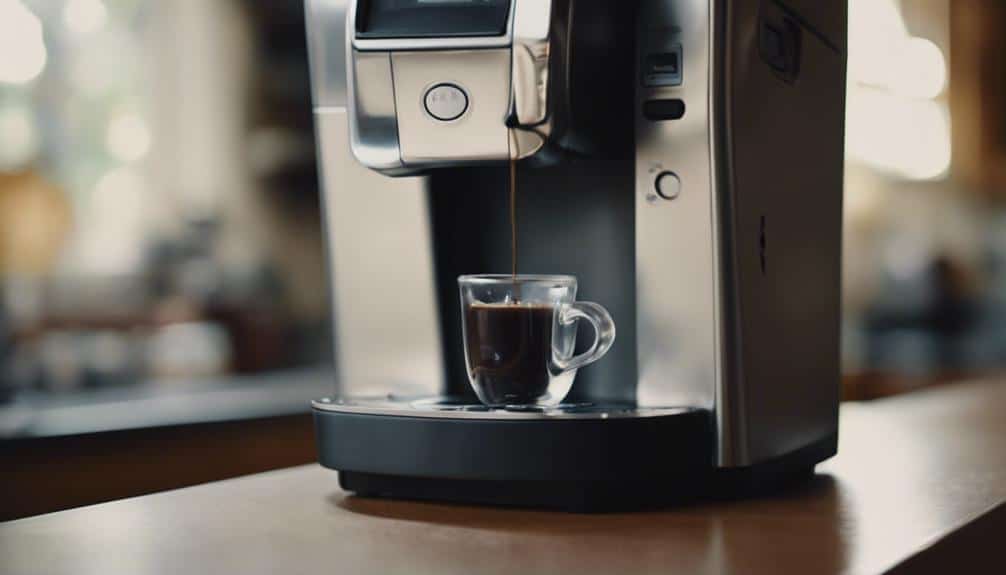
Running Cleaning Cycles
I recommend starting the cleaning cycle on your Keurig machine to effectively remove mineral buildup. To begin, make sure your Keurig descale light is on, indicating the need for descaling. Follow Keurig's descaling process by first filling the water reservoir with a descaling solution.
Place a large mug on the drip tray, then start the cleaning cycle. The machine will dispense the solution, helping to break down mineral deposits inside. Running multiple cleaning cycles may be necessary if the descale light remains illuminated.
Once the cycle is complete, remember to rinse the machine thoroughly with clean water to eliminate any leftover residue. Regular descaling of your Keurig machine is important for maintaining its performance and prolonging its lifespan. By following these steps, you can make sure that your Keurig continues to brew delicious coffee without any issues.
Waiting Between Cycles
For ideal descaling results, it's crucial to wait at least 30 minutes between cleaning cycles to allow the solution to effectively dissolve scale and buildup within the Keurig machine. Patience is key in guaranteeing a thorough cleaning process that maintains the internal components of the machine. Here are some key points to keep in mind when waiting between cycles:
- Effective Dissolving: Allowing the solution time to work between cycles guarantees that it can effectively dissolve the accumulated scale and buildup within the machine.
- Proper Cleaning: Patience in waiting between cycles ensures that the internal components are adequately cleaned, leading to improved machine performance.
- Thorough Removal: Waiting between cycles helps in thoroughly removing scale and buildup, preventing any residue from affecting the taste of your beverages.
- Optimal Results: Rushing the descaling process by not waiting between cycles can compromise the outcome, so it's crucial to allow sufficient time for the solution to work effectively.
Checking for Residue
When inspecting your Keurig for residue, it's important to look for any white or colored buildup in the water reservoir, brewing needle, drip tray, and internal components.
Identifying residue in these areas is the first step in proper descaling, removal, and maintenance to prevent future issues.
Using a flashlight can help spot residue in challenging-to-reach spots, ensuring a thorough cleaning process.
Residue Build-Up Identification
Inspecting the inside of the Keurig machine for visible scaling or mineral deposits is vital to identifying residue build-up. Residue build-up can impede water flow and affect the brewing process. Here are four steps to help identify residue build-up effectively:
- Check the Water Reservoir: Look for any white or brownish deposits at the bottom or along the sides of the water reservoir.
- Inspect Water Entry Points: Examine the areas where water enters the machine for any visible scaling or mineral deposits.
- Examine the Brewing Mechanism: Open the brew head and check for any residue build-up on the internal components.
- Observe Water Quality: If the water appears discolored or cloudy when brewing, it could indicate the presence of residue in the system.
Regular inspections are essential to maintaining your Keurig's performance.
Proper Residue Removal
To guarantee the Keurig is thoroughly cleaned, it's important to meticulously check for residue in key areas such as the water reservoir, brewing chamber, and needles. Calcium build-up can accumulate in these areas, hindering the proper functioning of the machine.
Using a flashlight, inspect the inside of the Keurig for any leftover scale or debris. Wipe down all accessible parts with a clean, damp cloth to remove any visible residue. It's vital to make sure no remnants of build-up are left behind after descaling.
Additionally, running a brewing cycle with just water post-descale can help flush out any remaining residue, maintaining the cleanliness of your Keurig and preventing future issues. Regularly inspect and clean the exit needle to prevent clogs and residue buildup.
Prevention for Future
After completing the descaling process, make sure to thoroughly remove residue by carefully checking key areas such as the water reservoir, drip tray, and internal components for any remaining buildup.
Here are some essential steps to prevent future issues and make certain your Keurig functions at its best:
- Inspect the water reservoir: After descaling, check the reservoir for any lingering descaling solution or scale deposits.
- Examine the drip tray and K-cup holder: Ensure these areas are free of any residue that could impede the brewing process.
- Flush the system: Run a brewing cycle with clean water to eliminate any leftover descaling solution.
- Check internal components: Look for signs of scale or buildup in components like the needle and water lines to maintain performance efficiency.
Ensuring Thorough Cleaning
I recommend using a vinegar solution to guarantee a deep cleaning of your Keurig machine. Vinegar is effective in breaking down mineral deposits.
Scrubbing with a brush helps remove any stubborn residue.
Rinsing thoroughly with clean water ensures all cleaning solution is completely flushed out of the system, enhancing the machine's performance.
Following these steps meticulously will help maintain your Keurig in top condition and improve its longevity.
Use Vinegar Solution
For thorough cleaning using a vinegar solution, make sure equal parts distilled white vinegar and water are mixed to create a descaling solution.
Here are some steps to follow:
- Cover Components: Guarantee the vinegar solution covers all internal parts of the Keurig for effective descaling.
- Run Brewing Cycles: Run multiple brewing cycles with the vinegar solution to remove mineral deposits.
- Let It Sit: Allow the solution to sit in the machine for approximately 30 minutes to break down scale build-up.
- Thorough Rinse: After descaling, rinse the Keurig thoroughly to remove any vinegar residue and prevent a lingering taste.
Following these steps should help clear out any descale light remains and restore your Keurig's functionality.
Scrub With Brush
For thorough cleaning of your Keurig, make sure to scrub the internal components with a soft-bristled brush, focusing on hard-to-reach areas such as the needle, reservoir, and drip tray. Use the brush to dislodge any coffee grounds, scale, or debris that may have accumulated in these areas.
Pay close attention to the brewing mechanism and water pathways, ensuring they're free from blockages to maintain proper water flow and brewing performance. Gently scrubbing with a brush as part of your descaling routine is essential to extending the life and efficiency of your Keurig.
This meticulous cleaning process helps prevent clogs and build-up, preserving the functionality of your machine over time.
Rinse With Water
To guarantee thorough cleaning after descaling your Keurig, run multiple water cycles to rinse out any remaining residue effectively.
- Fill the water reservoir with clean water.
- Place a mug on the drip tray to catch the water.
- Run a brew cycle without a K-Cup.
- Repeat the brew cycle with clean water until there are no traces of the descaling solution or vinegar.
These steps make certain that your Keurig is free from any descaling solution remnants, preventing any unwanted tastes in your brewed coffee. Proper rinsing is crucial for maintaining the machine's performance and ensuring top-notch brewing results.
Resolving Water Level Issues
When troubleshooting water level issues in your Keurig, consider starting by inspecting the internal components for any signs of mineral buildup or blockages.
If your Keurig isn't dispensing the full amount of water, descaling might help to clear out any mineral deposits that could be obstructing the water flow. Descaling with a mixture of vinegar and water can initially improve water flow, but if the issue persists, further cleaning may be necessary.
To address water level problems, try gently shaking or spanking the machine to dislodge any scales or debris that could be causing the blockage. Additionally, using multiple reservoirs of water during the descaling process can guarantee a more thorough cleaning of the internal system.
Fixing Brewing Errors

Mineral buildup and clogs can lead to brewing errors in Keurig machines. When faced with such issues, it's important to address them promptly to guarantee your Keurig functions efficiently. Here are four steps to help you fix brewing errors effectively:
- Cleaning the Needles: Remove the K-Cup holder and detach the funnel to access the needles. Use a paper clip to clear any clogs or debris obstructing the needles, ensuring proper water flow during brewing.
- Descaling the Machine: Perform a descaling process using a descaling solution or a vinegar-water mixture. Follow the manufacturer's guidelines for descaling, which usually involves running multiple brew cycles with the descaling solution to eliminate mineral deposits that can cause brewing errors.
- Checking for Malfunctions: If descaling doesn't resolve the issue, inspect the machine for malfunctioning components. Ensure all parts are in working order, especially the pump and heating element, which are essential for proper brewing.
- Testing the Machine: After cleaning and descaling, run a test brew to check if the issue has been resolved. If errors persist, consider contacting Keurig customer support for further assistance.
Conclusion
After descaling your malfunctioning Keurig with the appropriate solution, running cleaning cycles, and ensuring thorough cleaning, check for any residue and resolve water level issues.
If brewing errors persist, clean the needles, descale again, and test the machine before seeking further assistance.
By following these steps, you can effectively troubleshoot and resolve issues with your Keurig to get it working properly again.