Step-by-Step Guide to Troubleshooting Keurig Machine Problems
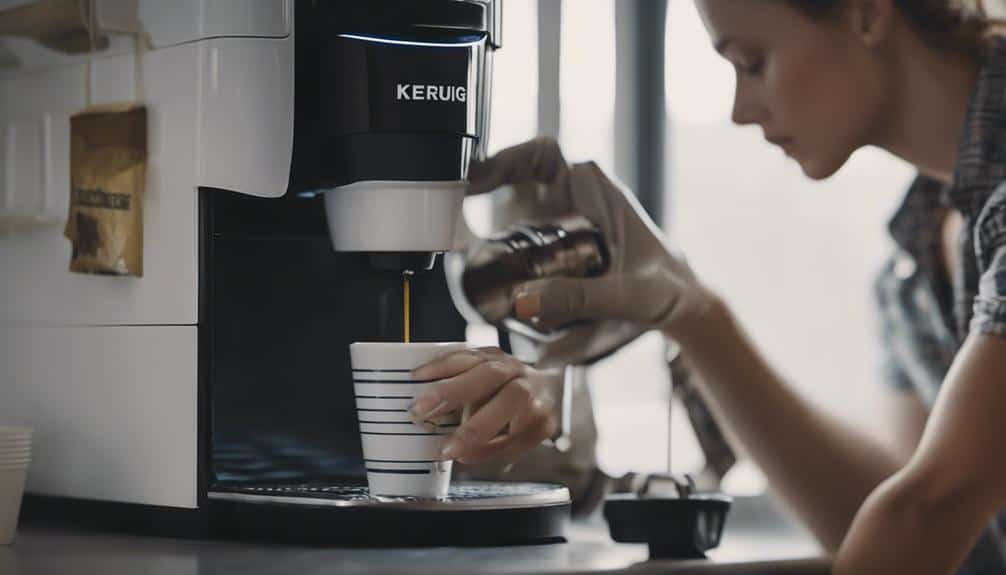
As I encountered a challenging issue with my Keurig machine, I found myself in need of a structured approach to identify and fix the problem. Starting with the basics like power supply and machine cleanliness, I realized troubleshooting is not as overwhelming as it may seem. However, there was one particular aspect that stumped me until I followed a specific step—curious to know which one? Stay tuned for a detailed guide to unraveling Keurig machine mysteries.
Keurig Machine Not Powering On
If your Keurig machine isn't powering on, the first step is to check the power outlet and make sure it's correctly plugged in. Confirm that the Keurig is securely connected to the outlet and that there are no loose connections.
Next, verify that the power button on the Keurig is pressed directly to turn it on. For Keurig 2.0 models, it's important to press the correct power button, as these models may have multiple buttons for different functions.
To rule out any issues with the outlet itself, try plugging in another device to test its functionality. If the Keurig still doesn't turn on after these steps, consider plugging it into a different outlet to troubleshoot the power issue further.
Keurig Machine Not Brewing Coffee
Examining the inner tubing for air bubbles and debris is essential to troubleshoot a Keurig machine not brewing coffee efficiently. Running the machine without a K-cup can help clear any blockages that may be affecting the brewing process. It's also vital to flush the machine with a descaling solution to eliminate mineral buildup, which could be obstructing proper water flow. Make sure all parts are correctly aligned, including the water reservoir and K-cup insertion, to guarantee seamless operation. Additionally, confirm that the water tank contains an adequate amount of water for the brewing process to initiate successfully.
| Steps to Troubleshoot Keurig Machine Not Brewing Coffee |
|---|
| 1. Check inner tubing for air bubbles and debris. |
| 2. Run machine without K-cup to clear blockages. |
| 3. Flush machine with descaling solution. |
| 4. Verify correct alignment of all parts. |
Following these steps diligently will help you address the issue of your Keurig machine not brewing coffee effectively.
Weak or Bad-Tasting Coffee From Keurig
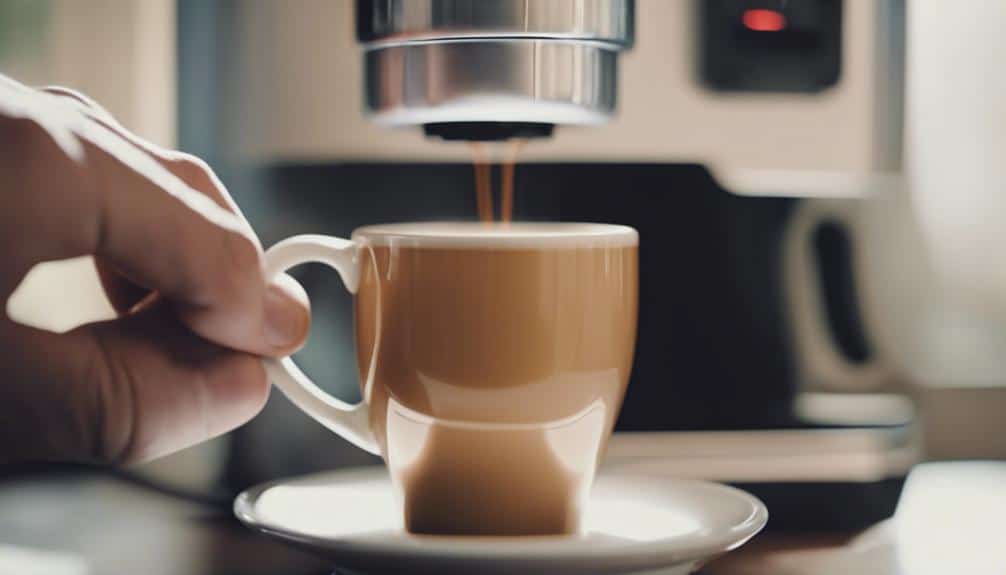
If you're experiencing weak or bad-tasting coffee from your Keurig, the first step is to check the coffee strength adjustment setting on your machine. Make sure it's set to your desired level for a bolder flavor.
Additionally, always use fresh, high-quality coffee and filtered water to enhance the taste of your brew.
Coffee Strength Adjustment
Adjusting the coffee strength setting on your Keurig machine allows you to tailor the flavor of your coffee to your preference. By adjusting this setting, you can customize the brewing performance to suit your taste buds.
To achieve a bolder flavor, increase the coffee strength setting, and for a milder taste, decrease it. Experimenting with different K-cup pod varieties can also help you find the perfect balance between strength and flavor.
Remember to consult your user manual for specific instructions on adjusting the coffee strength setting according to your Keurig model.
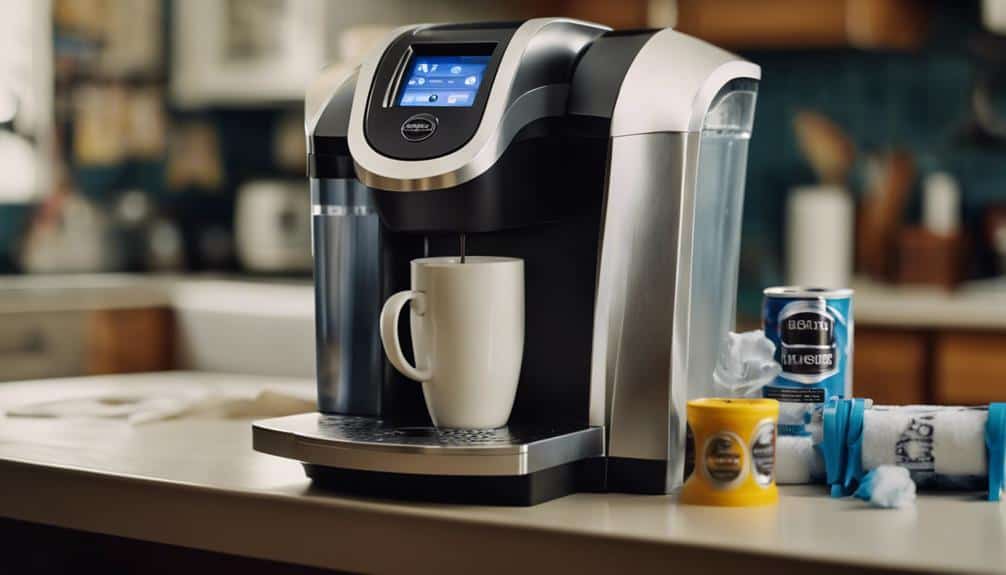
Regularly cleaning your Keurig machine is essential to maintain peak brewing performance and ensure a high-quality coffee experience.
Water Quality Check
To determine the root cause of weak or bad-tasting coffee from your Keurig machine, conduct a thorough water quality check.
- Check Water Source: Verify if you're using tap water or filtered water as poor water quality can impact the flavor of your coffee to a great extent.
- Consider Descaling: Mineral deposits in water can affect the taste of your coffee, consider using a descaling solution regularly to address this issue.
- Experiment with K-Cup Pods: Different K-cup pods can also influence the taste of your coffee, so try high-quality options to enhance the flavor.
Keurig Machine Not Heating Water
I always start by ensuring the Keurig machine is correctly plugged in and the power source is functioning.
Next, I thoroughly clean the heating element to remove any blockages that could be hindering the water heating process.
If the machine still doesn't heat the water, pressing and holding the brew button for a reset may help resolve the issue.
Check Power Source
Check the power source of your Keurig machine to troubleshoot why it may not be heating water. Verify that the Keurig machine is connected to a working power outlet and inspect for any loose connections or power interruptions that could be causing the problem.
Confirm that the power button on the Keurig machine is properly engaged. To troubleshoot further, check for tripped circuit breakers or blown fuses that may be impacting the power supply.
It could also be beneficial to test the functionality of the power outlet using another device to verify if it's operational. By following these steps, you can diagnose and address potential power-related issues affecting your Keurig machine's water heating capabilities.
Clean Heating Element
Inspecting the heating element for mineral deposits and coffee residue buildup is essential to ensure proper water heating in your Keurig machine. A dirty heating element can hinder the machine from reaching the correct temperature for brewing. To enhance water heating efficiency, regular cleaning is necessary.
Utilize a descaling solution or vinegar to effectively remove buildup on the heating element. Ensuring a clean heating element won't only improve the Keurig machine's performance but also contribute to a better tasting cup of coffee. By maintaining the heating element free of mineral deposits and coffee residue, you can rest assured that your Keurig machine will consistently heat water to the ideal temperature for a perfect brew.
Leaking Issues With Keurig
Identifying and addressing leaking issues in your Keurig requires a thorough examination of potential causes and precise troubleshooting steps. Here are three essential steps to help you resolve leaking problems with your Keurig:
- Check for Overfilling and Damaged O-Rings: Guarantee the water reservoir isn't overfilled, as this can lead to leaks. Additionally, inspect the o-ring for any damage that may be causing the leakage.
- Inspect the Internal Water Tank: Examine the internal tank for any signs of damage. Make sure the water level is appropriate to prevent leaks from occurring.
- Regular Descaling and Seal Maintenance: Descale your Keurig machine regularly to prevent clogs that could result in leaks. Replace any damaged seals or o-rings to fix leaking issues and maintain peak performance.
Keurig Machine Displaying Errors
When troubleshooting Keurig machine errors, understanding the displayed error messages is essential for effective diagnosis and resolution. Keurig machines often show error messages like 'ADD WATER,' 'PRIME,' or 'DESCALE' to indicate specific issues that need attention. By interpreting these error messages correctly, you can pinpoint the problem and take the necessary steps to fix it. Referring to the Keurig manual is vital as it provides detailed explanations of the error messages and offers troubleshooting guidance. Below is a table summarizing some common Keurig error messages and their meanings:
| Error Message | Meaning | Troubleshooting Steps |
|---|---|---|
| ADD WATER | Water reservoir is empty | Refill the water reservoir |
| PRIME | Air needs to be removed | Run a water-only brew cycle |
| DESCALE | Scale build-up in the system | Perform the descaling process as directed in the manual |
Conclusion
To sum up, troubleshooting Keurig machine problems can be a simple process if you follow the right steps. By checking the power source, cleaning the machine, adjusting settings, and performing regular maintenance, you can resolve common issues such as power failure, brewing problems, weak coffee, water heating issues, leaking, and error messages.
With a methodical approach and attention to detail, you can keep your Keurig machine running smoothly and enjoy your favorite beverages without any hassle.