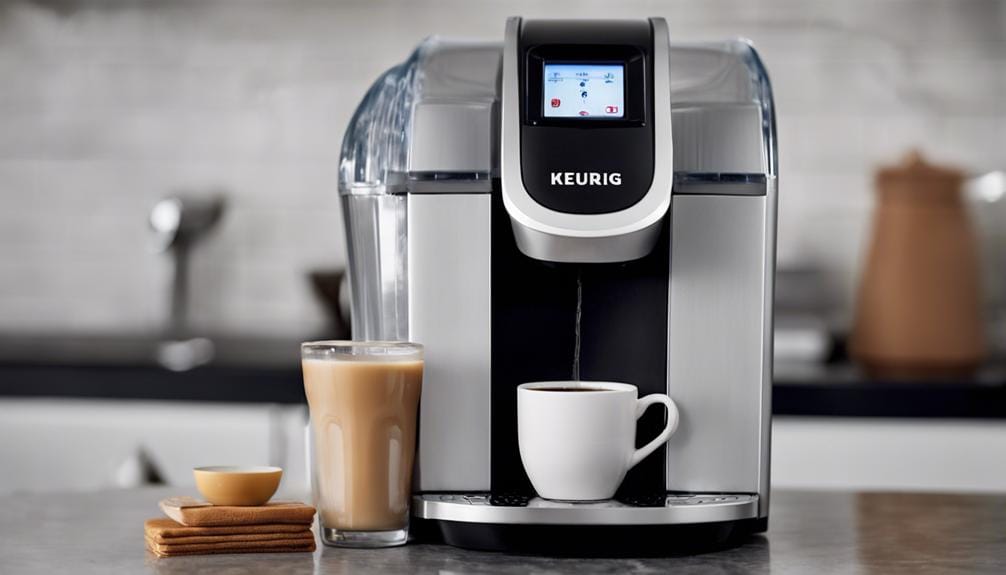
Step-by-Step Guide for Troubleshooting Keurig Machine Problems
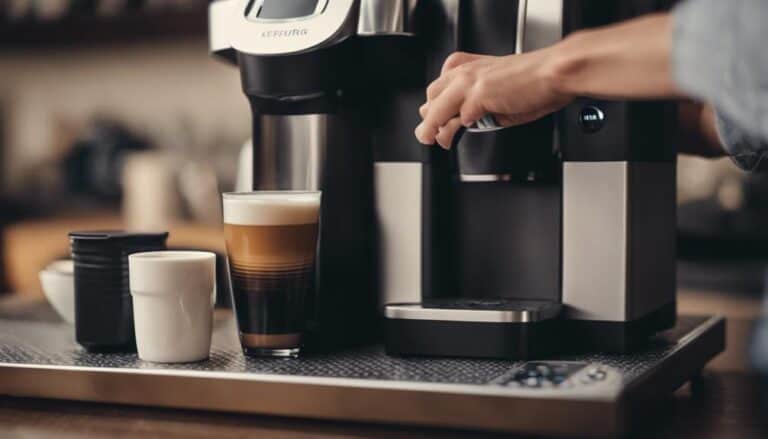
As I stood in front of my Keurig machine, frustrated by its refusal to brew my morning cup of coffee, I began to wonder what could possibly be causing the issue. Little did I know that a simple step-by-step troubleshooting guide could hold the key to unraveling the mysteries behind its malfunction. With each problem presenting a unique challenge, the journey towards uncovering the root cause seemed both challenging and strangely intriguing.
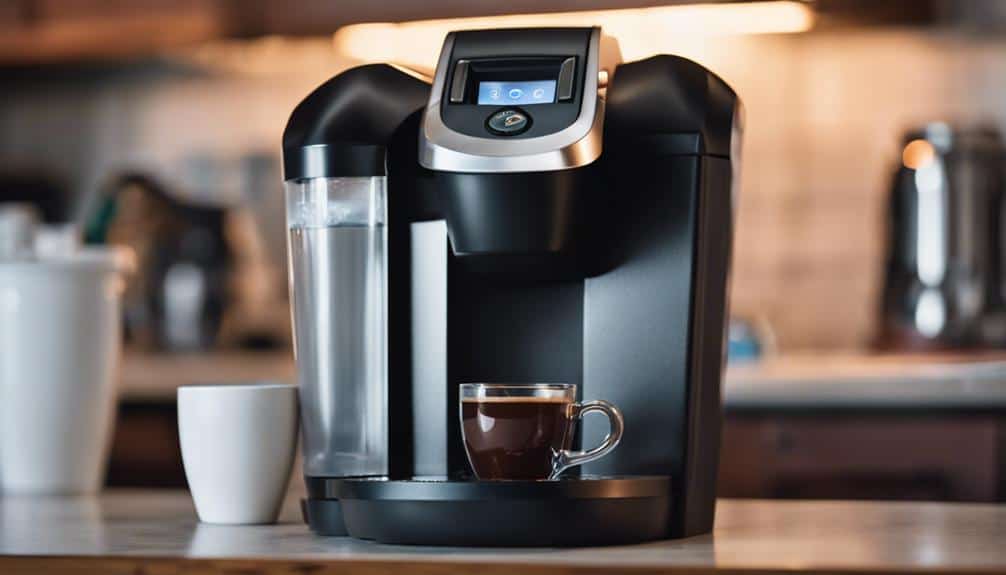
Keurig Not Turning On
If your Keurig machine fails to power up, the first step is to verify that it's securely connected to a functioning power outlet. Ascertain the power cord is plugged in correctly and that the outlet is working by testing it with another device. If the Keurig still won't turn on, check if the power button on the machine has been pressed properly. Sometimes a simple oversight like this can prevent the machine from starting.
Another troubleshooting step is to examine the water reservoir. If it's not seated correctly or if there are any leaks, the Keurig may not power up to prevent damage. Additionally, for Keurig 2.0 models, make sure you're pressing the correct power button as there could be multiple buttons on the machine.
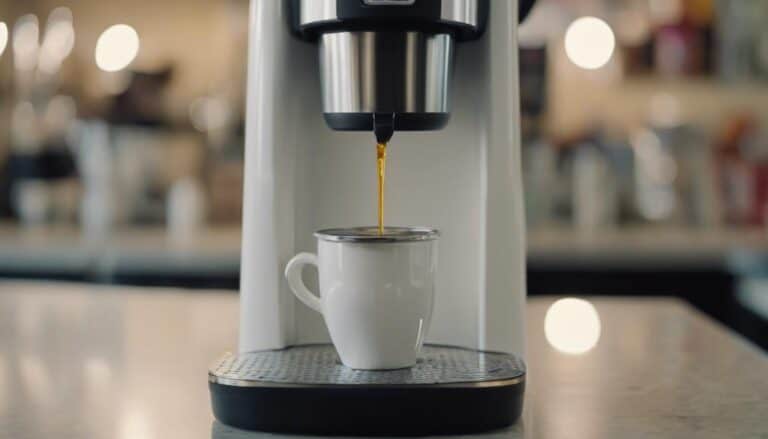
Keurig Not Brewing
To troubleshoot a Keurig machine that isn't brewing, start by checking for any clogs in the needle and tubing to guarantee proper water flow. A clogged needle or tubing can impede the water flow needed for brewing.
Running a water-only brew cycle can help clear out any obstructions or air bubbles that may be causing the issue. Additionally, regular descaling of the machine is crucial to maintain peak brewing performance.
Make sure that the water reservoir is correctly seated and filled to the appropriate level for brewing to occur smoothly. Double-check that the selected K-Cup size matches the desired brew size to prevent any brewing problems.
If the machine still doesn't brew after these steps, inspect the water pump and consider running multiple brew cycles to troubleshoot further.
Keurig Water Heating Issues
When troubleshooting Keurig water heating issues, examining for mineral build-up in the machine's heating element is key to resolving the problem effectively. Mineral deposits can accumulate over time, impeding the heating process and leading to inadequate water temperature for brewing. Regular descaling of your Keurig can help prevent these water heating problems, ensuring your coffee is brewed at the best temperature.
If you notice weak or cold coffee coming from your Keurig, it's crucial to check for clogs in the water lines or heating element that may be hindering the heating efficiency. Engaging in Keurig troubleshooting for water heating issues may involve running cleaning cycles to eliminate any build-up and adjusting the machine settings to enhance heating performance.
Keurig Leaking Problems
Inspect the water reservoir and internal components for potential causes of leaks in Keurig machines. Check for overfilled water reservoirs or damaged o-rings, which are common culprits of leakage. Verify the internal water tank is free of cracks or damage that could result in leaks.
Regular descaling is essential to prevent clogs and leaks caused by mineral buildup. Be cautious not to overfill the water reservoir, as this can lead to leakage problems in Keurig brewers.
Keurig Lights Blinking
Experiencing blinking lights on your Keurig machine indicates a specific issue with its functionality. These lights can be crucial indicators, highlighting errors such as incorrect water reservoir placement or the need to check the charcoal filter status.
To address this, start by ensuring the water reservoir is correctly positioned and the charcoal filter isn't due for replacement. Understanding the specific blinking patterns can help diagnose the problem efficiently.
If the blinking lights persist, consider performing a reset or reaching out to Keurig customer support for further assistance. By taking these steps, you can effectively diagnose and resolve the specific issue impacting your machine's functionality.
Keurig Dispensing Issues
I've encountered issues with my Keurig not dispensing water or dispensing at a slow speed, which can be frustrating when you're in need of a quick cup of coffee.
To address these problems, it's important to check for clogs in the puncture needle and make sure the entrance and exit needles are clean to maintain proper water flow.
Additionally, keeping the machine on a level surface and descaling it regularly can help resolve any dispensing issues caused by blockages or buildup.
Water Not Dispensing
When troubleshooting Keurig machine problems, addressing water not dispensing issues is crucial for maintaining peak performance. Start by checking for air bubbles in the system that could be disrupting the water flow.
Make sure the water reservoir is correctly positioned to allow proper water dispensing. Clean the needle that punctures the K-Cup to eliminate any blockages that might be affecting water flow.
Running a cleaning cycle without a K-Cup can help clear any obstructions in the water line. If problems persist, consider descaling the machine to remove mineral build-up that could be impeding water flow.
Slow Dispensing Speed
To address slow dispensing speed in Keurig machines, check for clogs in the exit needle that may impede coffee flow. Sediment build-up in the internal tubing can also lead to sluggish dispensing. Regular descaling of the Keurig is crucial to maintain peak water flow and prevent slow dispensing issues.
Make sure the machine sits on a level surface for proper water distribution during brewing. Cleaning the entrance and exit needles helps improve dispensing speed and prevents blockages in Keurig machines.
Keurig Coffee Residue
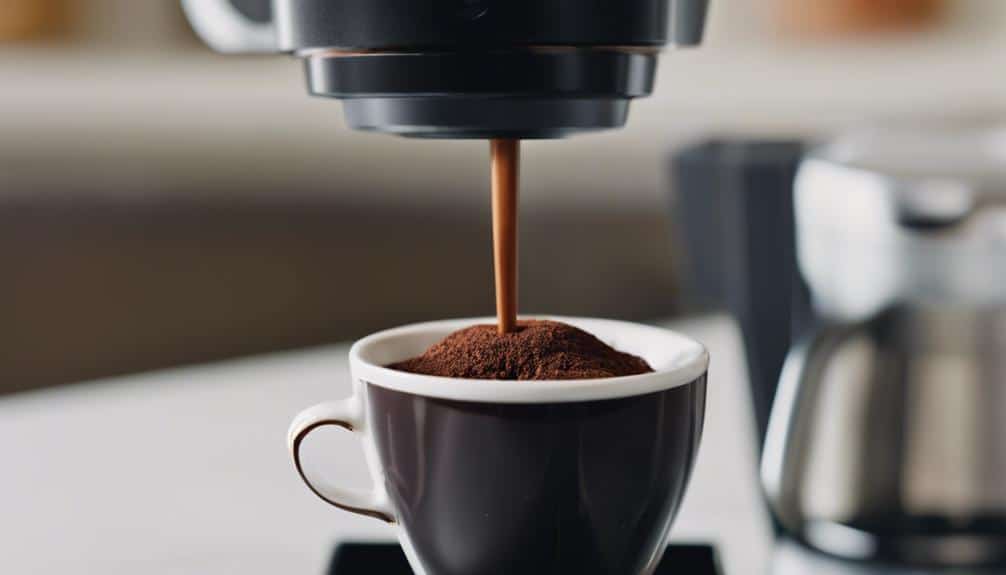
To minimize Keurig coffee residue in your cup, make sure that the correct K-cup size is used for the selected brew size. Using the wrong size can lead to excess coffee grounds escaping into your drink.
Additionally, employing reusable filters may contribute to coffee residue; make certain they're cleaned regularly to prevent buildup. An essential step in preventing residue is to clean the exit needle frequently. Check for clogs in the exit needle, as these can cause residue to be left behind in your cup.
When selecting K-cup pods, opt for a grind size that isn't too fine, as this can lead to residue issues during brewing. By being mindful of these factors and maintaining the cleanliness of your Keurig machine, you can enjoy a residue-free coffee experience.
Keurig Add Water Error
Identifying the underlying causes of the Keurig 'Add Water' error is crucial for efficient troubleshooting and resolving this common issue. When faced with this message, check if the water reservoir is properly positioned, as it could trigger the error if not securely in place.
A clogged filter or a dirty machine may also interfere with water detection, leading to the prompt. To address this, try repositioning the reservoir correctly, cleaning the filter using warm water and dishwashing liquid, and inspecting the valve beneath the machine for any blockages.
Ensuring that the reservoir is clicked in securely and addressing any dirt or blockages can help eliminate the 'Add Water' error. Regular maintenance practices, such as cleaning filters and checking for any obstructions, are crucial in preventing the recurrence of this issue on your Keurig machine. Regular upkeep is key to a smoothly running Keurig system.
Keurig Power Cycling
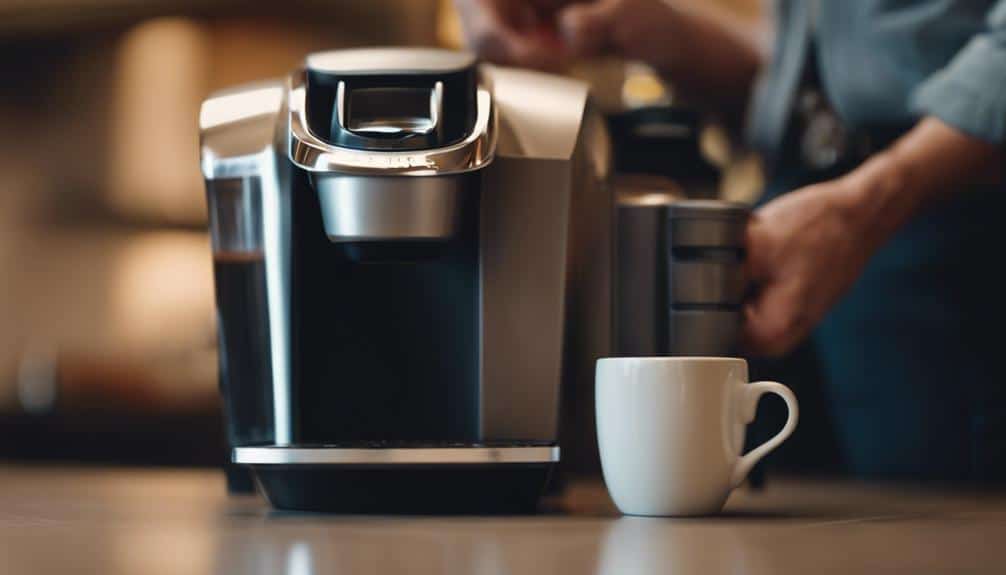
When troubleshooting technical issues with your Keurig machine, power cycling is a simple yet effective method to reset the system and address minor power-related problems. Power cycling involves turning off the Keurig machine, unplugging it, and waiting for a few minutes before plugging it back in. This process helps reset the machine and can resolve issues such as the machine not turning on or experiencing unexpected shutdowns.
If you encounter any technical issues with your Keurig machine, performing a power cycle can often be the first step towards resolving the problem. By following these steps, you can give your machine a fresh start and potentially clear any minor glitches that may be affecting its performance. Remember to be patient and allow the machine to fully power down before plugging it back in.
Power cycling is a quick and straightforward troubleshooting technique that can help get your Keurig machine back up and running smoothly.
Keurig Constantly Turning Off
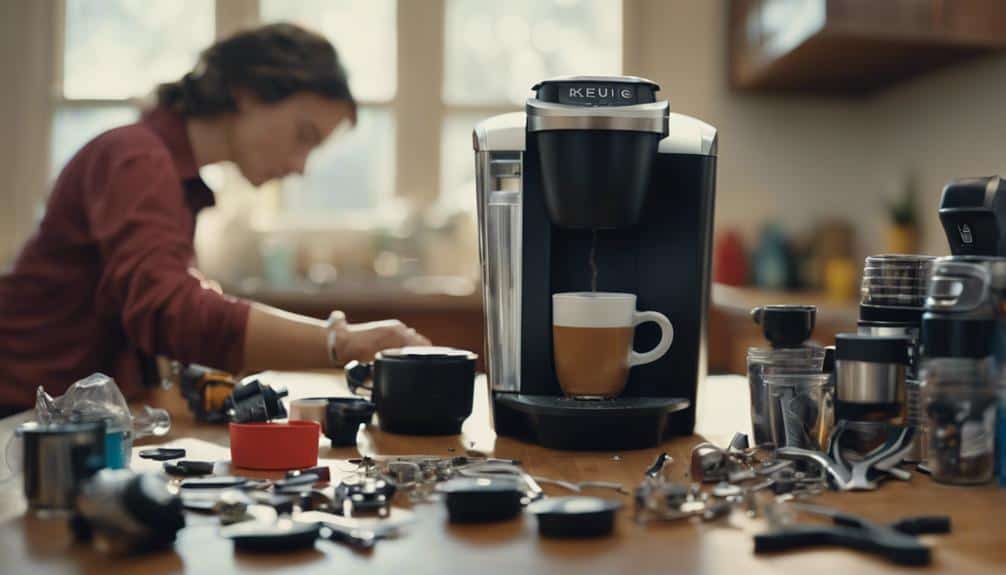
Experiencing frequent shutdowns with your Keurig machine can be frustrating, often indicating underlying issues that need attention. When your Keurig keeps turning off unexpectedly, consider the following troubleshooting steps:
- Check Magnets on Water Tank: Misaligned magnets on the water tank can trigger the Keurig to shut down intermittently. Make sure they're properly aligned to prevent this issue.
- Disable Auto-Off Feature: On newer Keurig models, turning off the auto-off feature can help in preventing the machine from shutting down automatically.
- Adjust LCD Menu Settings: For Keurig 2.0 models and newer versions, adjusting settings through the LCD menu can address auto-on/off problems effectively.
Additionally, make sure to verify the power outlet connection for stability and ensure correct pressing of the power button, especially on Keurig 2.0 models, to avoid frequent shutdowns. By following these steps, you can troubleshoot your Keurig and keep it running smoothly.
Conclusion
To sum up, troubleshooting Keurig machine problems can be done efficiently by following a step-by-step guide.
By addressing common issues such as power source, water reservoir placement, clogs, descaling, and cleaning regularly, you can guarantee top performance.
Promptly addressing leaks, heating issues, and other problems will help maintain a smooth coffee brewing experience.
By taking these steps, you can resolve various Keurig machine issues and enjoy your favorite brew hassle-free.