Keurig Not Working: Troubleshooting Tips
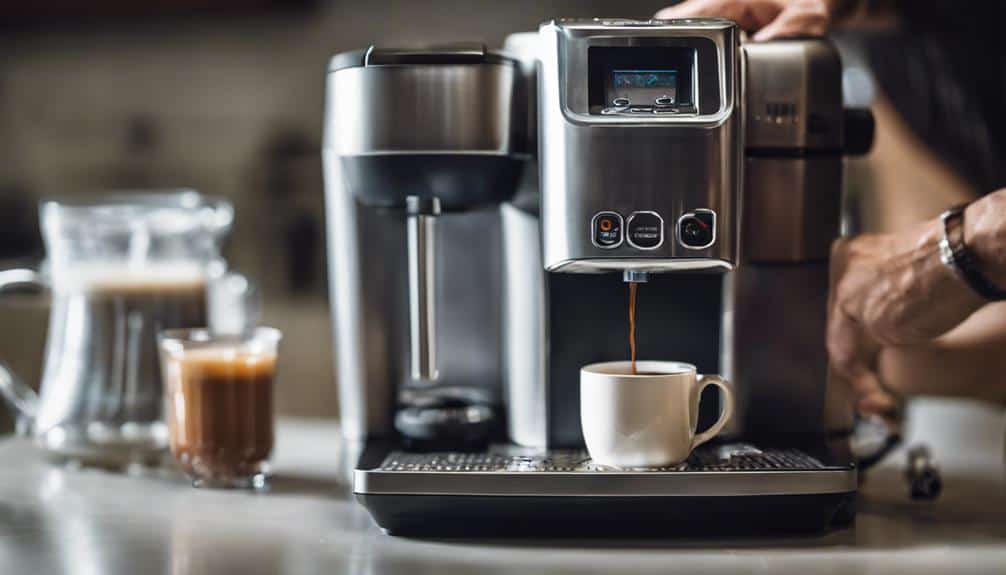
So, you've encountered issues with your Keurig coffee maker, and it's not functioning as it should. Worry not; there are simple troubleshooting tips that can help tackle these common problems. From addressing why your Keurig won't turn on to dealing with brewing or taste issues, there are steps you can take to get your trusty machine back to its peak performance. Let's explore some practical solutions to get your Keurig up and running smoothly again. Ready to discover the secrets to revive your Keurig?
Keurig Not Turning On
To troubleshoot a Keurig that isn't turning on, begin by ensuring the machine is correctly plugged into a working power outlet. Check the power outlet by testing it with another device to confirm functionality.
Press the power button on the Keurig directly to see if there's any response. It's essential to verify the connection of the Keurig machine to the power outlet to eliminate any potential loose connections that may be causing the issue.
For Keurig 2.0 models, make sure you're pressing the correct sequence of buttons to power on the machine as this can sometimes differ from other models.
Keurig Not Brewing
Upon encountering a Keurig not brewing, check for air bubbles and debris in the inner tubing to guarantee peak brewing functionality. To troubleshoot this issue, start by running the Keurig without a K-cup to help clear any potential blockages that may be hindering water flow.
Regularly descale your Keurig machine to prevent clogs and maintain top performance. Make sure all components are properly aligned, and the water tank contains an adequate amount of water for successful brewing. If the water isn't heating, thoroughly clean the machine, inspect the water pump for clogs, and contact Keurig support if there's a malfunction with the water pump.
Keurig Coffee Tastes Bad

I've noticed that when your Keurig coffee tastes bad, it might be due to a few common factors.
To troubleshoot a bitter taste, you should check the water quality and consider switching to filtered water.
Additionally, cleaning the brewing mechanism can greatly improve the flavor of your coffee.
Bitter Taste Troubleshooting
When troubleshooting bitter taste issues with your Keurig coffee, start by ensuring regular cleaning of the machine to prevent flavor-altering buildup.
Here are some tips to improve the taste:
- Consider using filtered water instead of tap water to enhance the coffee flavor.
- Experiment with different K-cup pods to find one that suits your taste preferences.
- Use high-quality coffee beans or grounds for a richer and more flavorful coffee.
- Follow the descaling process outlined in the manual regularly to maintain the quality and taste of your brewed coffee.
Water Quality Check
To address the issue of bad-tasting Keurig coffee, it is essential to conduct a thorough water quality check. Using filtered water instead of tap water can greatly enhance the flavor of your coffee. Regularly cleaning your Keurig machine is also vital to prevent residue buildup that can affect the taste. Experiment with different K-cup pods to find one that suits your preferences and produces a better coffee flavor. Additionally, choosing high-quality coffee can further enhance the taste of your brew. Finally, following the descaling process outlined in the manual is important to eliminate mineral buildup, which can negatively impact the coffee's taste.
| Water Quality Check Tips | |
|---|---|
| Use filtered water | Regular cleaning |
| Try different K-cup pods | Follow descaling process |
Cleaning Brewing Mechanism
Regularly maintaining and cleaning the brewing mechanism of your Keurig machine is essential to address the issue of bad-tasting coffee. Here are some tips to improve your coffee experience:
- Use filtered water to enhance the flavor of your coffee.
- Experiment with different K-cup pods to find your preferred taste profile.
- Opt for high-quality coffee for a better brewing outcome.
- Follow the descale process recommended in the manual to prevent any unwanted flavors and maintain coffee quality.
Keurig Doesn't Heat Water
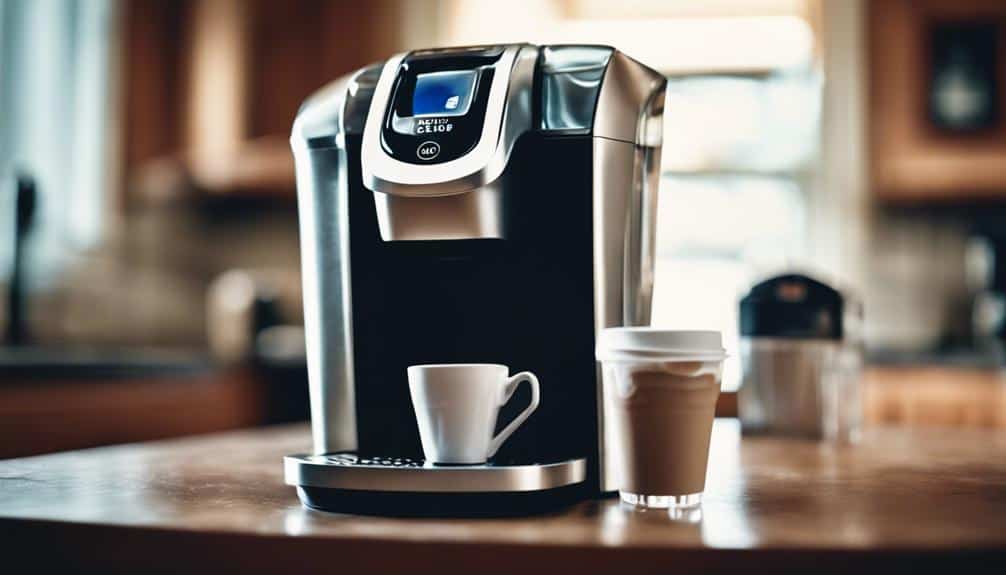
I've encountered a common issue with my Keurig not heating water, which can be frustrating.
To address this problem, I first inspect the water reservoir to make sure it's properly filled. Running a descaling cycle can also help remove any build-up that might be affecting the heating system.
These steps often resolve the heating issue and get the Keurig back to brewing temperature.
Check Water Reservoir
Double check that the water reservoir is securely attached and properly seated in your Keurig machine to troubleshoot heating issues. It's crucial to guarantee proper water flow for effective heating.
Here are some steps to keep in mind:
- Check for blockages: Inspect the water reservoir for any debris or blockages that could be hindering water flow and heating.
- Clean the reservoir: Regularly clean the water reservoir to prevent mineral deposits buildup, which can impede the heating process.
- Verify water level: Make sure the water level in the reservoir is sufficient for the Keurig to function correctly.
- Contact Keurig support: If the issue persists, reach out to Keurig support for further assistance or repair options.
Run Descaling Cycle
To address the issue of a Keurig machine not heating water properly, initiate a descaling cycle as recommended by Keurig. Descaling is essential to remove mineral deposits that can accumulate and block the heating element, leading to inadequate water heating.
It's important to use a descaling solution specifically designed for Keurig machines to clean the internal components effectively. Regular descaling, ideally every 3 to 6 months depending on water hardness and usage frequency, can greatly improve the heating performance of your Keurig machine.
Following the descaling process outlined in the Keurig manual is crucial to ensure thorough cleaning and optimal functioning. Proper maintenance through descaling cycles is key to resolving heating issues and maintaining the longevity of your Keurig machine.
Keurig Is Leaking
Inspect the water reservoir and o-ring for damage if your Keurig is experiencing leaks. Addressing these components can often resolve leaking issues in Keurig machines. Here are some steps to troubleshoot and fix the problem:
- Check Water Reservoir: Confirm the water reservoir isn't overfilled or damaged, as this can lead to leaks.
- Inspect O-Ring: Look for any signs of damage on the o-ring and replace it if necessary to prevent leakage problems.
- Handle Internal Tank Damage: Promptly address any damage to the internal water tank to avoid ongoing leaking issues.
- Avoid Overfilling: Prevent overfilling the water reservoir to maintain proper functioning and prevent leaks.
Regular descaling of your Keurig can also help prevent clogs and leaks, ensuring the machine operates smoothly. By following these steps and maintaining your Keurig properly, you can enjoy a leak-free brewing experience.
Keurig Lights Are Blinking
If your Keurig lights are blinking, it may indicate issues related to the positioning of the water reservoir. To troubleshoot this problem, start by ensuring that the water reservoir is correctly placed and filled to the required level.
If the lights persist, try changing and reinserting the charcoal filter. Sometimes, the blinking lights can be resolved by resetting the machine.
However, if these steps don't stop the lights from blinking, you may need to think about replacing the charcoal filter. Proper maintenance of the water reservoir and the charcoal filter is important to prevent blinking light errors in your Keurig machine.
Keurig Dispenses Incorrect Coffee Amount
When troubleshooting a Keurig that dispenses an incorrect amount of coffee, the first step is to verify that the puncture needle is clean for proper dispensing. Here are some steps you can follow:
- Clean the puncture needle: Confirm the needle is free from any coffee grounds or residue that could be obstructing the flow of coffee.
- Remove any debris: Unplug the machine and clean all parts thoroughly to eliminate any debris that might be affecting the coffee amount dispensed.
- Tap the base: Give the machine a gentle tap on the base to dislodge any potential blockages that could be causing the incorrect coffee amount.
- Clean entrance and exit needles: Check and clean both the entrance and exit needles to prevent clogs that can lead to improper coffee dispensing.
Keurig Leaves Residue in Cup

To avoid residue in your cup when using a Keurig, make sure you're using the correct K-cup size for the brew selection. Using the wrong size can lead to improper extraction and residue buildup.
Additionally, steer clear of reusable filters as they may contribute to residue in your coffee. It's vital to maintain the cleanliness of the exit needle to prevent residue from ending up in your cup.
Regularly checking for clogs in the exit needle is important, as these can also cause residue in your brewed coffee. Ensuring the correct brew size is selected is crucial as it impacts the extraction process, helping to reduce the likelihood of residue.
Keurig Shows Add Water When Full
Upon encountering the 'Add Water' message on your Keurig display despite the reservoir being full, it's crucial to investigate potential causes for this issue. Here are some troubleshooting tips to address this problem:
- Check Reservoir Position: Confirm the water reservoir is correctly placed in the machine to allow for proper water sensing.
- Inspect for Clogged Filter: A clogged filter can disrupt water flow, triggering the 'Add Water' message. Clean the filter with warm water and dishwashing liquid.
- Address a Dirty Machine: Buildup within the Keurig can lead to sensor issues. Regularly descale and clean the machine to prevent malfunctions.
- Clean the Valve: The valve beneath the Keurig may be obstructed, hindering water flow. Cleaning the valve will ensure consistent water delivery.
Conclusion
After troubleshooting my Keurig machine, I was able to resolve the issues and get it working properly again.
By checking the plug connection, descaling the machine, cleaning the brewing mechanism, and ensuring proper water levels, I was able to address common problems such as Keurig not turning on, not brewing, or producing bad-tasting coffee.
Following these steps can help you enjoy a fully functioning Keurig and delicious cups of coffee.
