Keurig Halts Brewing After Few Seconds
So, you wake up, excited for that first cup of coffee, only to find your Keurig machine halting brewing after just a few seconds. Frustrating, right? But fear not, there are reasons behind this hiccup that we can explore together. Let's unravel the mystery behind why your beloved Keurig is cutting your caffeine fix short and discover the simple solutions that can get your mornings back on track.
Possible Causes of Keurig Brewing Interruption
Possible Causes of Keurig brewing interruption can vary from a clogged needle hindering water flow to residue buildup in the puncture needle. When the needle in a Keurig machine becomes clogged, the water flow essential for brewing is obstructed, causing the brewing process to halt.
Additionally, residue accumulation in the puncture needle can hinder its ability to pierce the coffee pod effectively, leading to brewing interruptions. Overpressure due to coffee grounds blocking the needle can also trigger the Keurig to stop brewing. Ensuring a clear passageway for the needle is vital in preventing these interruptions.
Leaving a used pod in the machine can contribute to residue buildup, exacerbating the issue further. By regularly cleaning the needle and ensuring no blockages are present, Keurig owners can maintain a smooth brewing process and enjoy their coffee without disruptions.
Check Power and Water Reservoir Levels
Ensuring the Keurig machine is properly plugged in and the water reservoir is filled to the necessary level are vital steps in maintaining a smooth brewing process. Checking if the Keurig machine has a stable power supply is imperative to avoid brewing halts.
It's important to inspect the water reservoir to confirm it meets the required level for brewing. Issues like blockages in the water reservoir can impede the flow and lead to premature brewing interruptions. Monitoring the power indicator light can help identify any disruptions during the brewing process promptly.
Descaling Routine for Scale Buildup
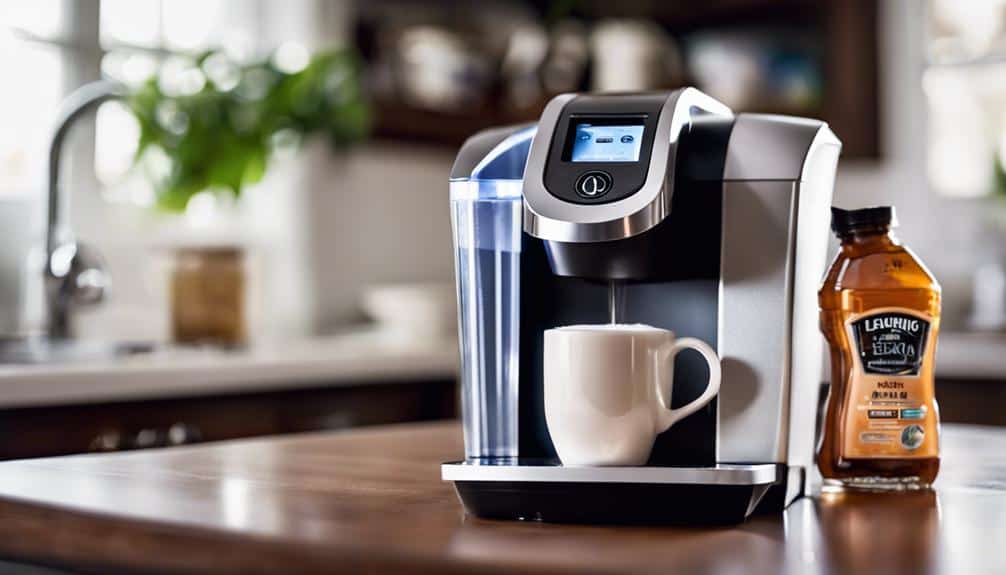
To effectively maintain peak performance of your Keurig coffee maker and prevent brewing interruptions, implementing a regular descaling routine is essential in addressing scale buildup. Descaling is a critical maintenance step that helps remove mineral deposits like scale, which can accumulate over time and hinder the brewing process.
Here are some key points to keep in mind for an effective descaling process:
- Use a descaling solution specifically designed for Keurig machines to guarantee proper cleaning.
- Follow the manufacturer's instructions carefully to avoid incorrect descaling that may not resolve brewing issues.
- Running the descaling mode on your Keurig helps reset the machine and eliminate scale buildup for peak performance.
- Regular descaling not only maintains the efficiency of your Keurig but also prolongs its lifespan by preventing scale-related problems.
Inspecting for Obstructions in Keurig
Inspecting for obstructions in your Keurig involves checking key components like the needle, pod holder, water reservoir, brewing area, and alignment to guarantee smooth operation.
To begin, I recommend examining the needle for any small clogs or blockages that could hinder the brewing process.
Next, take a look at the pod holder to make sure there are no obstructions that might impede the proper function of the machine.
It's crucial to verify that the water reservoir is correctly positioned and securely attached to avoid any interruptions during the brew cycle.
Additionally, inspect the brewing area for any debris or buildup that could affect the flow of water.
Finally, make sure all components are aligned correctly to facilitate a seamless brewing experience.
Troubleshooting Keurig's Brewing Functionality
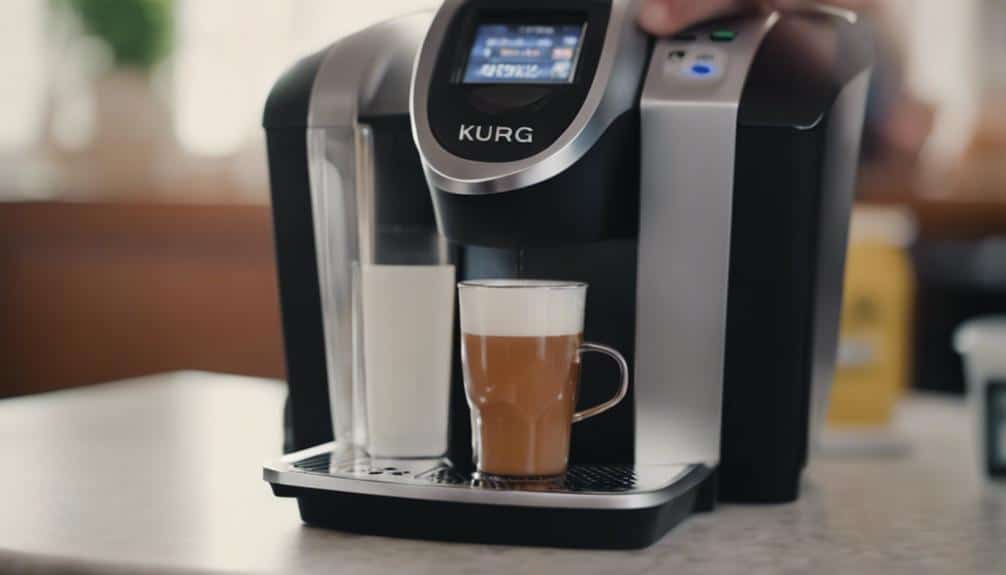
When troubleshooting issues with Keurig's brewing functionality, it's vital to take into account adjusting brewing time and inspecting the water reservoir for proper placement.
These steps can help address common problems like clogged needles, scale buildup, or disrupted water supply.
Brewing Time Adjustment
Adjusting the brewing time on your Keurig machine can resolve issues where brewing stops prematurely after a few seconds.
- Consult the Keurig manual for guidance on adjusting brewing time settings.
- Changing the brew time settings can guarantee a complete brewing cycle.
- Incorrect brewing time settings may lead to the machine stopping prematurely.
- Adjust the brewing time according to your preferences for a successful brewing cycle.
Water Reservoir Inspection
To guarantee top brewing performance, a thorough examination of the water reservoir's placement and condition is essential. Confirm the water reservoir is properly positioned and securely attached to the Keurig machine.
It's vital to have the reservoir filled to the recommended level to prevent interruptions during brewing. Check for any blockages or debris in the water reservoir that could impede the brewing process. Inspect the reservoir for cleanliness and remove any mineral deposits that may affect water flow.
Properly align and insert the water reservoir back into the Keurig machine to maintain top brewing functionality. By following these steps, you can troubleshoot and resolve any issues related to the water reservoir, ensuring a smooth brewing experience.
Tapping to Dislodge Debris
Tapping gently on your Keurig machine can effectively dislodge debris that may be causing brewing issues. When faced with a Keurig stopped working situation, a simple solution like tapping could be the key to resolving the problem. Here are some key points to keep in mind:
- Debris accumulation within the machine can lead to blockages in the internal components, hindering the brewing process.
- Light tapping on the machine can help remove any trapped particles that are causing the blockages.
- It's important to tap gently to avoid causing any damage to the machine while still effectively dislodging the obstructions.
- This method serves as a quick troubleshooting step that can be attempted before delving into more complex solutions for Keurig brewing problems.
Ensuring Proper Keurig Brewing Process
When guaranteeing a proper Keurig brewing process, it's vital to focus on brewing temperature control for best extraction.
Additionally, regular cleaning of the water reservoir is essential to prevent any buildup that could impact the taste of your coffee.
Checking pod compatibility ensures a smooth brewing experience without any obstructions.
Brewing Temperature Control
A critical aspect to guarantee a consistent and ideal Keurig brewing process is maintaining precise control over the brewing temperature. Keurig machines are designed to heat water within a specific temperature range to guarantee the best flavor extraction from the coffee grounds.
To enhance the quality of your coffee, it's essential to monitor and adjust the brewing temperature settings. Inconsistent temperature can lead to a variety of issues, such as a weak or bitter taste in the brewed coffee.
Water Reservoir Cleaning
Regularly cleaning the water reservoir of your Keurig machine is essential to maintaining a smooth brewing process and guaranteeing the quality of your coffee. Residue buildup, mineral deposits, or debris in the reservoir can lead to clogs and impact the efficiency of your Keurig machine. To prevent these issues and uphold the brewing quality, proper cleaning is vital. Check the water reservoir frequently for any impurities that could hinder the brewing process. A clean reservoir promotes consistent water flow and enhances the overall performance of your Keurig. By keeping this component free of residue and debris, you can enjoy a seamless and efficient brewing experience while preserving the exceptional quality of your coffee.
| Importance of Water Reservoir Cleaning | ||
|---|---|---|
| Prevents Clogs | Guarantees Quality Coffee | Promotes Efficient Brewing |
| Removes Residue Buildup | Maintains Keurig Performance | Prevents Mineral Deposits |
Pod Compatibility Check
To guarantee a smooth and uninterrupted brewing process with your Keurig machine, it's essential to confirm the compatibility of the K-cup pods being used.
- Check pod size and design to prevent brewing interruptions.
- Verify pod placement and alignment in the pod holder for proper engagement.
- Avoid using non-Keurig pods to prevent issues during brewing.
- Inspect for any obstructions or blockages in the pod holder that could disrupt the brewing cycle.
Solutions for Keurig Halting Brewing
Clearing clogs in the needle that punctures the K-cup can effectively address the issue of Keurig halting brewing. If your Keurig is stopping after a few seconds, a common cause could be blockages in the needle. Using a sharp object to carefully remove any debris can help restore normal brewing function.
Additionally, descaling the machine with vinegar can tackle malfunctions that lead to brewing halts. Make sure the plastic pod basket and needle are correctly aligned to prevent interruptions in the brewing process. Regular maintenance, including cleaning the machine, is important to prevent sudden halts in brewing.
Conclusion
To sum up, addressing common issues such as clogged needles, residue buildup, and overpressure can help prevent your Keurig machine from halting brewing after a few seconds.
Regular maintenance, descaling, and troubleshooting steps can guarantee a smooth brewing process.
By following these simple solutions and maintaining proper use of compatible pods, you can enjoy uninterrupted coffee brewing with your Keurig machine.
