My Keurig Saying 'Descale': Step-by-Step Guide
So there I was, savoring my morning cup of coffee when suddenly, my Keurig flashed that ominous 'Descale' message. Unsure of what to do, I turned to this step-by-step guide for help. What I discovered not only saved my beloved coffee routine but also shed light on the key to prolonging my Keurig's lifespan. Trust me, you'd want to know these essential descaling tips too.
Importance of Descaling Your Keurig
Descaling your Keurig is an essential maintenance task that guarantees peak performance by eliminating mineral deposits and buildup caused by hard water. Over time, the water you use in your Keurig coffee machine can contain minerals like calcium that accumulate and form deposits within the machine. These deposits, if left unchecked, can lead to clogs, blockages, and even malfunctions in your Keurig. By descaling regularly, you make certain that these mineral deposits are removed, allowing your Keurig to function at its best.
Failure to descale can result in decreased brewing efficiency and might even impact the taste of your coffee. To maintain the longevity and quality of your Keurig, it's recommended to descale at least twice or three times a year. Proper descaling not only prevents issues with your machine but also contributes to a better brewing experience, ensuring that your coffee tastes delicious every time. Remember, a well-maintained Keurig means you can enjoy your favorite coffee hassle-free.
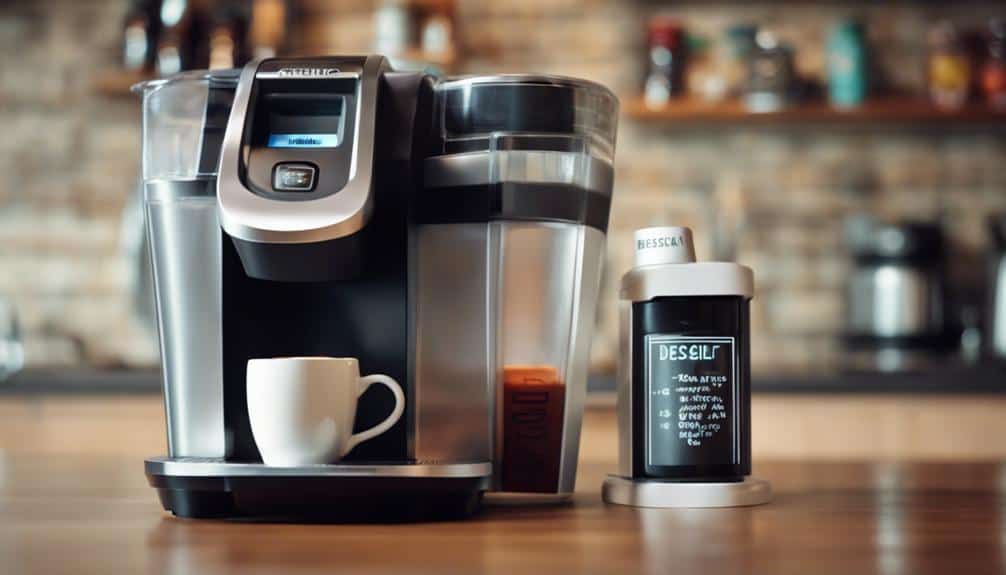
Gather Necessary Supplies
Gathering the necessary supplies is a crucial first step in preparing to descale your Keurig coffee machine for peak performance. To effectively descale your Keurig machine, you will need the following items:
| Supplies | Description |
|---|---|
| White vinegar | Used as a descaling agent |
| Descaling Solution | Specifically designed for Keurig descaling |
| Ceramic mug | Clean and empty for catching the descaling liquid |
| Filtered water | For rinsing the machine after descaling |
| Soft cloth/paper towel | To wipe down the exterior of the Keurig |
Having these supplies ready will guarantee a smooth descaling process and help maintain the longevity of your Keurig machine. It's important to follow the manufacturer's guidelines regarding the type of descaling solution to use, as this can vary depending on the model of your Keurig. Next, we will move on to preparing your Keurig machine for the descaling procedure.
Prepare Your Keurig Machine
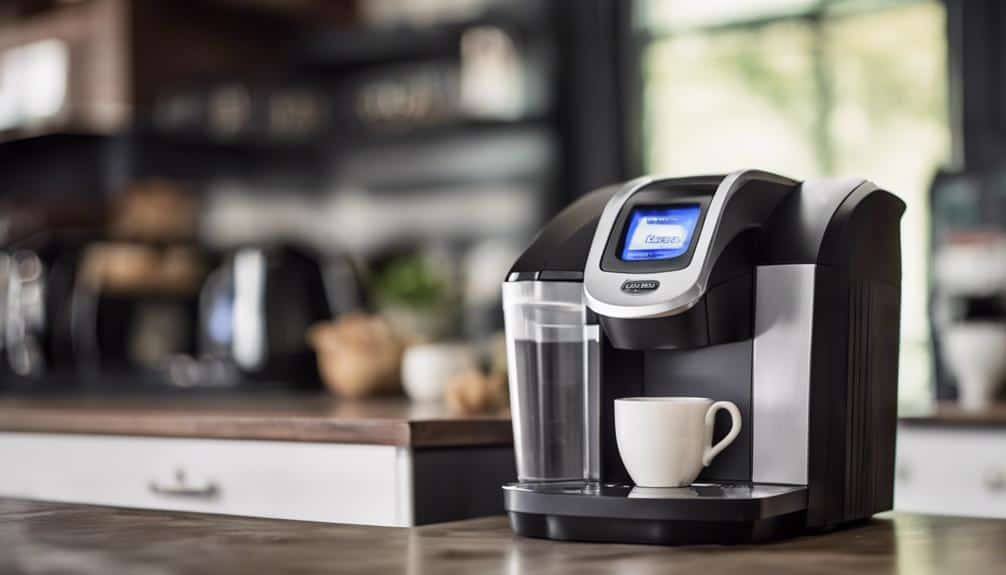
To guarantee proper preparation of your Keurig machine, begin by unplugging the device to prioritize safety during the descaling process.
Next, make sure to remove any remaining water from the water reservoir. This step is essential in preparing the Keurig for the descaling process.
After emptying the reservoir, proceed to disassemble the brewing components. Clean these components thoroughly with warm soapy water to ensure effective descaling.
Once cleaned, allow the components to air dry completely before reassembling them back into the Keurig machine. It's vital to have all the parts clean and dry before initiating the descaling process.
Add Descaling Solution
I prepare the descaling solution by mixing the Keurig Descaling Solution with the appropriate amount of water according to the manufacturer's instructions.
Once the solution is ready, I fill the reservoir with the descaling mixture to guarantee thorough descaling of the machine.
Running the descaling cycle helps break down mineral deposits inside the Keurig, improving its performance and longevity.
Prepare Descaling Solution
For best descaling of your Keurig machine, start by measuring the appropriate amount of Keurig Descaling Solution based on the recommended ratio to mix with filtered water.
First, make sure your water reservoir is empty. Next, refer to your Keurig's manual for the correct ratio of descaling solution to water.
Measure the specified amount of Keurig Descaling Solution and pour it into the reservoir. Then, add an equal amount of filtered water to the reservoir. Using filtered water is crucial to prevent mineral buildup during the descaling process.
Ensure the mixture covers all internal components. Properly preparing the descaling solution is essential to effectively removing scale and mineral deposits from your Keurig machine.
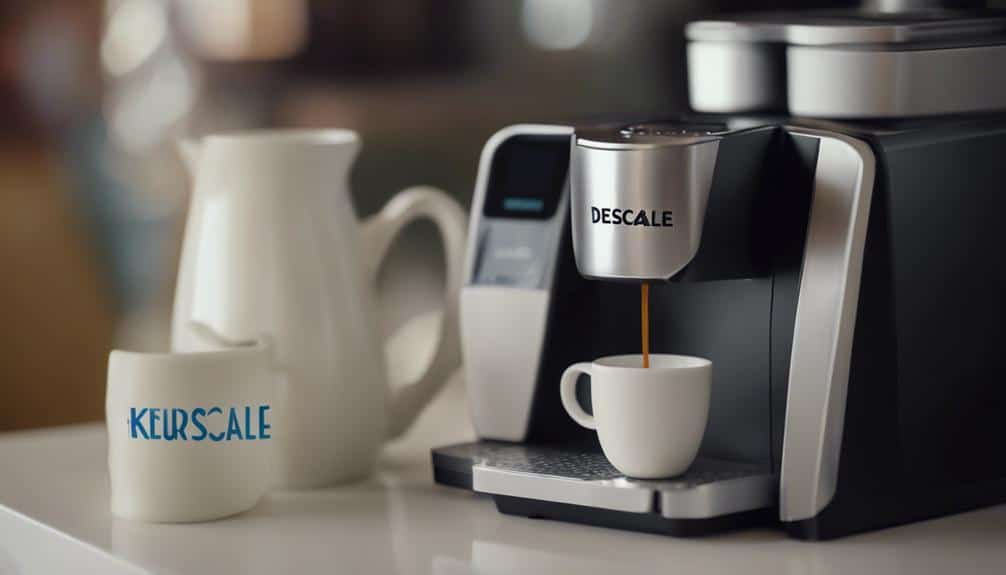
Run Descaling Cycle
After setting up the descaling solution in the water reservoir, the next step is to initiate the descaling cycle by selecting the appropriate settings on your Keurig machine. To run the descaling cycle, make sure your Keurig® brewer is turned on.
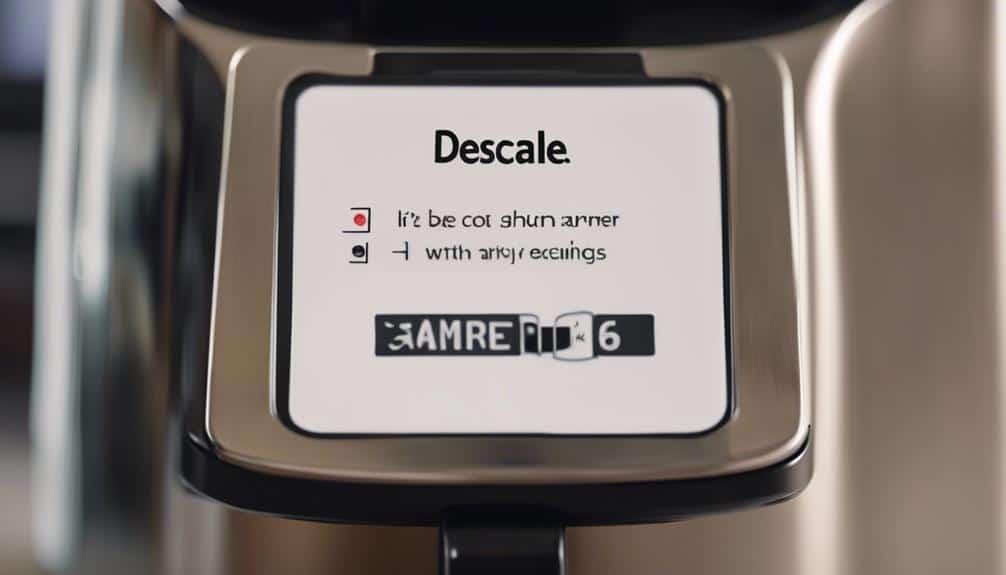
Place a large mug on the drip tray to collect the descaling solution. Press the brew button to start the cycle. The Keurig Saying 'Descale' will disappear, indicating successful initiation. Allow the solution to flow through the machine and into the mug. Discard this initial solution.
Refill the reservoir with fresh water and run another brew cycle to rinse the system. Your Keurig® brewer is now descaled and ready to brew delicious coffee free from mineral build-up.
Initiate the Descaling Process
First, gather all the necessary descaling supplies as mentioned in the manufacturer's instructions.
Next, run the descaling solution through the Keurig according to the specific guidelines provided.
Gather Descaling Supplies
How can you effectively initiate the descaling process for your Keurig to maintain its peak performance? To begin the descaling process, gather descaling supplies to guarantee your Keurig functions at its best. Here's what you need:
- Keurig Descaling Solution: Specifically designed for descaling Keurig machines, this solution effectively removes mineral deposits.
- White Vinegar: An alternative to the Keurig Descaling Solution, white vinegar can also break down mineral build-up.
- Descaling Supplies: Include a descaling tool or brush for thorough cleaning of the internal components.
- Step-by-Step Instructions: Refer to the manufacturer's manual or online guides for detailed steps on descaling your Keurig machine correctly.
Run Descaling Solution
To effectively run the descaling solution and initiate the descaling process for your Keurig, make sure you have the necessary supplies ready for the maintenance procedure. Begin by turning off your Keurig and unplugging it from the power source.
Empty any remaining water from the reservoir and pour in the descaling solution mixed with water according to the manufacturer's instructions. Place a large mug on the drip tray and start the brew cycle without inserting a K-cup.
Repeat this process until the reservoir is empty. Let the machine sit for about 30 minutes to allow the descaling solution to work on removing mineral deposits.
Afterward, rinse the reservoir thoroughly, fill it with clean water, and run multiple brew cycles to make sure all traces of the descaling solution are flushed out.
Rinse and Reset
For initiating the descaling process on your Keurig when prompted to 'Descale,' begin by rinsing the water reservoir and removing any water filter if present. To reset the brewer, unplug it for a few minutes and then plug it back in to clear any error messages. Follow the on-screen prompts or consult the user manual to enter descaling mode on your Keurig machine. Use Keurig Descaling Solution or a mixture of white vinegar and water to effectively descale the internal components of the brewer. After descaling, complete a fresh water rinse by running multiple cycles with clean water to make sure the removal of any descaling residue.
- Rinse the water reservoir and remove any water filter.
- Reset the brewer by unplugging and replugging it.
- Follow on-screen prompts or consult the user manual.
- Use Keurig Descaling Solution or white vinegar mixture for descaling.
Rinse and Rest
After thoroughly rinsing the water reservoir with soap and water to remove any descaling solution residue, it's important to allow the Keurig to rest for at least 30 minutes to guarantee effective cleaning of the internal components.
During this resting period, it's a good opportunity to clean other removable parts like the drip tray and lid to maintain overall cleanliness.
Once the 30 minutes have elapsed, refill the reservoir with filtered water. This step is essential to rinse the machine thoroughly and make sure the removal of any remaining descaling solution.
Following the refill, flush the Keurig by brewing multiple cups of filtered water. This process helps to ensure that all traces of descaler are completely removed before preparing a fresh cup of coffee.
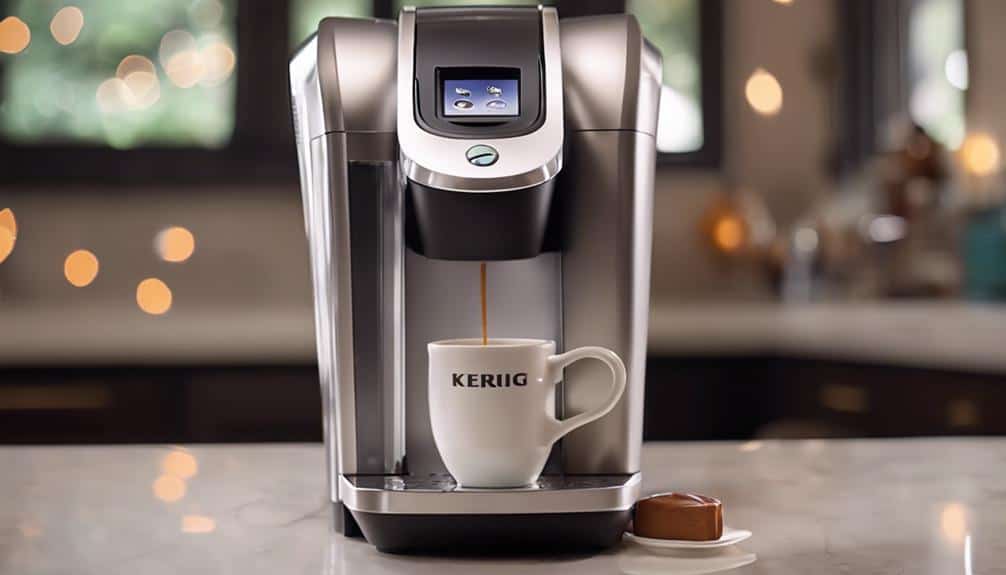
Final Steps for Fresh Coffee
I usually recommend running a series of brewing cycles with fresh water after descaling your Keurig to guarantee thorough rinsing. Here are the final steps to enjoy a fresh cup of coffee:
- Run Multiple Brewing Cycles: After descaling, run multiple brewing cycles with fresh water through your Keurig. This helps to make sure that any leftover descaling solution is completely rinsed out of the machine.
- Insert a New K-Cup: Once the descaling process is complete and the rinsing cycles are done, insert a new K-Cup into your Keurig machine. This ensures that your next cup of coffee is fresh and free from any residual descaling solution.
- Follow Manufacturer's Instructions: Always follow the manufacturer's instructions for descaling your Keurig machine. This helps maintain its peak performance and extends its lifespan.
- Prevent Performance Issues: Descale your Keurig promptly when the descale indicator appears to prevent any potential performance issues. Regular descaling is key to maintaining the quality and taste of your brewed coffee.
Benefits of Regular Descaling
Regular descaling of your Keurig coffee maker is essential for maintaining its peak performance and preserving the quality of your brewed coffee. Descaling helps guarantee mineral buildup within the machine, ensuring that water flows freely through the system without any obstructions. By removing the mineral deposits that accumulate over time, the descaling process helps to maintain the efficiency of your Keurig and prolong its lifespan.
Neglecting to descale your Keurig can result in clogs, decreased brewing efficiency, and even malfunctions in the machine. These issues not only impact the taste of your coffee but can also lead to costly repairs or the need for a replacement. To avoid these problems, it's recommended to descale your Keurig at least every 3 to 6 months, as suggested by Keurig for top performance.
Regular descaling not only ensures a consistent and flavorful coffee experience but also saves you money in the long run by preventing the need for repairs or replacements due to mineral buildup. Prioritizing this aspect of Keurig maintenance is key to enjoying fresh and delicious coffee every time.
Maintenance Tips for Your Keurig
To guarantee peak performance and longevity of your Keurig coffee maker, implementing proper maintenance tips is essential. Here are some important steps to maintain your Keurig brewer:
- Regular Descaling: Descale your Keurig every 3 to 6 months to prevent scale buildup and maintain peak performance.
- Use Filtered Water: Utilize filtered water when brewing coffee to prevent mineral deposits and scale accumulation within the machine.
- Follow Descale Instructions: Whether using a descaling solution or white vinegar, follow the step-by-step descaling instructions provided by Keurig for effective maintenance.
- Thorough Rinsing: After descaling, rinse the machine thoroughly with filtered water multiple times. This ensures all traces of descaler are removed, preventing any interference with the flavor of your coffee and maintaining the machine's cleanliness.
Conclusion
In the end, regular descaling of your Keurig machine is essential for maintaining peak performance and prolonging its lifespan. By following the step-by-step guide outlined in the article, you can effectively eliminate mineral deposits, prevent clogs, and guarantee efficient brewing.
Don't forget to gather necessary supplies, prepare your machine, add descaling solution, initiate the descaling process, rinse, and enjoy fresh coffee. Remember, proper maintenance is key to enjoying delicious coffee every day.