Solving the Descaling Light Step by Step
I've often encountered the frustrating descaling light issue with my Keurig. The process can seem straightforward, yet sometimes the light persists despite following all the steps diligently. However, there's a particular trick involving button combinations that I stumbled upon recently that seems to do the trick. It's a bit unconventional but surprisingly effective. It might just be the solution you've been looking for to finally bid farewell to that stubborn descaling light.
Unplug and Cool Down Coffee Maker
In order to guarantee safety and proper maintenance procedures, the initial step in descaling a coffee maker is to promptly unplug the machine and allow it to cool down completely. Unplugging the coffee maker is vital to prevent any electrical accidents during the cleaning process. It ensures that there's no power running through the machine, reducing the risk of shocks or other mishaps.
Once the coffee maker is unplugged, it's essential to let it cool down fully. Allowing the machine to cool ensures safe handling and prevents any burns or damage while performing the descaling procedure. It's important to exercise patience and not rush this step, as a fully cooled machine is easier and safer to work with.
Remove Water Reservoir
After ensuring the coffee maker is unplugged and adequately cooled down, the next step in the descaling process is removing the water reservoir to access the internal components. The water reservoir, usually situated at the back or side of the Keurig machine, must be detached with care following the manufacturer's guidelines to prevent any harm to the machine. Once the reservoir is detached, it's important to empty it entirely before proceeding with the descaling process. Cleaning the water reservoir separately can be advantageous in ensuring that no residual buildup affects the brewing process.
To remove the water reservoir, locate the release button or mechanism that secures it in place. Press or slide the release button according to the manufacturer's instructions, and gently lift the reservoir out of its position. Take care not to force the reservoir out or damage any connected components. Once the water reservoir is removed, set it aside for cleaning while you proceed with the descaling process, ensuring a thorough and effective descaling operation.
Mix Descaling Solution

To prepare for descaling the coffee maker, follow Keurig's recommendation and dilute the descaling solution as instructed for best efficacy. When mixing the descaling solution, it is important to adhere to the manufacturer's guidelines to guarantee proper descaling without causing harm to the machine. Here is a table to illustrate the correct ratio for mixing the descaling solution with water:
| Descaling Solution | Water |
|---|---|
| 1 part | 1 part |
| 2 parts | 1 part |
| 3 parts | 1 part |
| 4 parts | 1 part |
| 5 parts | 1 part |
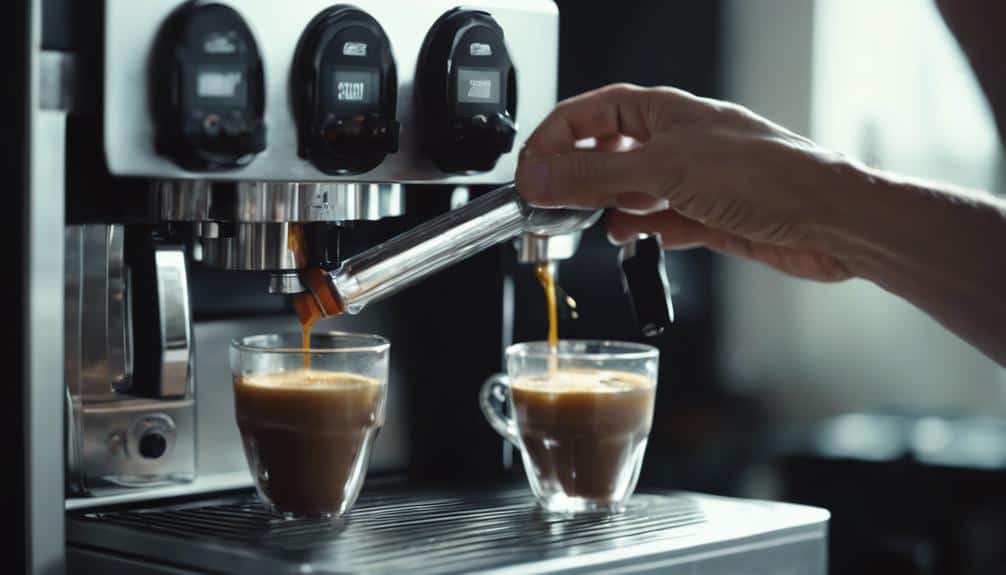
Pour Solution Into Reservoir
First, carefully pour the descaling solution into the reservoir, ensuring it covers the bottom evenly.
Next, monitor the solution level to guarantee proper distribution and coverage.
Reservoir Solution Pouring
Upon preparing to descale your Keurig machine, carefully pour the suggested amount of descaling solution directly into the water reservoir, ensuring thorough coverage for efficient descaling performance. Make sure the solution reaches all corners of the reservoir to effectively break down mineral deposits.
Adhering to the manufacturer's recommended amount is essential for best descaling results. Avoid diluting the solution to maintain its potency in removing scale buildup.
Approach the pouring process attentively to prevent any spills and guarantee complete coverage for a thorough descaling procedure. By methodically pouring the solution into the reservoir, you set the stage for successful descaling, ensuring your Keurig functions at its peak.
Proper Solution Distribution
When descaling your Keurig machine, ensure thorough distribution of the descaling solution by pouring it into the water reservoir, targeting all internal components for effective removal of calcium deposits and scale buildup.
- Guarantee Complete Coverage: Pour the descaling solution evenly into the reservoir to reach all areas.
- Allow Solution Contact Time: Let the solution sit in the reservoir to dissolve scale and mineral deposits.
- Avoid Overfilling: Pour the correct amount of solution to prevent spills and guarantee effectiveness.
Properly distributing the descaling solution in the reservoir is essential for a successful descaling process. This step sets the foundation for effectively tackling scale buildup and maintaining the peak performance of your Keurig machine.
Reservoir Level Monitoring
Monitoring the descaling solution level in the water reservoir is essential for ensuring effective removal of scale buildup in your Keurig machine.
To start, make sure the reservoir is filled with the recommended descaling solution, covering the minimum level indicated. Proper reservoir level monitoring is vital for thorough descaling.
Adding the correct amount of descaling solution targets scale build-up within the machine. Maintaining the appropriate solution level guarantees efficient descaling.
Run Brewing Cycle
To guarantee thorough rinsing and complete removal of any remaining descaling solution, run the brewing cycle multiple times with fresh water. It's crucial to make sure that the descaling solution is entirely flushed out of the system to prevent any potential taste or performance issues. Proper rinsing of the machine post-descaling is vital in maintaining the quality of your coffee.
Follow these steps meticulously to reset the descaling light and enhance your Keurig machine's performance:
- Run the brewing cycle with fresh water at least three times.
- Confirm that each brewing cycle is completed fully before restarting the process.
- Monitor the water flow during the brewing cycle to verify proper rinsing.
Rinse Reservoir

First, empty the water tank and remove any remaining descaling solution.
Next, thoroughly clean the inside of the reservoir to make sure no residue is left behind.
Empty Water Tank
Before starting the descaling process, make sure that the water tank is empty to maintain the effectiveness of the descaling solution and prevent dilution.
- Confirm the water tank is completely empty to avoid diluting the descaling solution.
- An empty water tank allows the descaling solution to work efficiently on internal components.
- Residual water in the tank can impact the concentration of the descaling solution, affecting its descaling capabilities.
Making sure the water tank is devoid of any water is crucial for the descaling process to be successful. By emptying the tank, you prevent any interference with the descaling solution's strength, ensuring thorough descaling and maintenance of your coffee maker.
Clean Inside Reservoir
Prior to moving forward, make sure the water reservoir is free of any buildup or debris by rinsing it with warm, soapy water and scrubbing gently with a soft cloth or sponge. Pay close attention to corners and crevices where grime can accumulate.
Thoroughly rinse the reservoir with clean water to make certain all soap residue is removed. It's important to allow the reservoir to air dry completely before reassembling it back into the Keurig machine. This step guarantees that your reservoir is clean and ready for use, preventing any contamination of your beverages.
Run Brewing Cycles With Water
To guarantee thorough rinsing and prepare the Keurig machine for regular coffee brewing, run several brewing cycles with water after descaling. This step is crucial to flush out any remaining descaling solution and prevent it from affecting the taste of your coffee. Here's a simple guide to running brewing cycles with water:
- Lift and close the handle without inserting a K-Cup.
- Place a mug on the drip tray to collect the water.
- Select the largest cup size and run a water brew cycle.
Running these cycles ensures that the internal components of your Keurig are clean and free from any descaling residue. It's advisable to repeat this process multiple times to make sure that the machine is thoroughly rinsed.
Wipe Down Machine
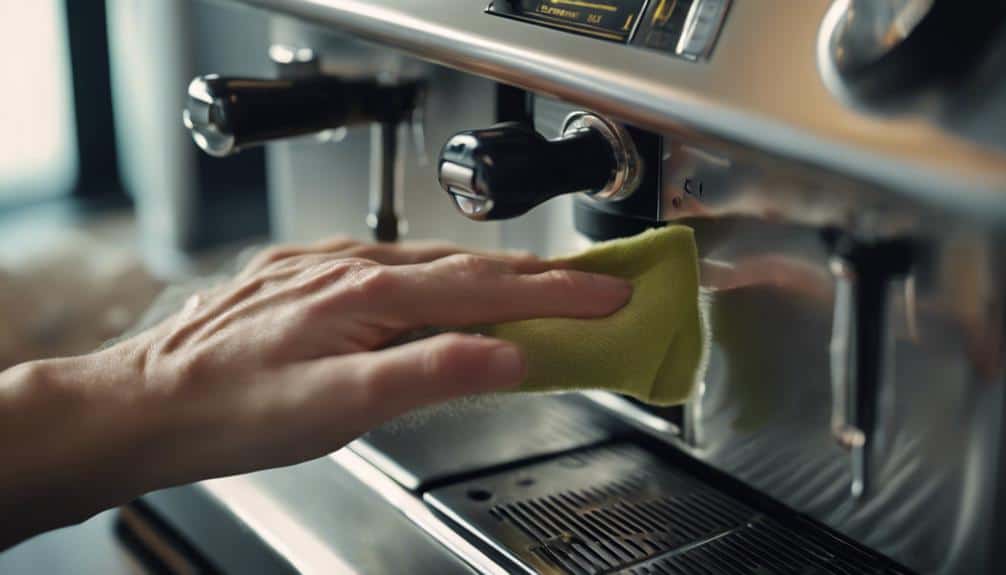
After completing the brewing cycles with water, the next step is to utilize a damp cloth to thoroughly wipe down the exterior of the Keurig machine. Using a damp cloth helps remove dust and grime that may have accumulated on the machine's surface. It is essential to pay special attention to areas around buttons and crevices where buildup may occur. Regularly cleaning the machine's exterior can prevent dirt from entering the internal components, ensuring the machine operates smoothly. Additionally, wiping down the Keurig machine can give it a polished look, contributing to its overall maintenance and longevity. A clean exterior complements the descaling process, enhancing the machine's performance.
| Wipe Down Machine Tips |
|---|
| Use a damp cloth |
| Focus on buttons and crevices |
| Prevent dirt from entering internal components |
| Enhance machine's performance |
| Contribute to overall maintenance |
Refill Reservoir With Fresh Water
I fill the water reservoir with fresh, clean water to guarantee excellent brewing performance. After completing the descaling process, it's important to make sure the water reservoir is replenished with fresh water.
Here are some key points to keep in mind:
- Use Cool, Clean Water: Refill the water reservoir with cold, clean water to maintain ideal brewing conditions.
- Rinse Out Descaling Solution: The fresh water helps to rinse out any remaining descaling solution from the system.
- Secure Reservoir Placement: Ensure the reservoir is securely placed back into the Keurig machine after refilling with water.
Troubleshooting Persistent Descale Light

When facing a persistent descale light issue, it's crucial to address it promptly by troubleshooting the problem systematically.
Begin by understanding why the descale light won't turn off and explore resetting the descaling notification through specific button combinations.
Additionally, checking the water filter status can provide insights into the source of the ongoing descaling light concern.
Descale Light Won't Turn off
To troubleshoot a persistent descale light that won't turn off, it's important to first confirm that the descaling process was carried out thoroughly and that there are no mineral deposits causing the issue.
- Check for clogs in the machine's components like the needle or water lines.
- Tapping or gently shaking the machine can help dislodge any trapped debris causing the descale light to stay on.
- Follow specific descale instructions for your Keurig model to guarantee effective descaling.
If the descale light continues to stay on despite these efforts, it's advisable to contact Keurig customer support for further assistance.
Reset Descaling Notification
After troubleshooting a persistent descale light issue that won't turn off, the next step involves resetting the descaling notification to address the problem effectively.
To reset the descale light on some Keurig models, try pressing specific button combinations like 8oz & 10oz simultaneously for 5 seconds. Users have reported success by experimenting with different button combinations, such as holding down 8oz & 12oz buttons for a few seconds.
Another method is to turn off the Keurig machine and simultaneously press certain buttons for 5 seconds. Some users have resolved the descale light problem by holding down 8oz & 10oz buttons together for a specific duration.
Trying various button combinations can help reset the descale light, even after thorough cleaning attempts.
Check Water Filter Status
Inspect the water filter for any signs of clogs or debris that may be triggering the persistent descale light issue.
- Check the water filter expiration date.
- Remove and inspect the water filter for clogs or debris.
- Clean or replace the water filter if dirty or damaged.
Regularly monitoring and maintaining the water filter is essential to prevent descale light problems. Make sure the filter is correctly positioned in the reservoir to avoid descale light activation. Keeping the water filter clean and in good condition will help maintain peak performance and extend the life of your appliance.
Conclusion
To sum up, by following the step-by-step process for descaling your coffee maker, you can effectively resolve the descaling light issue.
By unplugging the machine, mixing and running the descaling solution, and troubleshooting any persistent notifications, you can guarantee your Keurig functions at its best.
Remember to follow the specific instructions for your model and maintain regular descaling to keep your coffee maker in top-notch condition.